Whole wheat sourdough bread

Making whole wheat sourdough is a challenge. It is not difficult, but it requires some extra attention and tricks to make the bread light and airy. Whole wheat flour has less gluten than the white flour. This is the main reason for whole wheat bread to be dense and not pleasurable to eat some times.
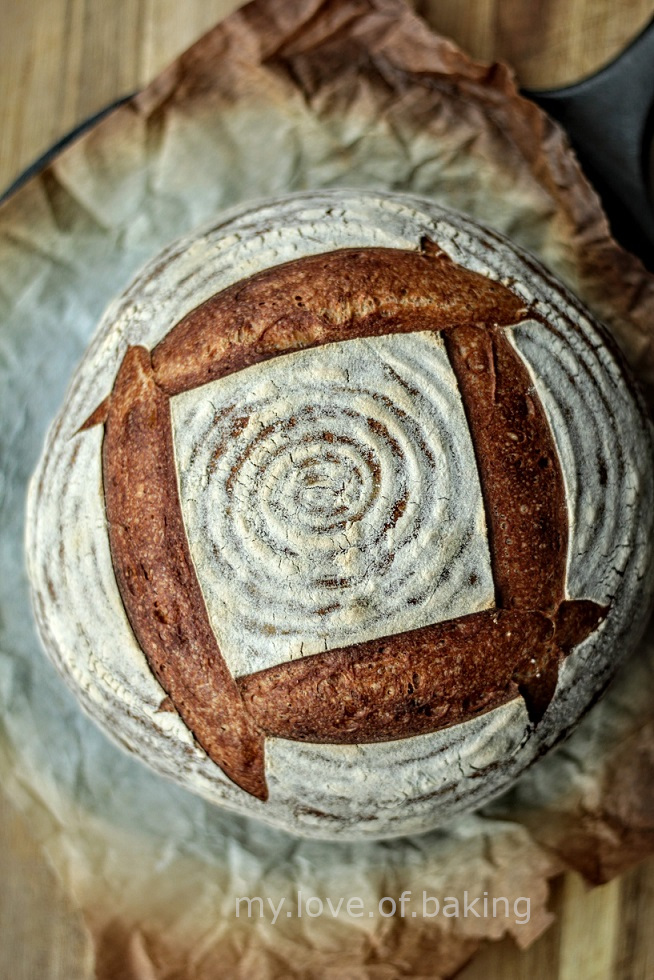
But we can overcome this, by simply following few extra steps in the bread making process. A slight change in the recipe could also help maximizing the bloom. Lets see what they are.
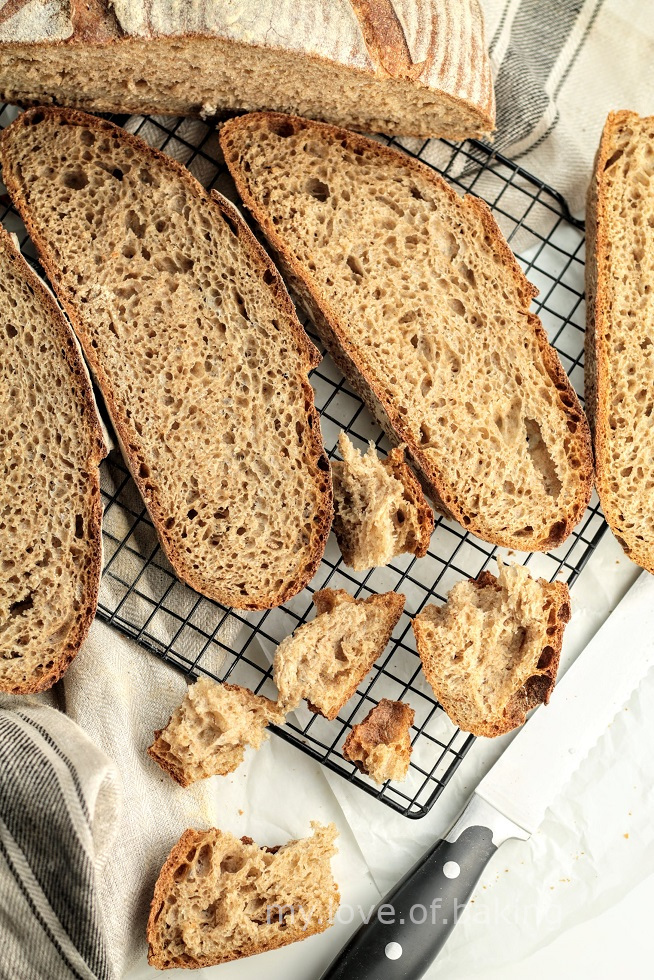
First on to the tips:
If the whole wheat percentage in the recipe, is anywhere between 100% - 80%, these tips can help you get strength in the crumb and thus help trap air while proofing, which in-turn will help the bread to expand in the oven with ease.
Key is to develop more gluten and to strengthen that gluten as much as possible so we get that nice airy crumb.
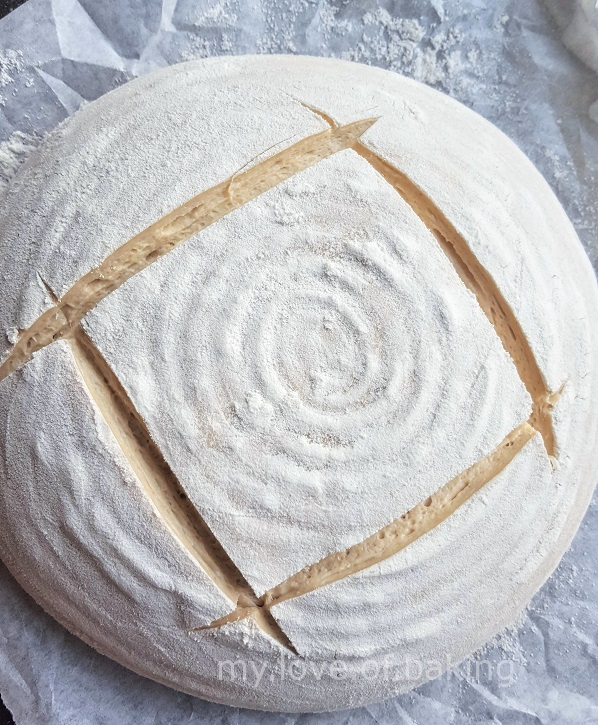
It is always a good idea to add something glutenous to the recipe in addition to the above steps. even a 10% of white flour makes a big difference in strengthening the crumb, without affecting the taste and texture of the whole wheat bread.
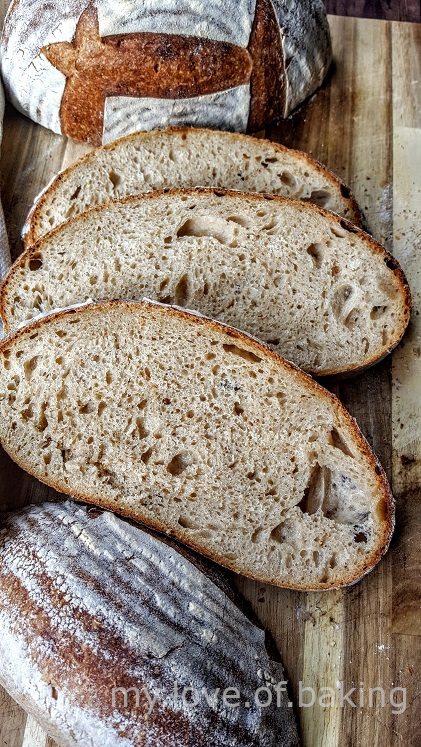
I find adding the following help give more body to the bread
I love to experiment with adding these extras to breads and there can be several other great ways to make your whole wheat loaf a success. I am still in the process of finding possibilities and feel free to comment if you know a way to achieve this or simply share your tips and tricks!
Following is a whole wheat recipes I bake often.
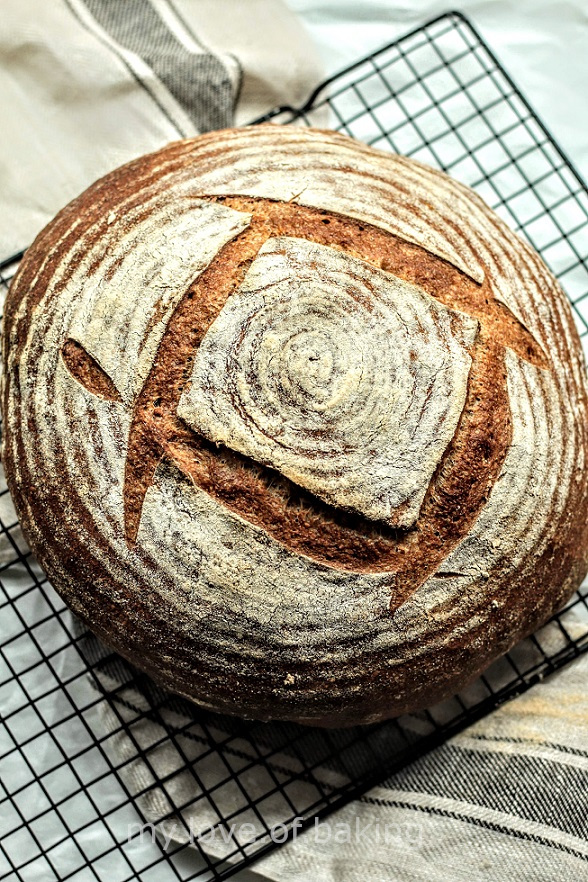
Another one of my favorite whole wheat recipes is the 90% whole wheat one with 90% hydration. For this simply use 200 g whole white wheat flour, 200 g whole red wheat flour, 100 g of white bread flour. Use the same amount of oil, salt and starter weights as above. Use 400 g of water and autolyze the dough for two hours.
Following photo shows how the bread looks followed by the crumb shot. Incredibly soft crumb for a whole wheat loaf. The crumb is very gelatinous due to the higher water percentage and this stays fresh for longer.
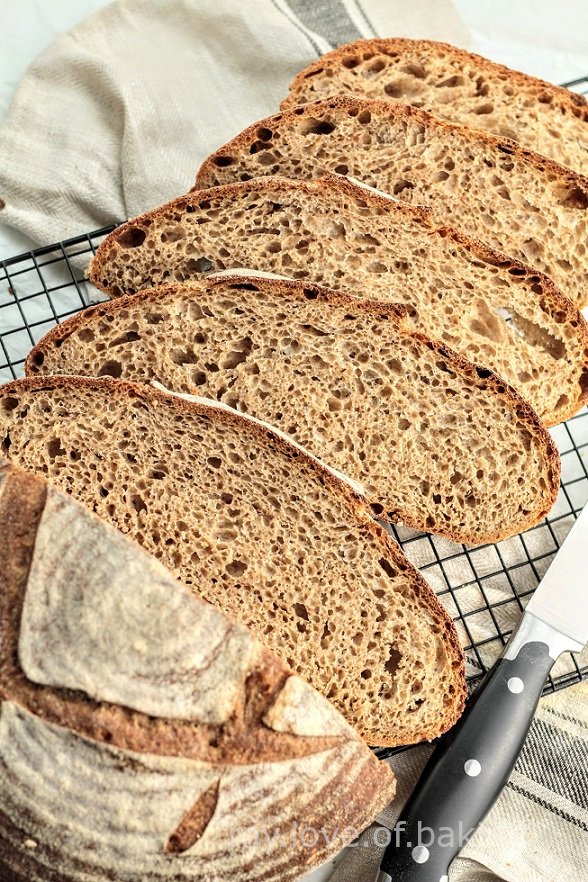
Whole wheat sourdough bread
Ingredients
Method
- 1
To make the starter (at least 6 hours prior to making bread/preferably previous night)
- 2
Use a clean jar
- 3
mix flour and water until it resembles porridge. Add the culture, mix well again and loosely cover
- 4
set aside in a warm place until ready or about 3 hours.
- 5
For the bread
- 6
In a large plastic container weigh the flours.
- 7
In a separate container weigh the water and oil.
- 8
- 9
Add wet ingredients into the flour mix. Incorporate well.
- 10
Let it sit for about an hour/two.
- 11
Then add the salt and starter and mix until combined and knead for about a minute of two and let rest for 10 minutes
- 12
Then give another kneading for about 5 minutes. Kneading should involve stretching and folding action. With every stretch and pull, you are making the gluten stronger.
- 13
Leave aside for another 10 minutes
- 14
Repeat this process three more times
- 15
You would notice the dough changes every time. It will become less sticky and much easier to work with. You will also notice it is a lot more "elasticy" now.
- 16
At this point its ready for bulk fermentation.
- 17
Cover the container and place in a warm draft free place. I usually use my oven (turned off of-course :D) for this. Place a cup of steaming water in the oven to make the environment warm and moist. Or your can use a big plastic tub with lid on or even one of your kitchen cupboards.
- 18
After 45 minutes, we will give the sough a fold. So take the container out. With wet hands, stretch and fold and tuck the dough from all four sides like you are wrapping something with it. The idea is to strengthen the gluten even more. Then leave it just as before for another 45 minutes.
- 19
Repeat the folding twice more and now its time for the final bulk fermentation
- 20
This will depend on your starter activity, room temperature, humidity. So check your dough every 30 minutes. What we are looking for is the dough to have bulked in side and possibly with some few visible air pockets. Usually it will be ready in about 1.5 hours to 2 hours
- 21
Its time to shape the loaf now.
- 22
Remove the dough on to a lightly dusted surface. Fold it to make a big dough ball. This will be bouncy. This folding and shaping will remove some air but not all of it.
- 23
Leave it covered for about 10 minutes to relax.
- 24
Then it is ready for the final shaping. Follow some videos to learn how to do the final shaping. Punch some air out first, then stretch and fold to center to make a cob shape which is the easiest.
- 25
Place in a proofing basket or in any container. Make sure to lay a flour dusted tea towel or flour the basket well.
- 26
Cover it completely and place in the fridge. The bread will now go in to a slow prove/bloom overnight. It will be ready for the oven in the morning
- 27
On the following day,place the oven rack in the center and preheat the oven to 260 °C/ 500 °F.
- 28
If you have a pizza stone, a ceramic tile, cast iron skillet or a dutch oven, place it in while the oven heats up. Place another deep tray at the bottom most rack of the oven and fill it with boiling water. This will produce steam.
- 29
Check if your bread has risen. If you think it need some more time, you can pull it out and leave out for about half an hour or so. You can test this by gently poking the dough with a finger and if it springs back but not all the way back, it is ready.
- 30
Once the oven is hot enough, slash the bread and place it in the oven. Bake for 20 minutes. And then take the tray of water out, bring the oven temperature down to 230 °C/ 450 °F and bake for a further 20 minutes
- 31
Once the bread is done, remove it from the oven and let it cool on a wire rack.
- 32
Once the bread cools down, you can slice it with a serrated knife.
- 33
If you want to preserve, slice the loaf, store in an air tight container and freeze.
Never Miss a Recipe
Get new recipes straight to your inbox.



Comments
Loading comments…