Challah bread (Kosher)

This festive bread has always been (and always will be) my favorite bread to make ever since I baked my first back in 2020. I spent quite a bit of time reading and learning about the cultural and other religious facts surrounding Challah bread and I always encourage anyone who landed on this blog post to do the same. Following are direct extracts from Wikipedia for your reference.
Challah is a special bread in Jewish cuisine, usually braided and typically eaten on ceremonial occasions such as Shabbat and major Jewish holidays (other than Passover).
Ritually acceptable challah is made of dough from which a small portion has been set aside as an offering. Challah may also refer to the dough offering. The word is biblical in origin, meaning "loaf"
So, to stick with the standards, I keep my Challah kosher (no dairy or meat derivatives) always. I have a sourdough version already on the blog. It is a Cardamom scented Challah bread where I replace some of the water with coconut milk (plant milk).
This recipe is due to popular demand from those who wanted to use commercial yeast (instant dry east/active dry)instead of a sourdough culture/levain.Most of the steps are very similar to other yeasted bread except for the braiding which plays a crucial part in this bread.
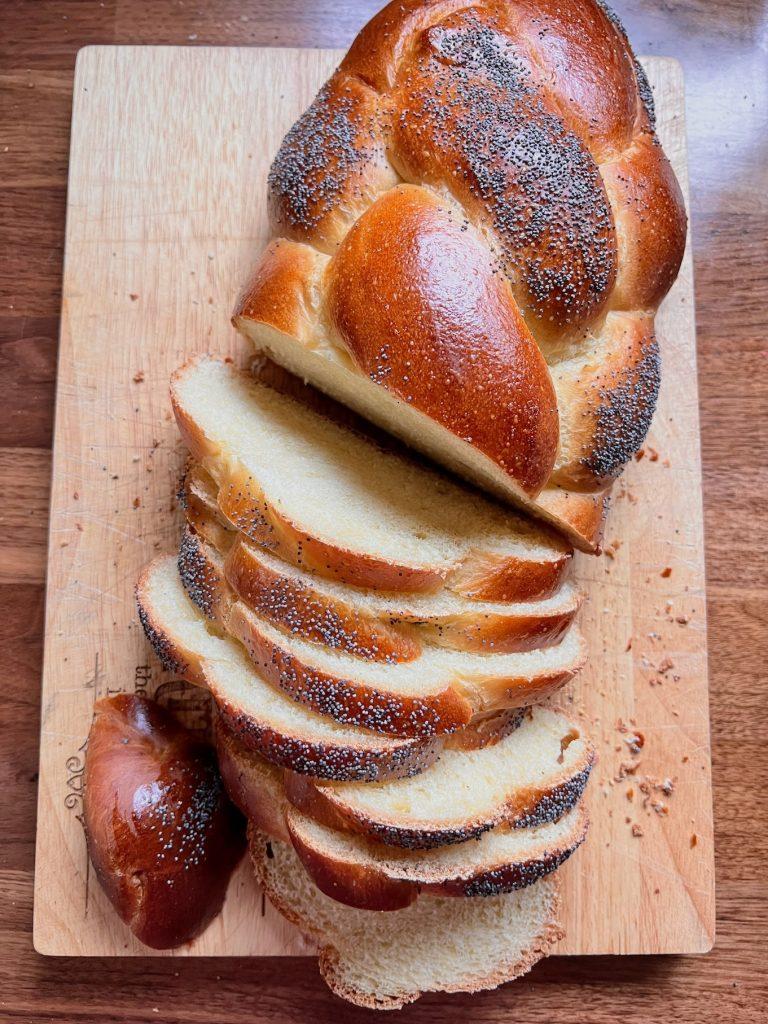
Braiding
Braiding can be tricky. My advice to anyone trying this very first time, go with the simpler patters first. Crown with four strands, Star with 5 strands or plaiting with 3 strand are some of the simple yet effective techniques. You can find videos on YouTube or just google away. You can also find my videos on instagram.
Once you master these simple techniques, graduate yourself to the next level. Try braiding with 4,5,6 or even 7. This might require some practice first. My advise: watch a video multiple times and then find ribbons or thick ropes. Tie the ropes at one end and start practicing. Alternatively, you can use a dead dough for this purpose. A dead/fake dough is a dough without the leavening agent and other enriching ingredients. So basically it is a dough made with just flour, water, salt and mixed to the 'play dough' consistency which is not meant for consumption. You can use this to practice braiding. You can reuse the dough as many times as you wish and dispose once done.
Let's jump right in and get started.
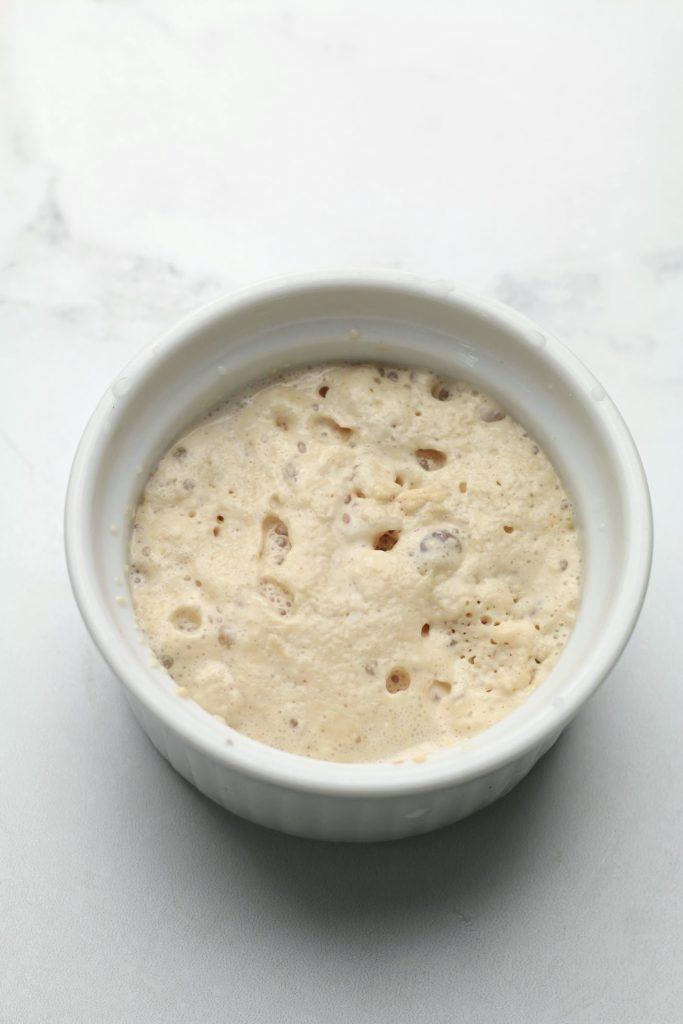
Bloom the yeast first. Use some water from the recipe to dissolve the yeast and add a pinch of sugar. After 5-10 minutes the yeast will look foamy and be ready.
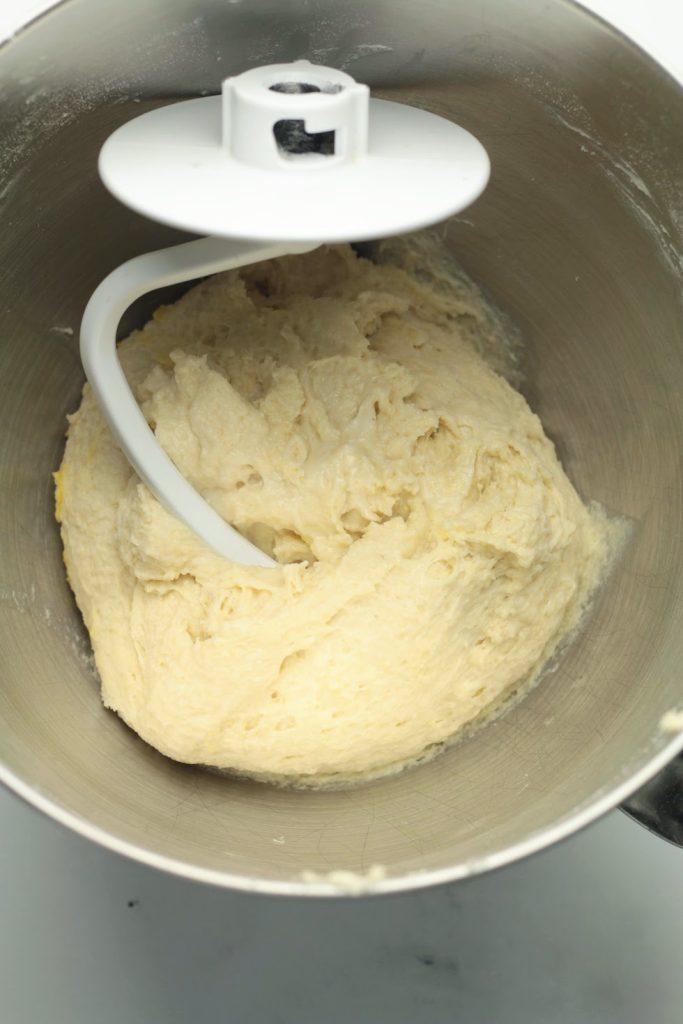
Mix everything using a paddle attachment on lowest speed. When all the flour is hydrated (after about a minute of mixing) change to dough hook.
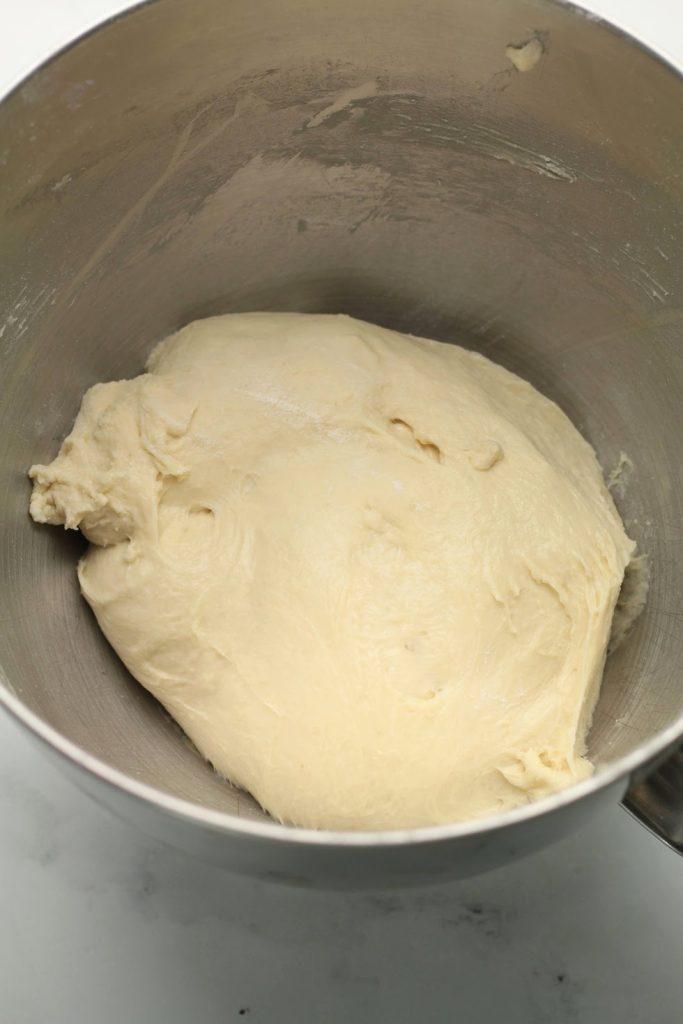
Knead for about 8-10 minutes at speed 2 (medium speed) until a smooth elastic dough is developed. Place the dough in a container, cover and leave in a warm place until doubled in size. (about 45 minutes to 1 hour)
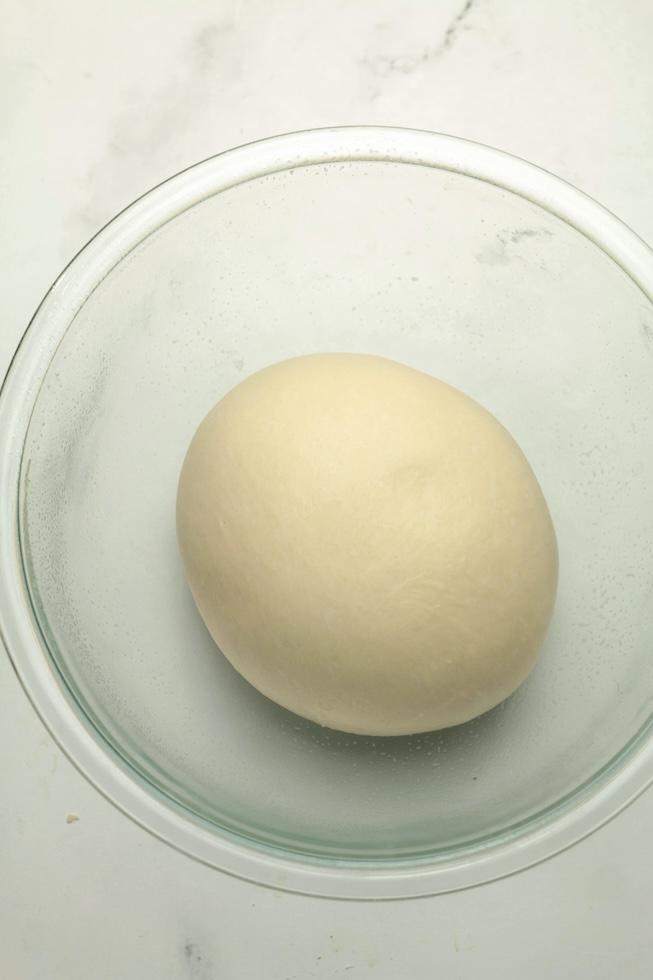
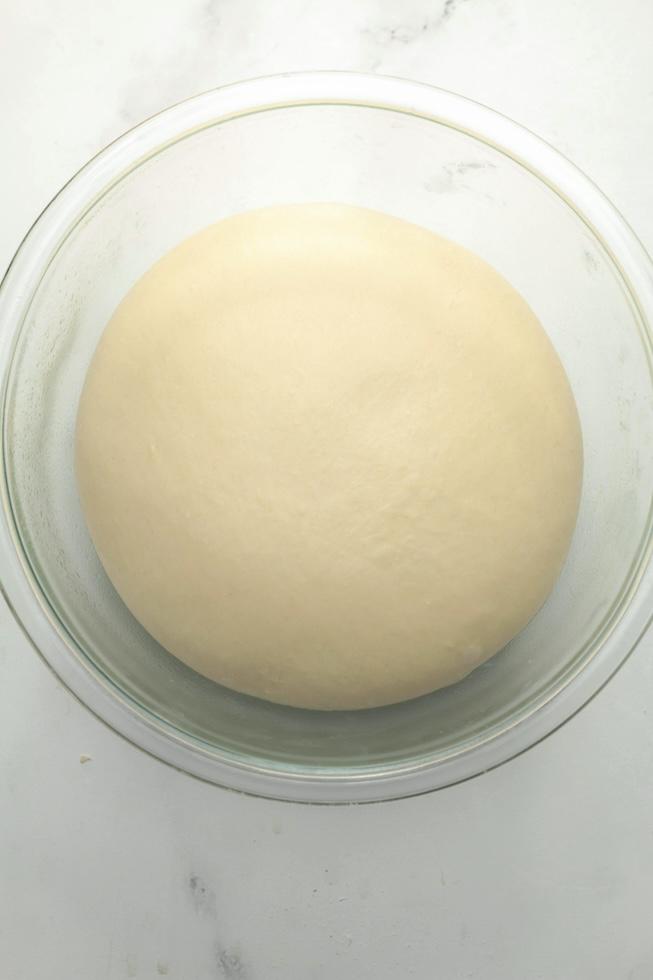
Degas the dough and divide the dough into equal pieces. (the number of pieces depends on your braiding pattern) Then shape each dough piece into long strands by rolling back and forth using your palms.
Tip: You can place your strands in the freezer for 10-15 minutes before you start braiding. This will stiffen or solidify the dough making it easier to work with. Also before you starts braiding, lightly dust the strands so that they won't stick to each other while braiding.
I will attach a video of a crown and a 5 strand braid.
This is simply a weaving of 4 strands. Once you reach the end, make sure to stick the strand end together and tuck them underneath.
Notice that my strands here are slightly tapered for the visual effects. You can also start from the center and continue outwards. Check this video
Variations
colored dough: Use food die or natural powders to color the dough. You have to add the color at the mixing stage. Divide the dough and color differently and then proof.
seeded: Once you shape the strands, simply dampen (or roll the strands on a wet towel) and roll on your preferred seeds. Sesame, poppy are some popular options. Then braid as usual.
Double strands: Another effective way to braid. Eg: you make 8 strands but do the 4 strand crown braid like shown in the image below.
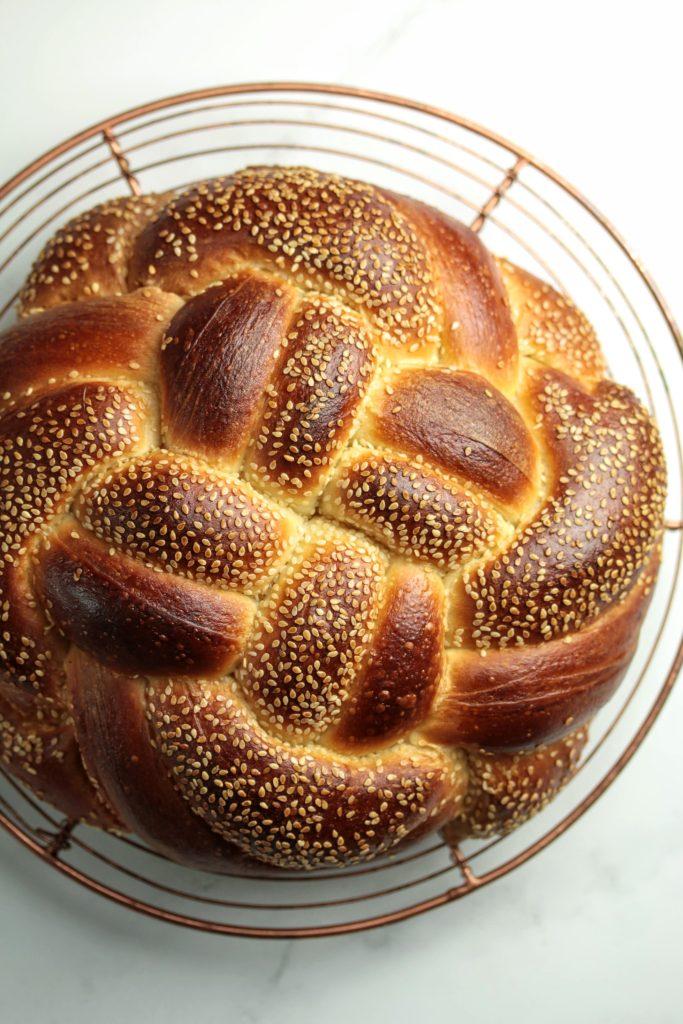
Once done with the braiding, place the loaf on a tray lined with parchment and leave in a warm place until doubled in size (proofed). This will take anywhere from 45 minutes to 1 hour. Do the poke test to make sure the bread is proofed. Preheat the oven to 375 °F. Once proofed, egg wash and bake for 35-40 minutes or until golden brown. (internal temperature 180–190°F)
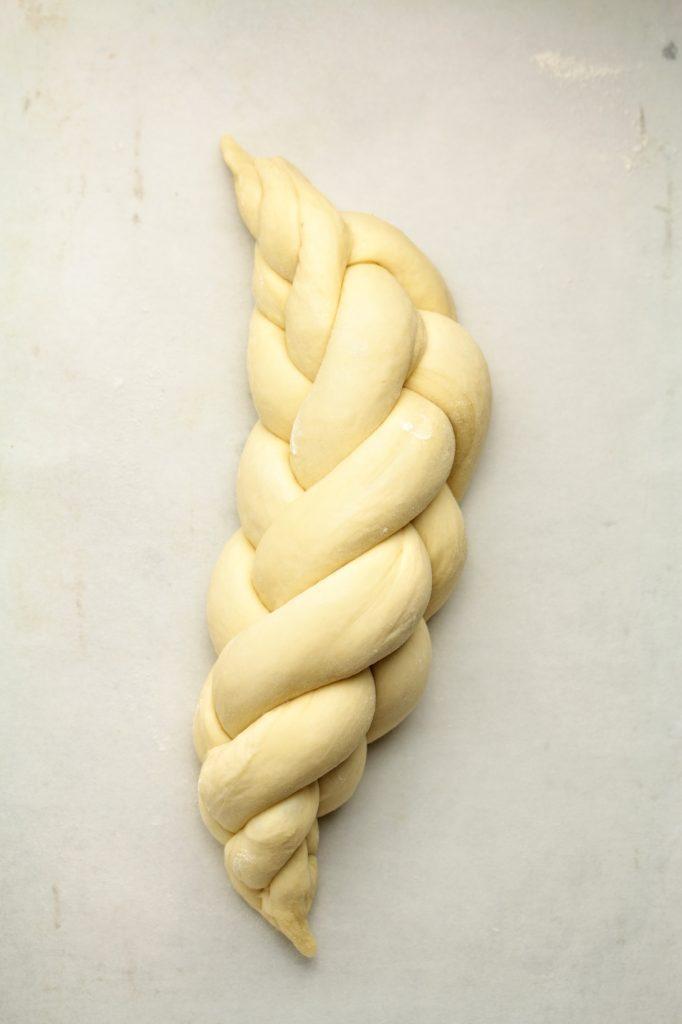
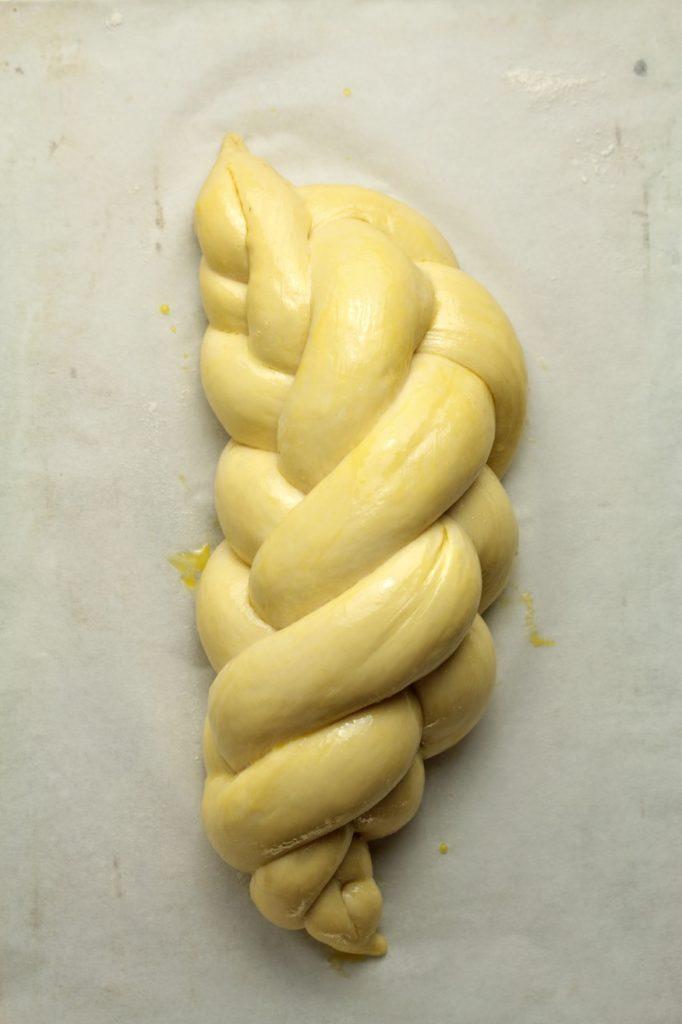
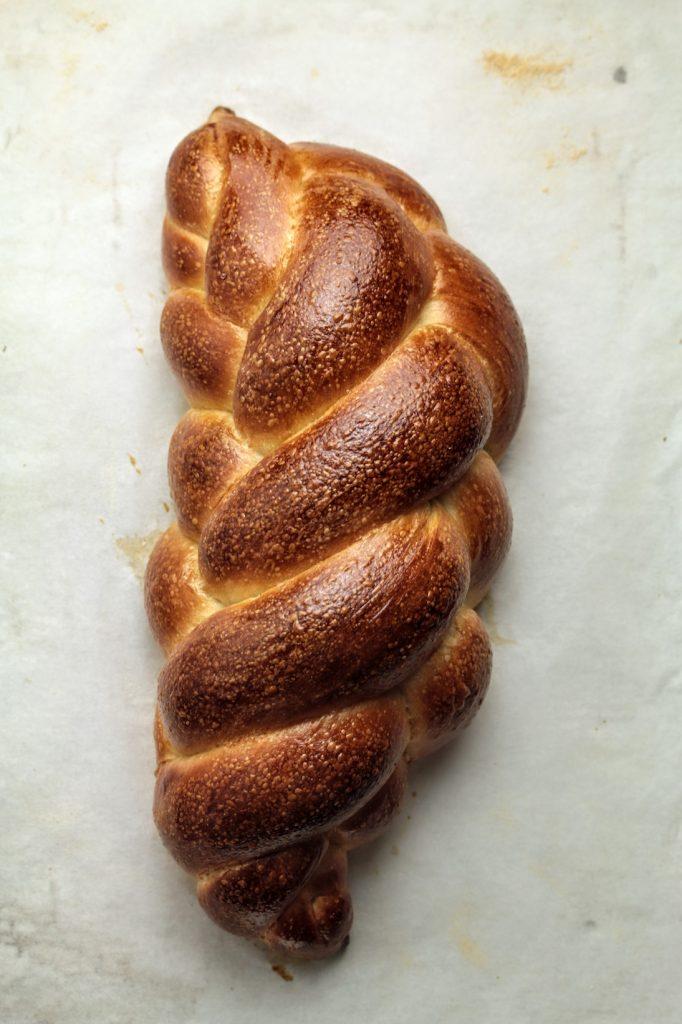
Under proofing
Under proofing is one very common issue that could ruin the design while baking. When the dough is under proofed, it might expand dramatically and unevenly in the oven which could result in teared and disfigured braid. "Poke test" is a good technique to tell if a dough is perfectly proofed. Gently press the dough with a finger and then observe. If the dough springs back slowly and not all the way, it is proofed. If it springs back quickly then the dough is under proofed. If the didn't spring back at all, then your dough is over proofed and it may soon start to deflate. Over proofed dough can still be baked, but try to not go there.
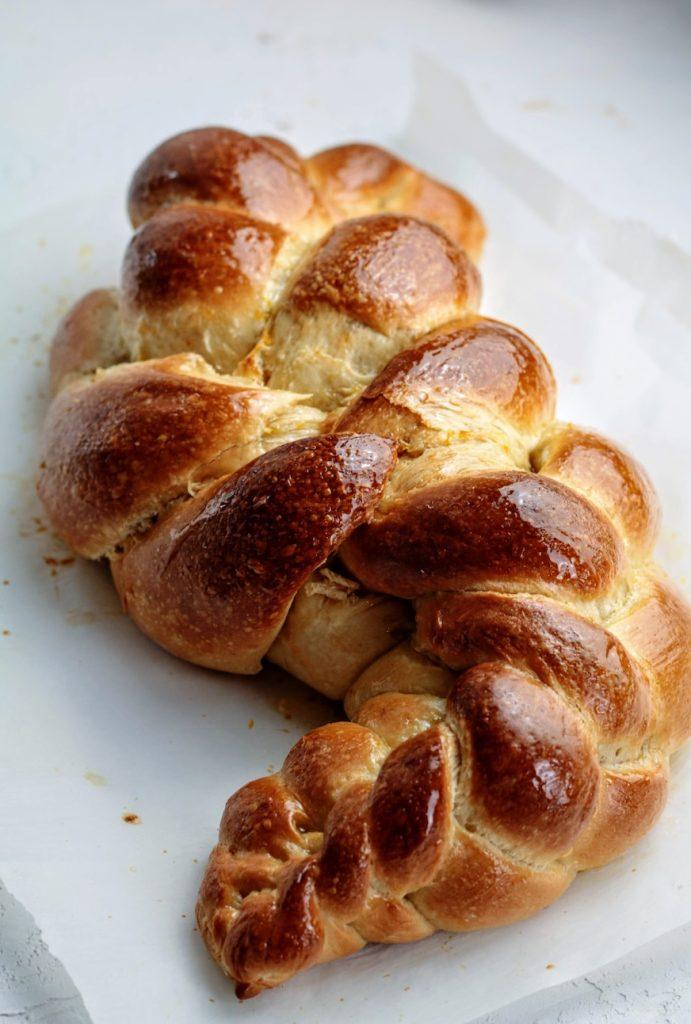
Under proofed dough could disfigure your braid
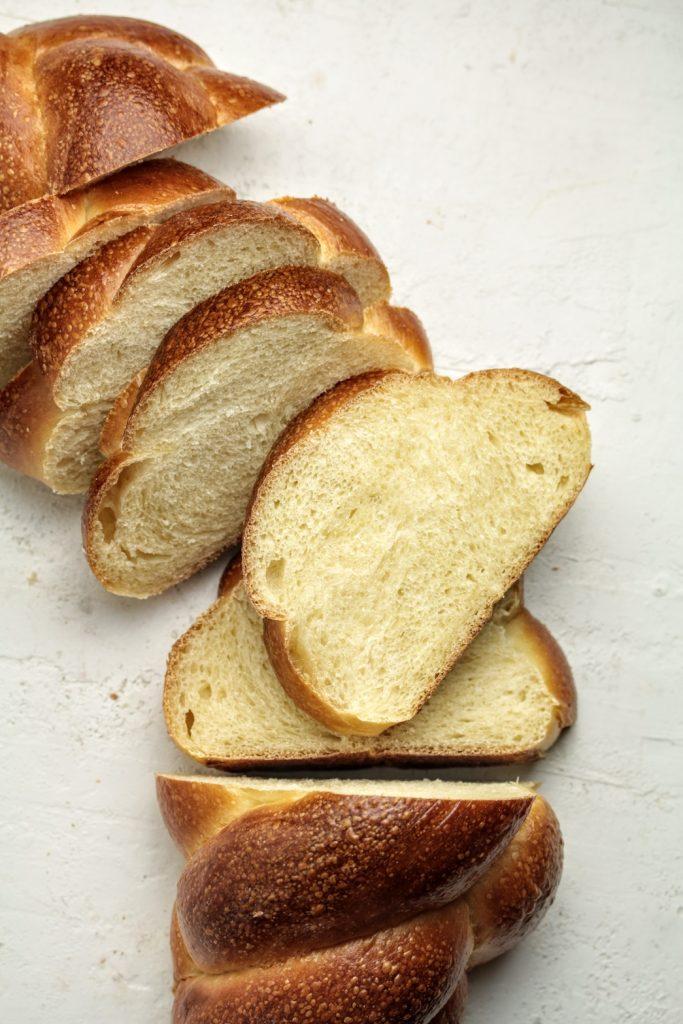
Leave the bread to cool before slicing in with a serrated knife.
Challah bread (Kosher)
Ingredients
Method
- 1
Dissolve the yeast in 2 tablespoons of lukewarm water from the recipe and set aside for about 10 minutes, until bloomed (frothy)
- 2
Add the bloomed yeast, eggs, egg yolk (save the white), oil and half the water into the bowl of a stand mixer. Add the flour, salt and sugar in the same bowl
- 3
Using the paddle attachment, mix for about a minute gradually adding the rest of the water until everything comes together. If the mixture is too dry add a splash of more water. If the mixture is too wet, add a tablespoon or two of flour
- 4
Then switch to the dough hook and continue to mix until a smooth dough is developed or for about 8 minutes
- 5
Place the dough in a lightly greased bowl, cover and leave in a warm place until doubled in size or for about 30 - 45 minutes
- 6
Punch down the dough and divide into 4 or 5 equal parts depending on the braiding pattern. (e.g. 4 for a simple crown)
- 7
Shape each dough piece in to a ball and then roll out to form a long snake/log. You can decide on the diameter and the length depending on your design
- 8
Follow your favorite braiding pattern (check blog post for details and videos). Place on a lined baking tray. Cover and leave in a warm place until doubled in size (or for about 45 minutes)
- 9
Preheat the oven to 375 °F
- 10
To make the egg wash mix the egg white (you saved earlier) with a pinch of sugar. Alternatively you can use a beaten egg too
- 11
Once proofed, egg wash and sprinkle with sesame or poppy seeds and bake for about 30-40 minutes or until golden brown
- 12
Leave to cool on a wire rack before slicing
Notes
Yields: one 16” long braid or one 10”(diameter) crown
Never Miss a Recipe
Get new recipes straight to your inbox.


Comments
Loading comments…