Fluffiest Sourdough Focaccia

This Italian bread has gained a lot of attention lately on Instagram, specially because it is a nice empty canvas for you to be creative with toppings. I am sure most of you have seen the mesmerizing scenery some artistic bakers create on focaccia using a verity of vegetables and herbs. I'm not going to talk about "focaccia art" on this blog post though, as I'm the least artistic person you'll ever meet, but I will walk you through the steps to getting a perfect focaccia bread.
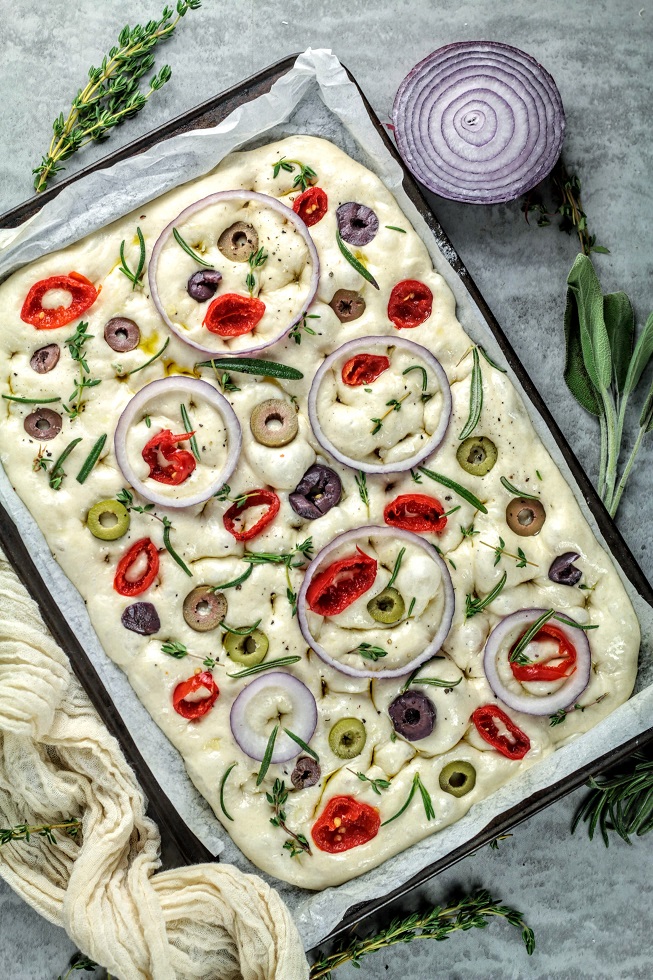
For all the inquiries about a recipe, I have been simply replying with simple steps you need to follow. But I realized, some may find it challenging, specially if you have not made a lot of bread, but want to go ahead with a focaccia. And I know, a lot of people wouldn't want to make bread at home, but they might still want to try focaccia and pizza.
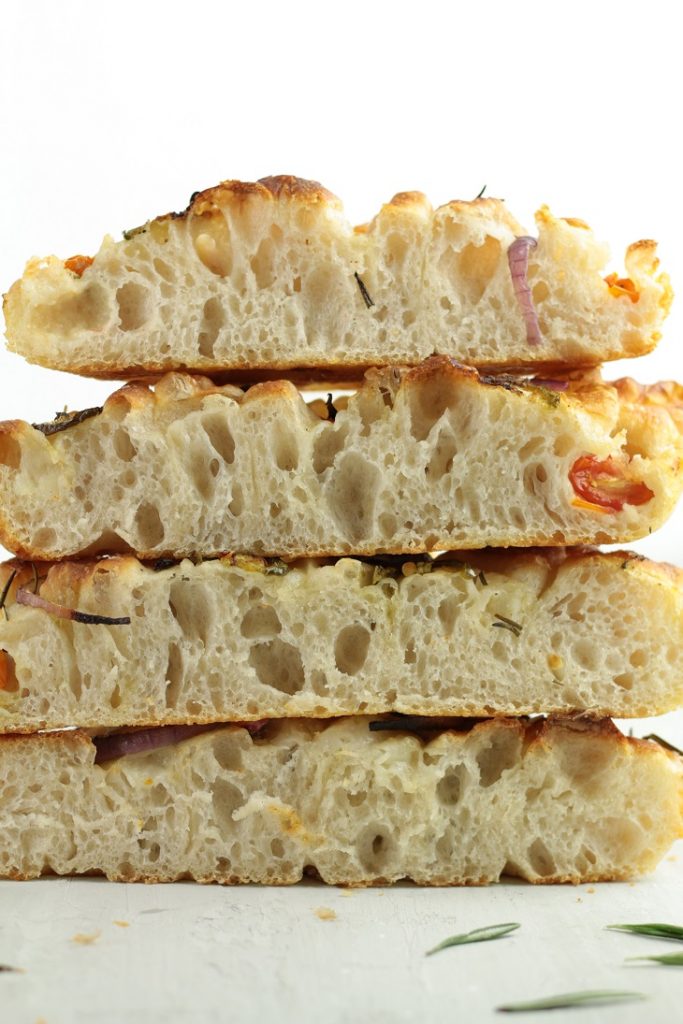
The process is very similar to my high hydration bread except that it is shaped differently and baked differently. So let's get to it!
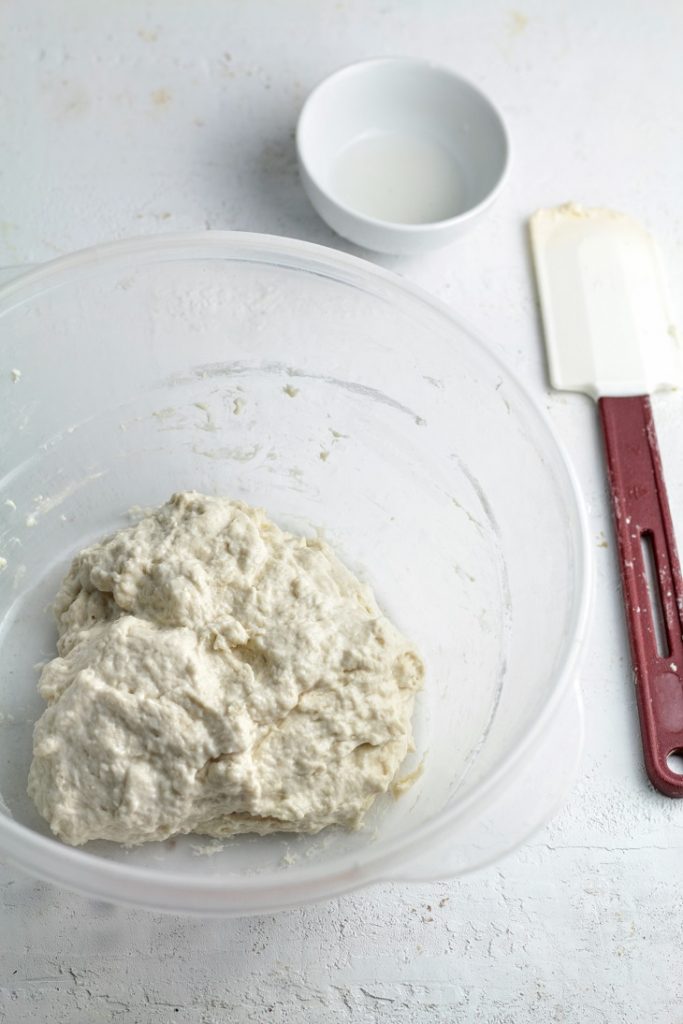
Mix water and starter together and stir until most of the starter is dissolved. Add the flour and mix just until everything is combined and all the flour is hydrated.
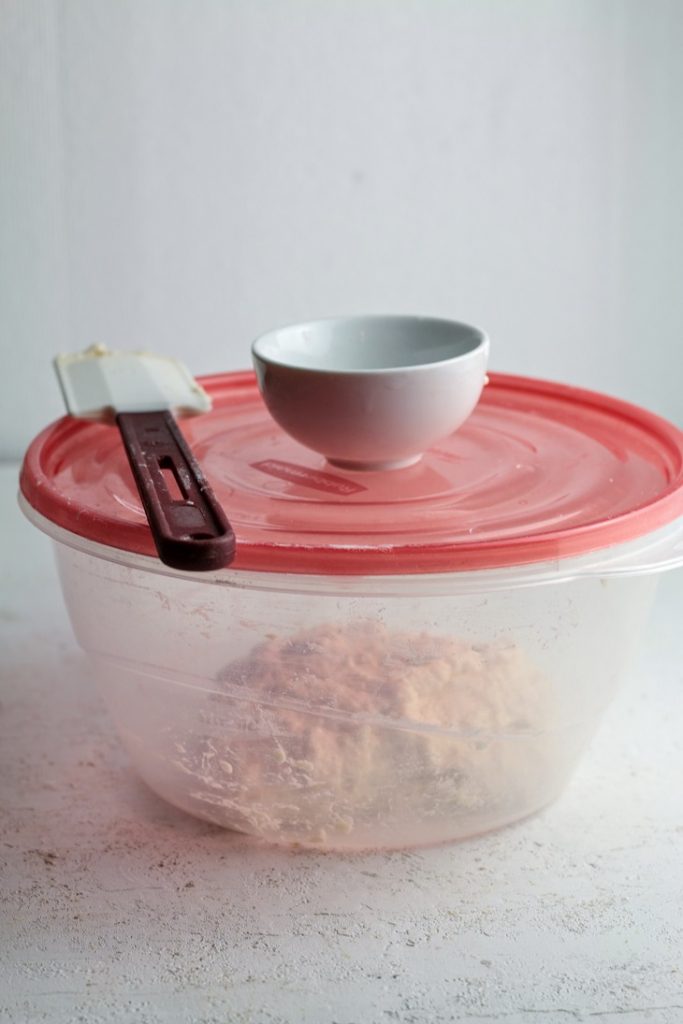
Close the container and leave to undisturbed for an hour.
Measure the salt and the 10g of water and set aside, so you won't forget.
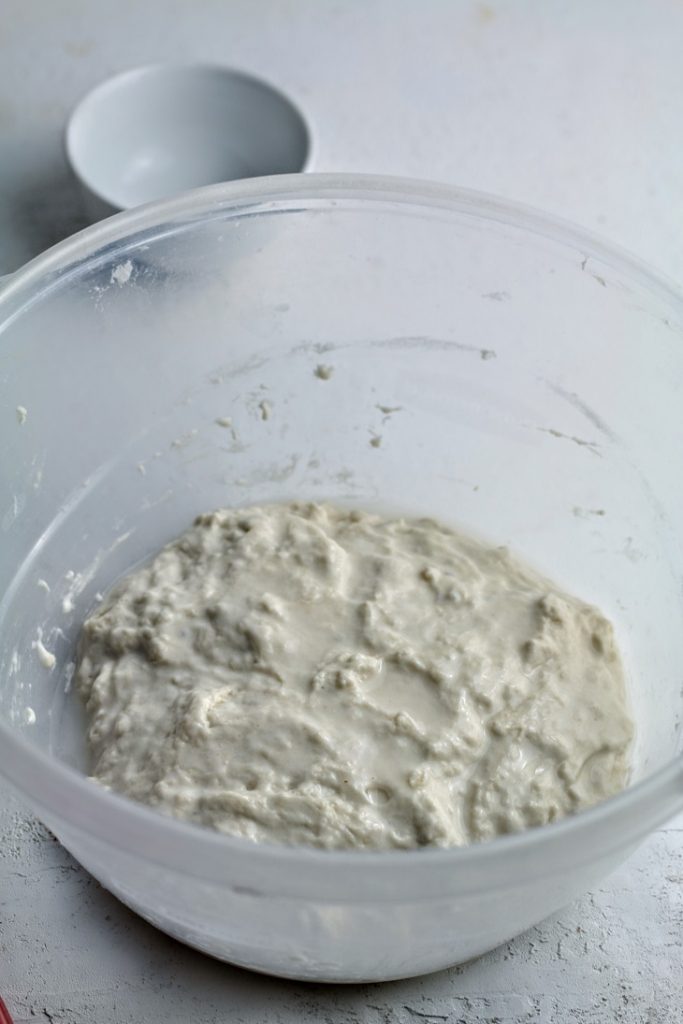
After an hour, add the salt water and massage the dough to incorporate. It will try to split and look slippery like the next picture
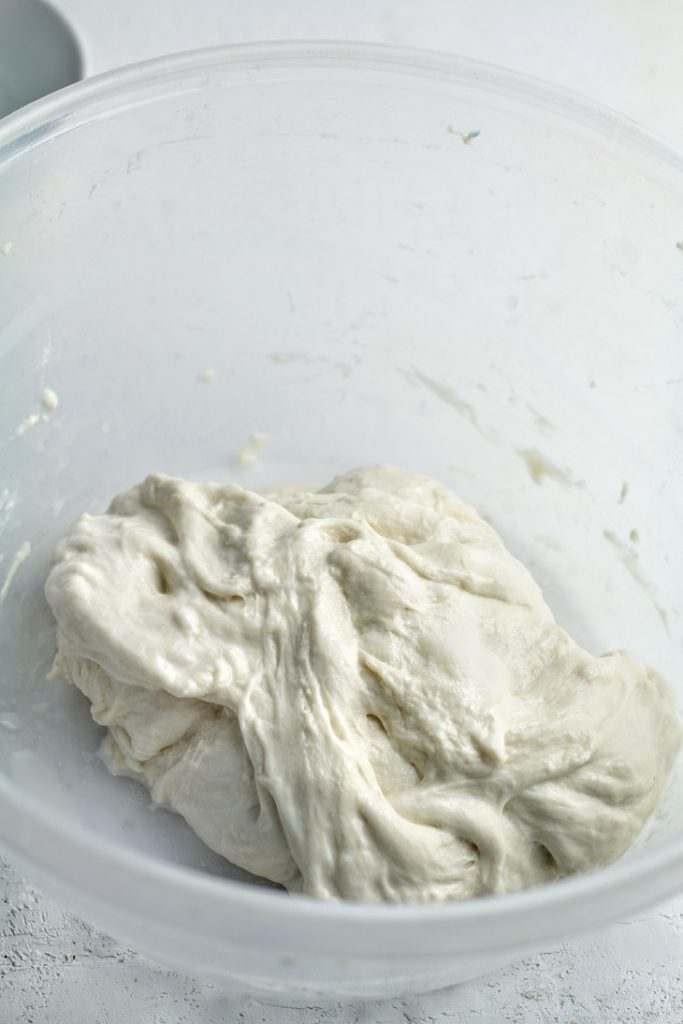
At this stage take it outside the container, on to the bench ( apply some water to the bench to stock sticking) and use slap and fold technique to bring the dough to a smooth one Do not over knead at this stage, just 30 second to 1 minute would do the job.
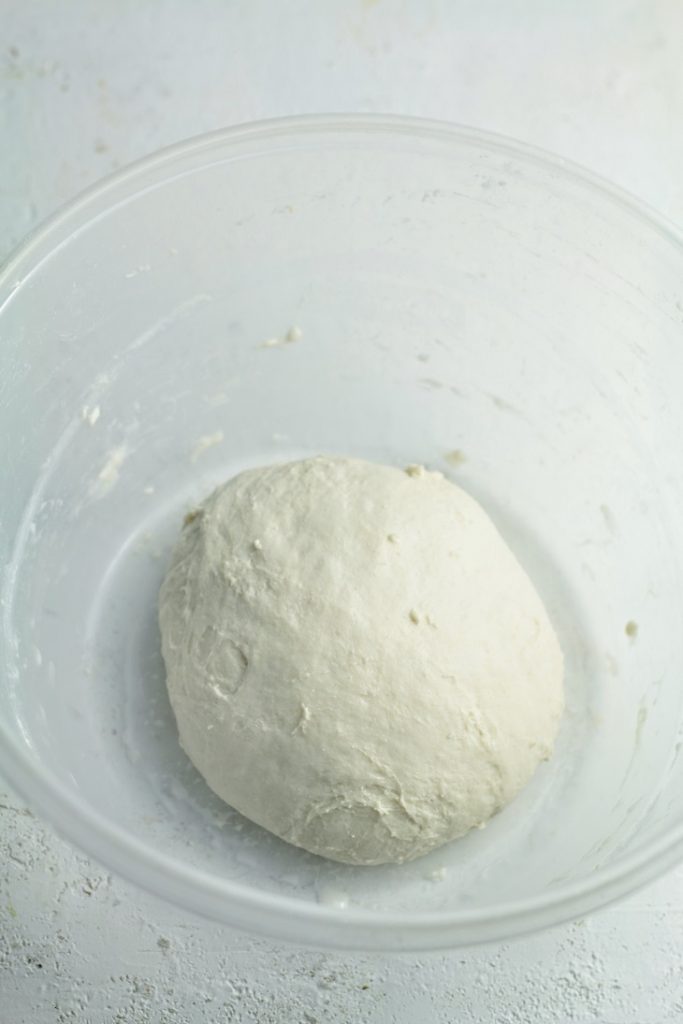
When the dough start to look smooth like this, stop kneading (slap and folding) and place back in the container, cover and let it rest for 45 minutes.
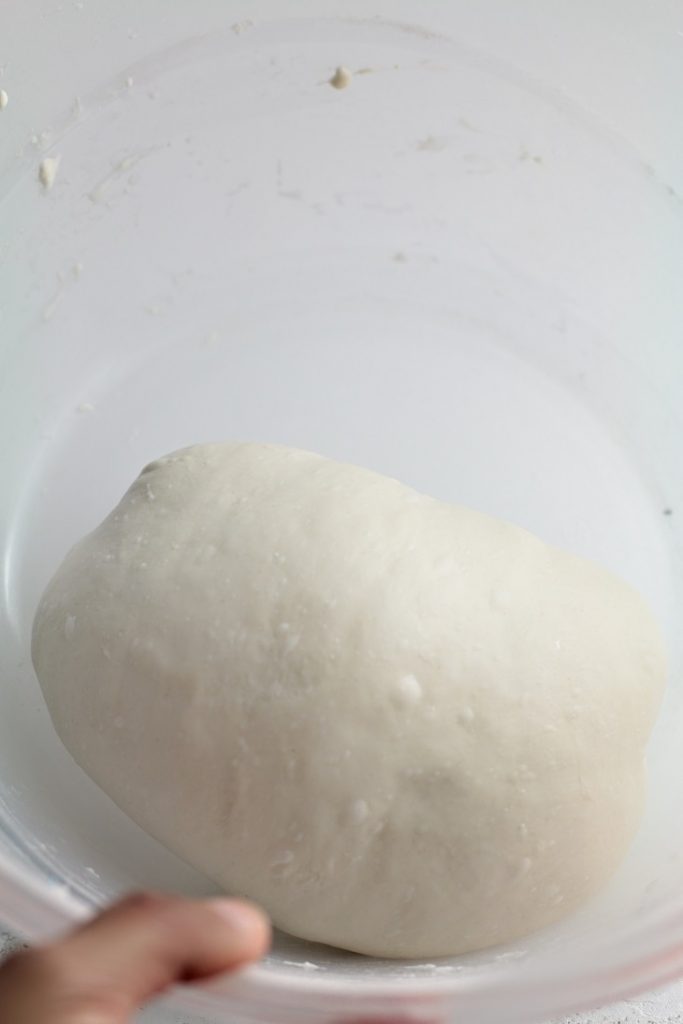
At 45 minute mark, give the dough few folds ( coil fold or stretch and folds) to tighten the dough. Once folded, the dough will look strong and elastic like in the picture.
Now cover again and let it rest for a further 45 minutes
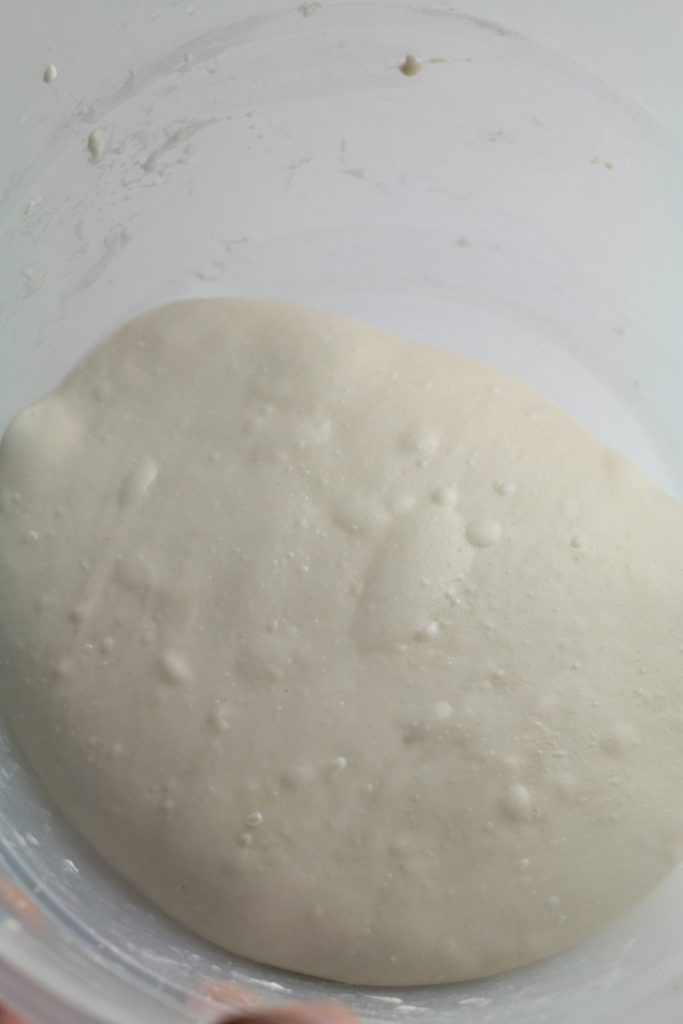
It will look like this after 45 minutes. Time to give another few coil folds
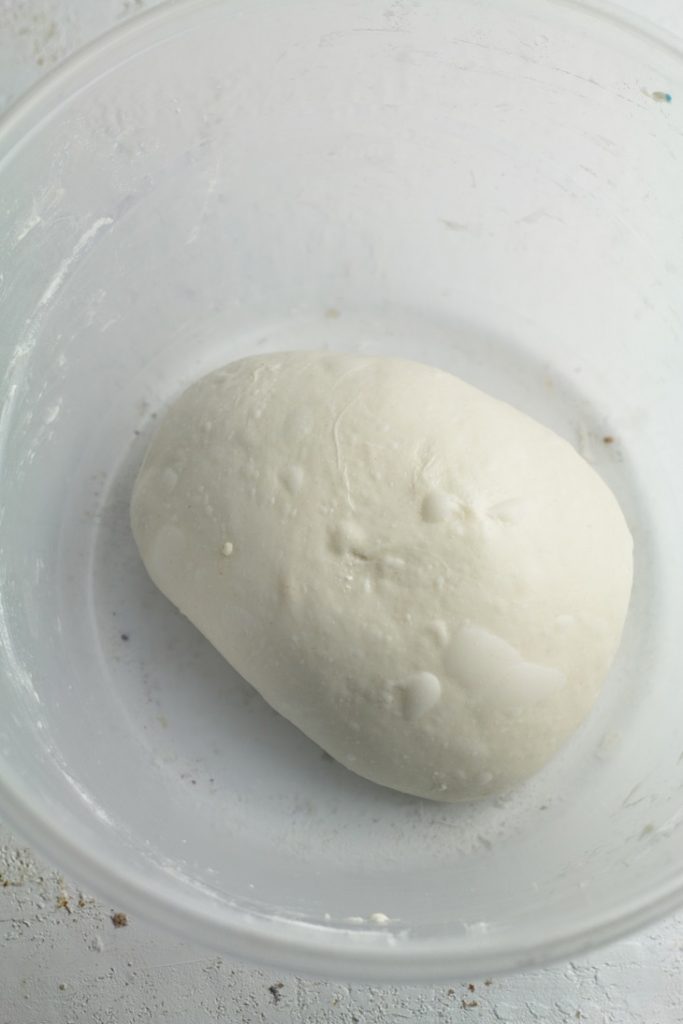
After the second fold, the dough will be much stronger and elastic. It is time for the retardation now Or what we call the slow proof. Cover tightly and refrigerate for several hours ( up to 24 hours)
This slow fermentation develops unique flavor and adds nutrients to the dough. If you don't want this, then you can continue to make the focaccia on the same day.
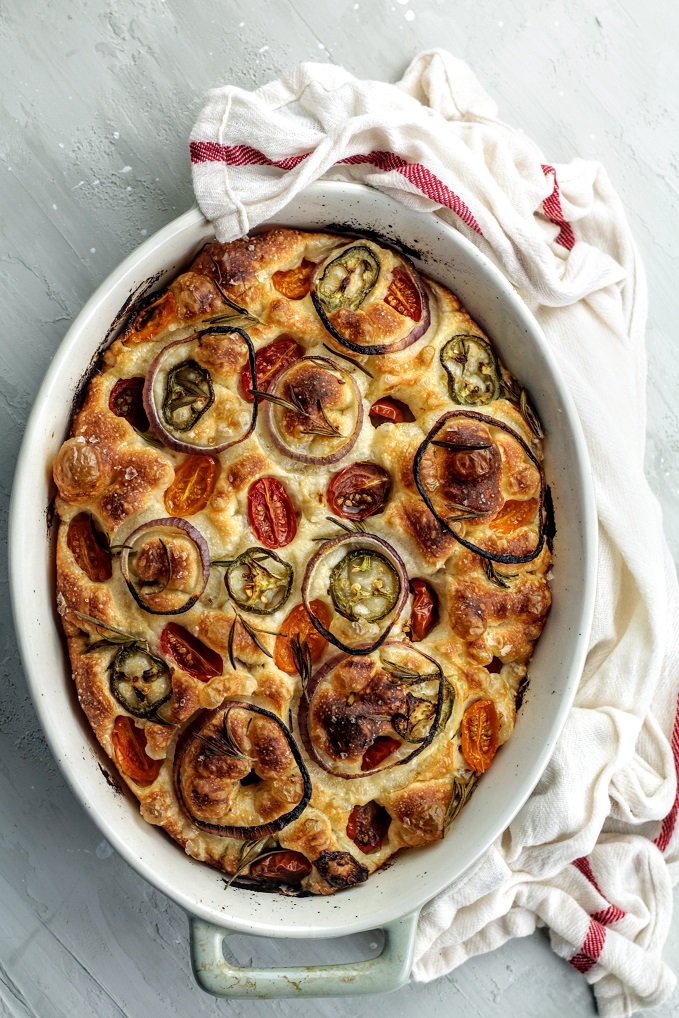
At this stage, cover and leave the dough for an hour - 2 hours in the room temperature to finish off the bulk fermentation. The dough will look plump and visible air bubbles(pockets). Now you can continue with pre-shaping, shaping, proofing and baking.
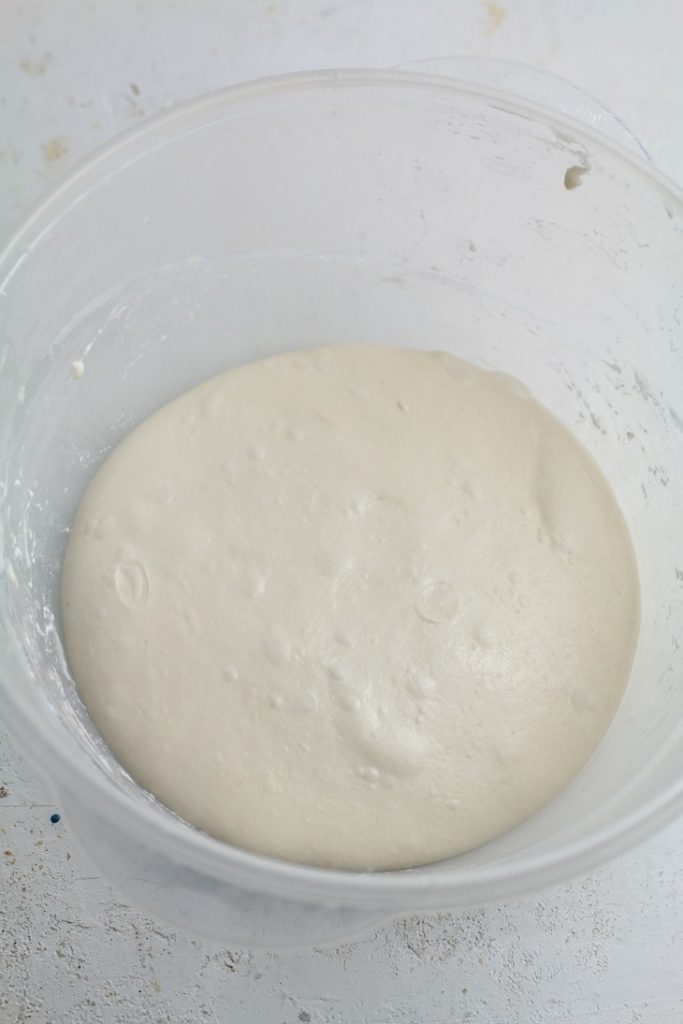
If you retard the dough, take it out of the fridge and let it come to room temperature ( 1 - 1.5 hours)
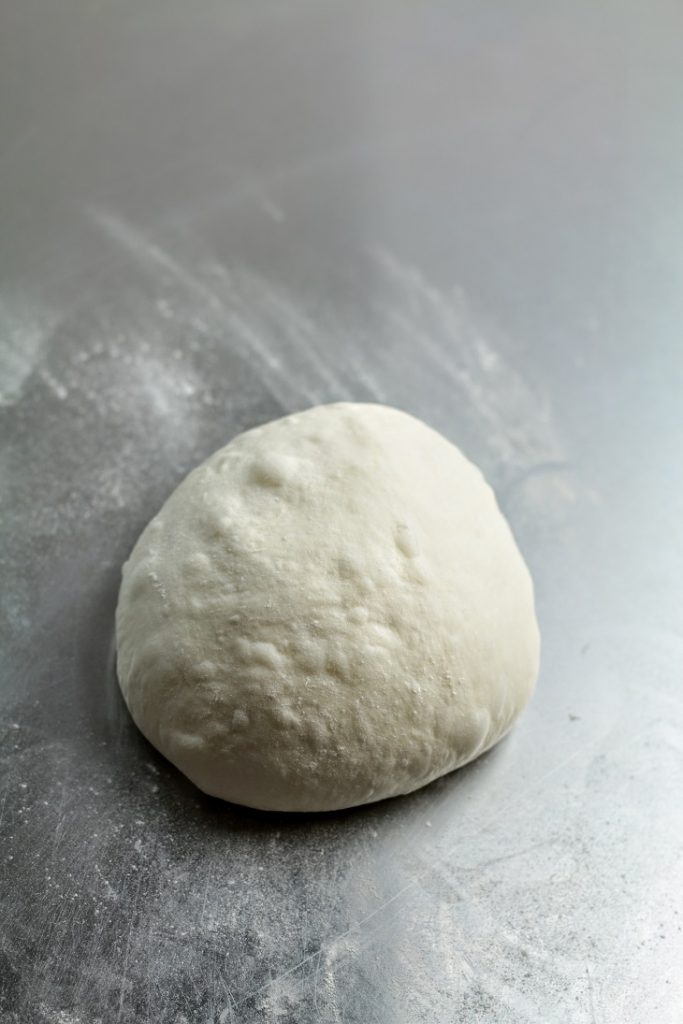
Pre-shapeBring the dough on to a floured surface, and pre-shape in to a tight ball. (use circular motion to round it up)
Cover loosely, and let it rest for 30 minutes.
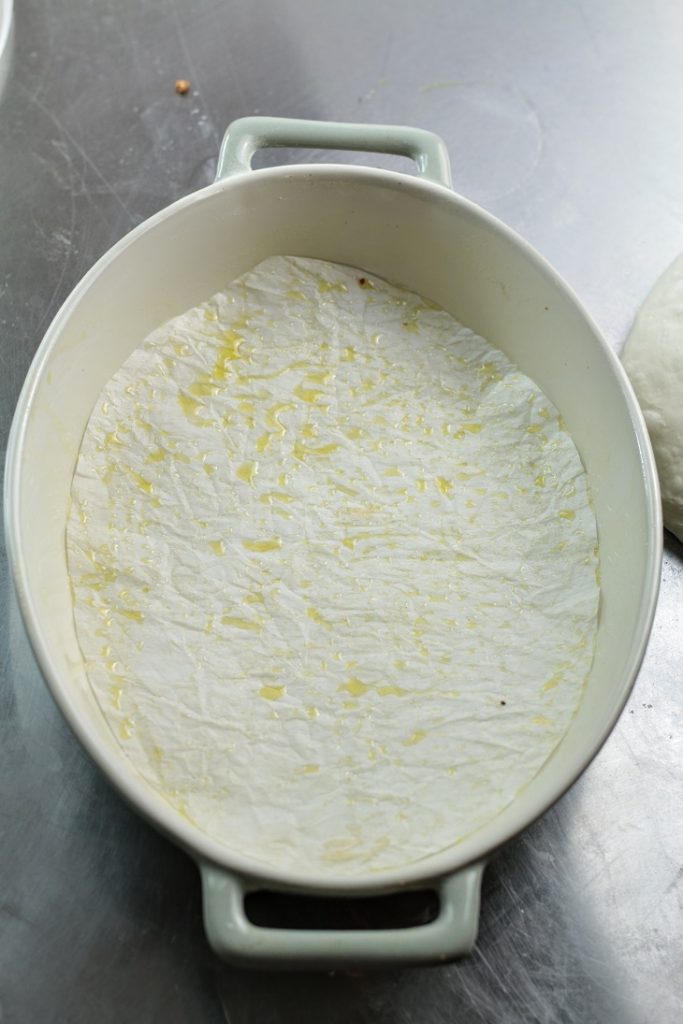
Prepare dishPrepare the baking dish/tin. Deep baking tray would be ideal. Make sure to grease the baking tray properly. You can use other baking dished but always use a parchment paper to cover the bottom. This makes it easier to lift off the baked focaccia and cleaning will be a lot easier too.
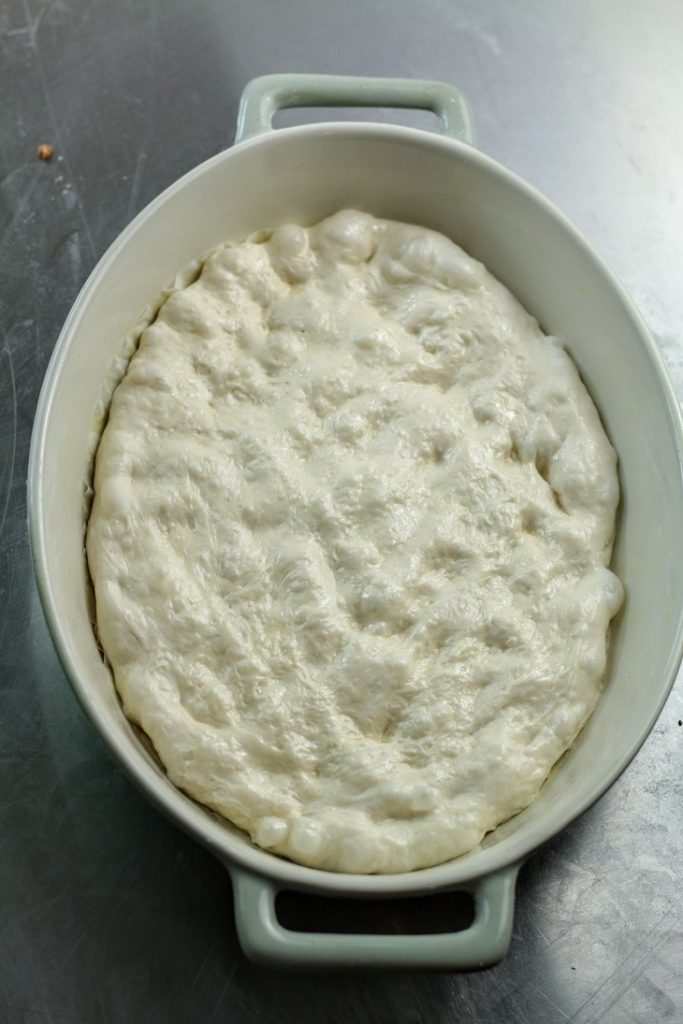
shaping the doughLift the rested dough with oiled hands and place on the baking tray/dish. Use well oiled fingers and palm to spread the dough as evenly as possible. Even thickness, results in an evenly baked focaccia.
Cover this with a clean kitchen towel and leave in a warm place to proof. May take anywhere from 2- 4 hours depending on the room temperature and your starter activity
proofingKeep checking your focaccia, and halfway through the proofing, start to preheat the oven.
You can tell if it is proofed, by looking at the dough. The indentations have disappeared and the dough looks plump and airy. There are several air pockets beneath the surface.
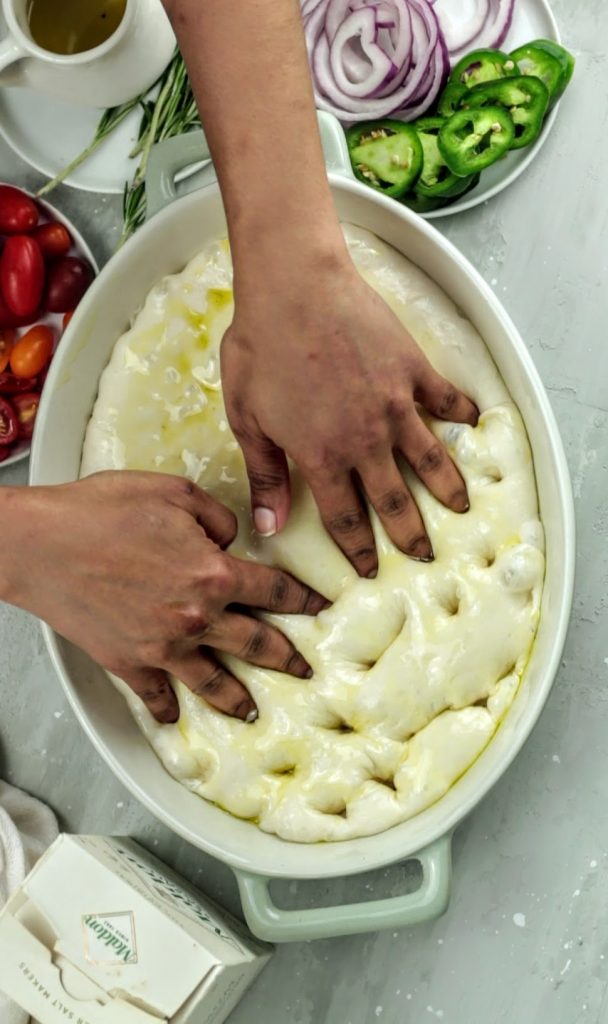
make sure to preheat the oven before you put the topping.
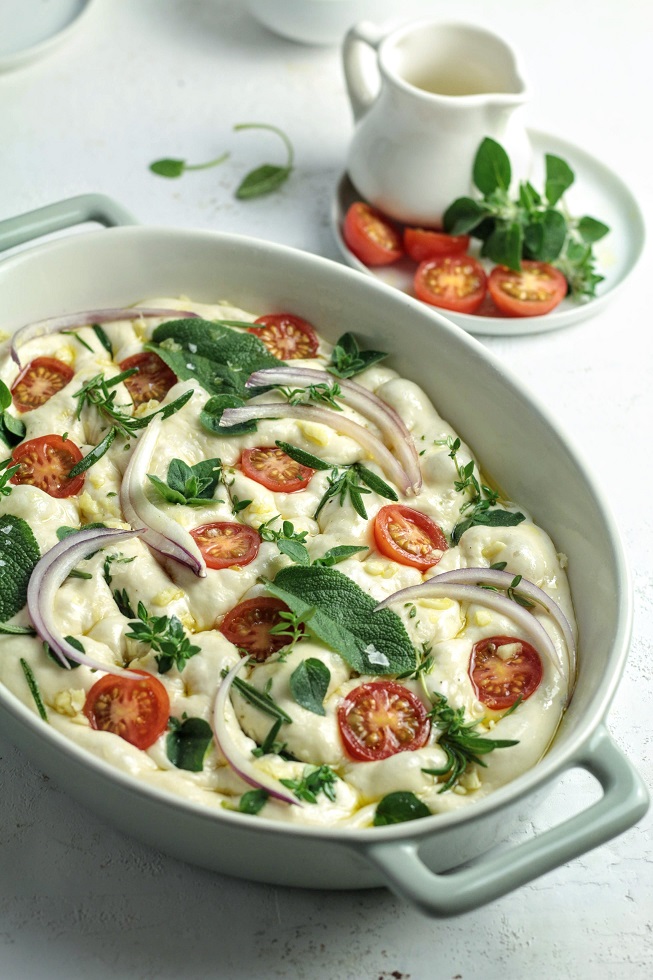
Drizzles the top with a generous amount of olive oil and with your fingers, dock the focaccia. Press your fingers deeply until they hit the bottom of the baking dish.
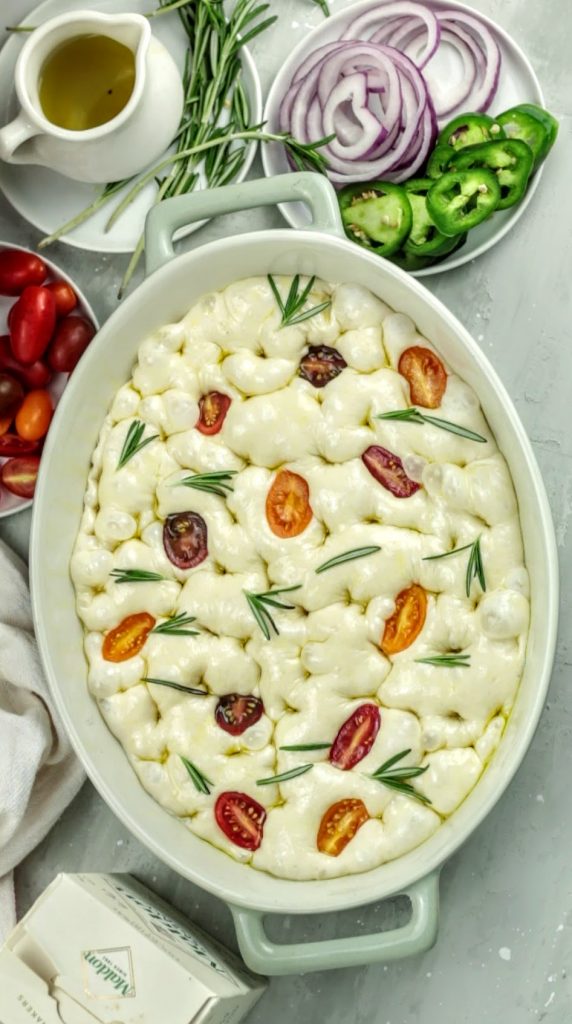
Use any topping you like to decorate the top, the toppings will bring flavor. You can go simple with just rosemary and tomato or load it with olives, peppers, onions etc.
make sure not to over crowd the top as it might prevent even baking and evaporating of moisture. Leave dough exposed here and there.
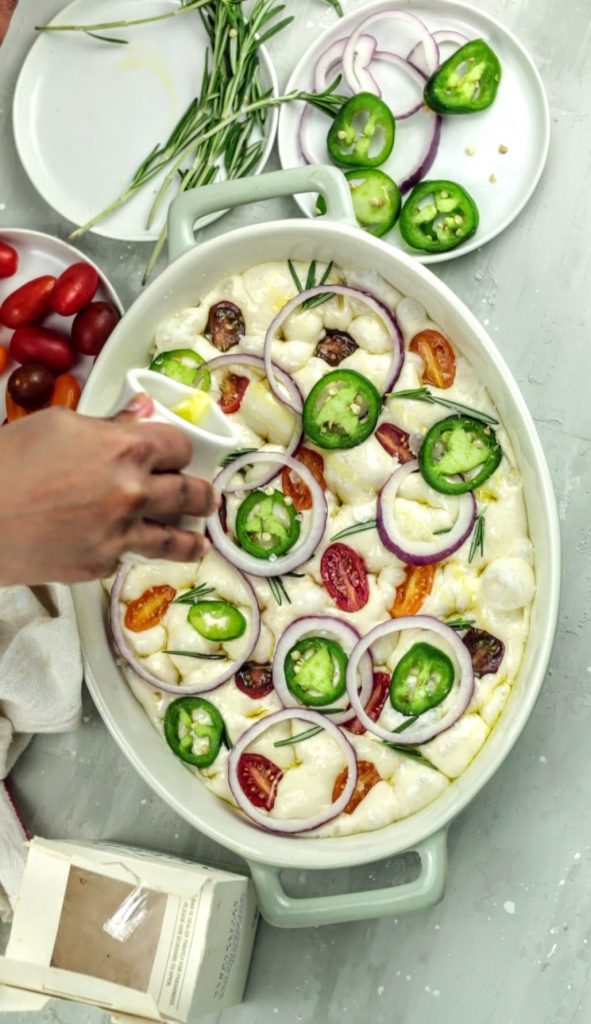
Once you are done with decorating the top, finish off with a good sprinkle of salt flakes and more olive oil.
Once done, place in the preheated oven and bake for 30 minutes and check for doneness. Reduce the temperature(400°F) if the top is browning too fast. Rotate the tray and give another 5 minutes if necessary.
Baking in a 9 by 13 pan (2X recipe)
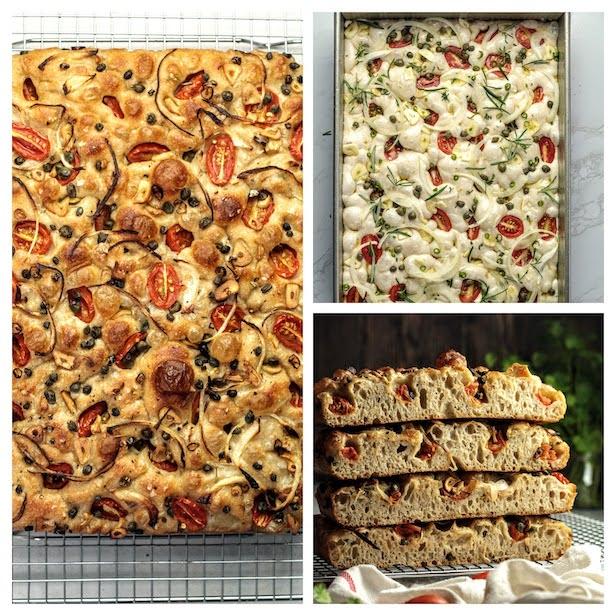
You can double the recipe to fit a 13 by 9 pan.
When baked in a deeper pan, you will a good height to the crumb. In the video attached below (from my YouTube channel) I use the doubled recipe.
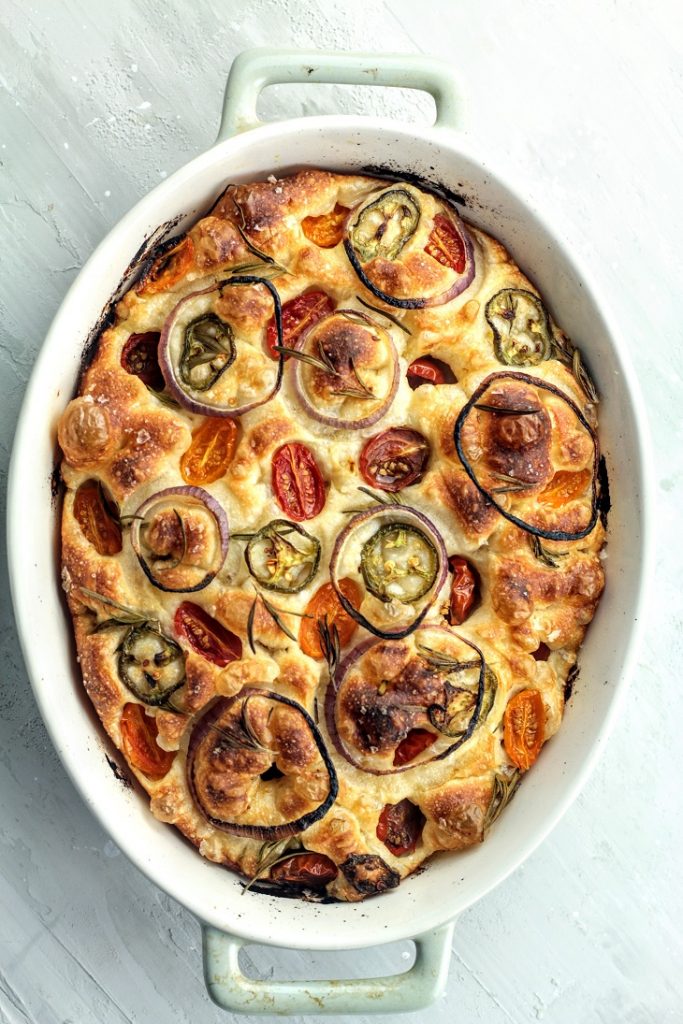
Let it cool slightly and lift off the focaccia and place on a wire rack. It should slide off easily. If the sides are stuck, release using a metal offset spatula
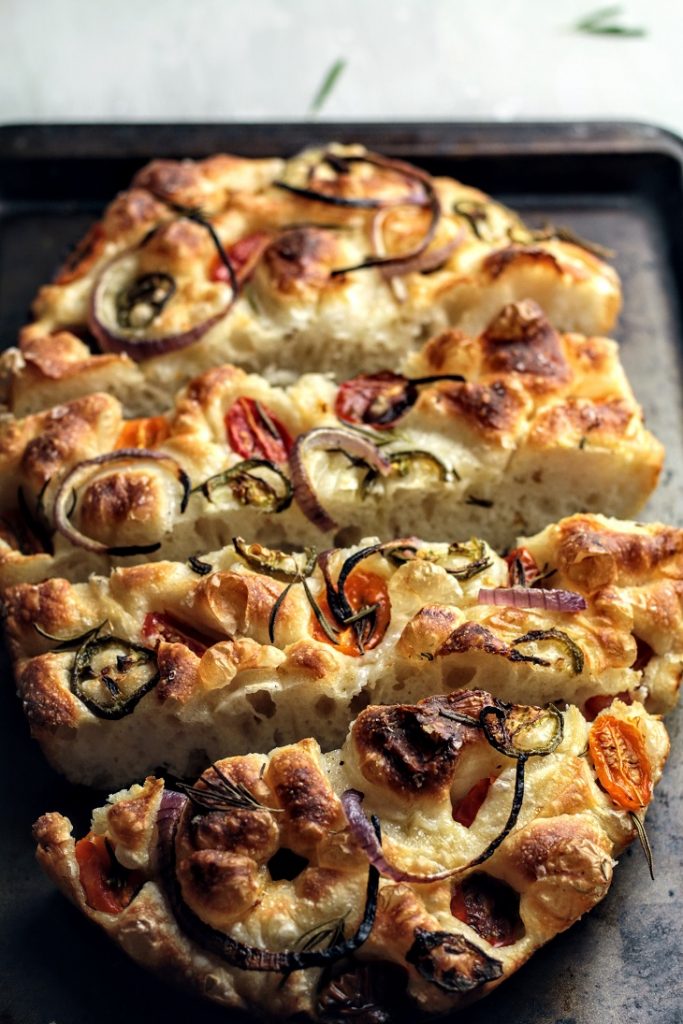
You can serve this warm as a whole or cut in to serving size pieces using a serrated knife.
Double the recipe to fit into a 13 by 9 pan as shown in the video below.
Shop the Ingredients

Fluffiest Sourdough Focaccia
Ingredients
Method
- 1
Mix 170 g water and starter in a large bowl and stir until stater dissolves
- 2
Then add flour and mix just until everything comes together
- 3
Cover and leave to rest for an hour
- 4
After one hour, mix salt + 10 g water and add it to the dough
- 5
Knead the dough to incorporate salt water and use slap and fold technique to bring the dough together to a smooth stage
- 6
Place back in the container, cover and let rest for 45 minutes
- 7
After the 45 minutes, give the dough a few coil folds ( 3 - 4)
- 8
Place back in the container and repeat folding after another 45 minutes
- 9
Once done place back in the container cover tightly and refrigerate for several hours (up to 24 hours)
- 10
If baking on the same day, cover and leave at room temp for another hour or two hours to finish off bulk fermentation. And continue from pre-shaping onward.
- 11
If your dough is retarded, take it out of the fridge and leave at room temperature for about an hour(or two hours) to thaw
- 12
Tip the dough on to a flours surface and pre-shape into a round tight dough ball
- 13
Cover and leave to rest for 30 minutes
- 14
Prepare the baking dish while the dough is resting
- 15
You can use any deep dish/tray/tin for this
- 16
Make sure to use a parchment to cover the base of the tray and grease all sides and the parchment with olive oil
- 17
After the 30 minutes, take the dough and spread the dough a little using well oiled fingers and palm
- 18
Place the dough in the baking dish and continue to spread until the baking dish is fully covered
- 19
Make sure to even out the dough thickness
- 20
Now cover the dish/tray with a clean kitchen towel and leave to proof
- 21
Proofing time could vary depending on the room temperature and your starter activity so always check to see if it has proofed
- 22
The dough will look plump with several air pockets once proofed. Usually takes about 3 - 4 hours
- 23
Halfway through to the proofing, preheat the oven to 425°F
- 24
Once the dough is proofed enough, drizzle with Olive oil generously
- 25
Using oiled fingers, dock the dough (make indentations, check the video attached below)
- 26
Decorate the top with your choice of toppings
- 27
Sprinkle with sea salt and drizzle more olive oil to finish off
- 28
Once done, place in the preheated oven and bake for about 30 minutes. If the top has browed too quickly, reduce the temperature to 400°F
- 29
Check towards the end and rotate the tray if necessary for an even bake
- 30
You can give another 5 - 10 minutes to achieve the desired color on top
- 31
Remove the baked focaccia from the oven and set it aside to cool
- 32
Once cool enough to touch, lift it off the baking dish/tray/pan and place on a wire rack
- 33
Serve warm with other condiments
Never Miss a Recipe
Get new recipes straight to your inbox.


Comments
Loading comments…