Sourdough doughnuts (Bomboloni)

That title may sound a little wired to some of you, but I can guarantee that the end results will always be yummy. Yes! it is possible to make your favorite doughnuts using natural yeast (sourdough process). No, they will not be sour.
If you have already mastered making sourdough bread, then this process will be familiar to you. But if this is your first time, worry not! I will walk you through the whole process guiding you every step of the way. I have recently updated the recipe and the pictures, so this is going to be even simpler.
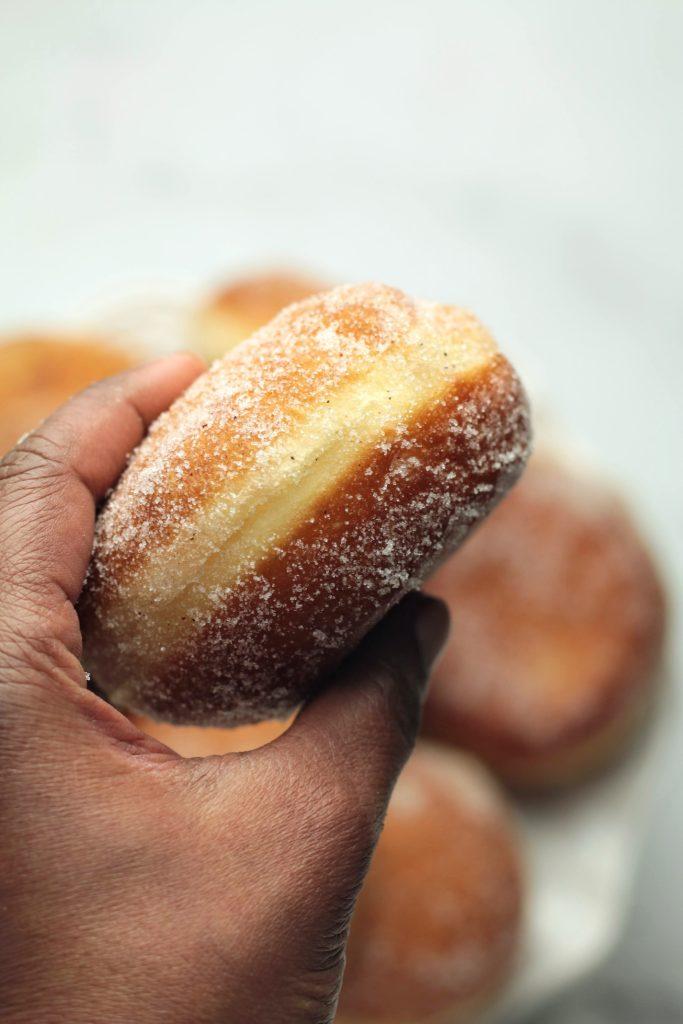
As a first step, we need to get the starter ready! So if you want to know more about the starter and how to get it ready, I have written a whole post dedicated to that single topic. I will be using a stiff starter (starter with less water, ratio of -> 1:5:10 starter:water:flour) for this new updated recipe. You can use your normal 100% hydrated starter too. In that case use 10-20g less milk.
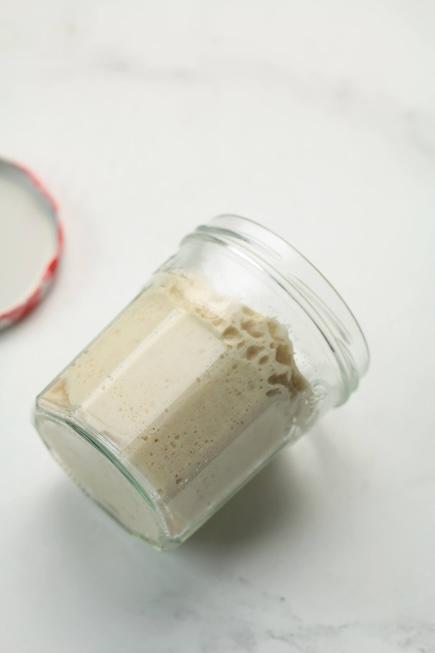
Make your stiff starter the night before. Mix some of the mature starter with water and flour, knead to a smooth dough, cover and leave on the counter. If the kitchen is too cold, find a warm spot or leave in the coven (switched off, of course)
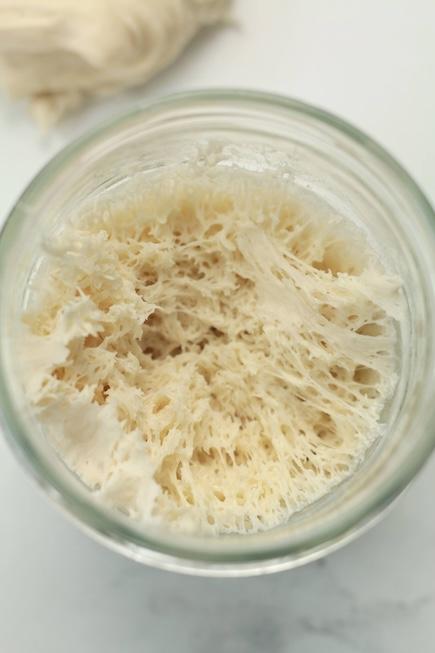
By the morning it will be ready! If it didn't puff up, that means your kitchen temperature is too low ( <60°F). If so leave it in a warm place until puffed up.
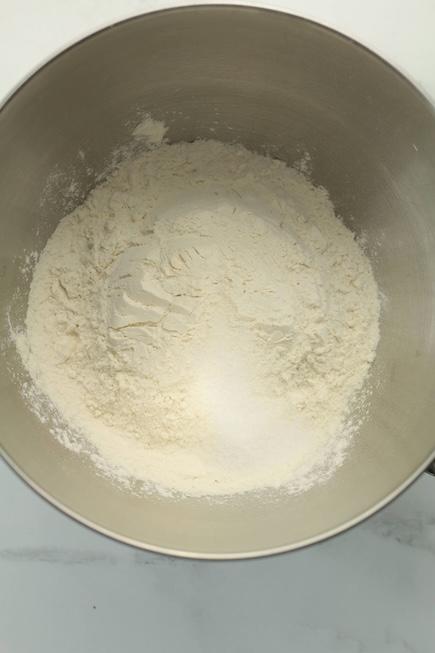
Measure the flour (I used 50:50 all purpose and bread flour) and salt into the bowl of a stand mixer. Give a quick mix
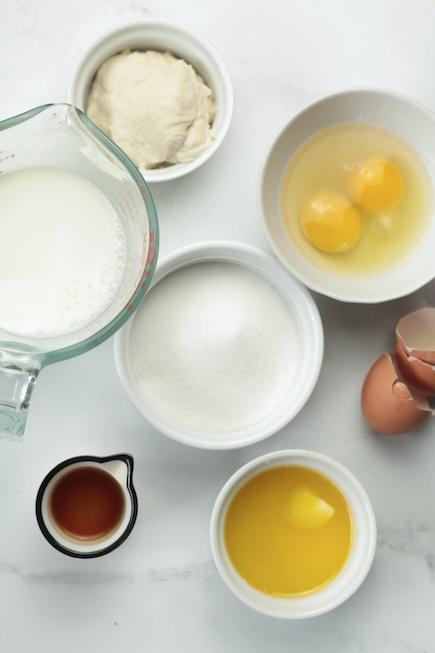
Prepare other ingredients. Make sure milk and eggs are room temperature.
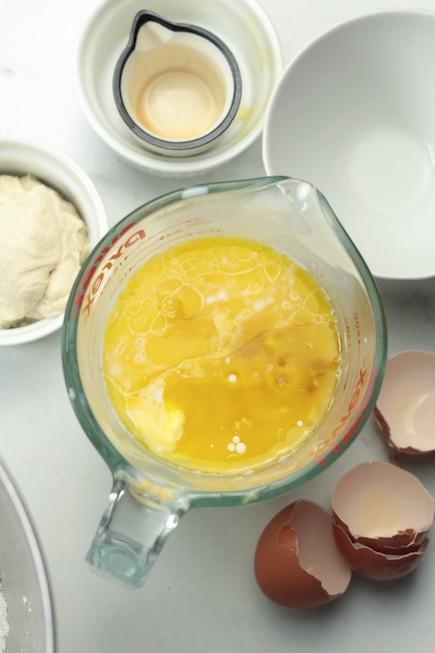
Add sugar to the flour and mix. Add the eggs, butter and vanilla to milk and mix.
Note: If you are new to baking and not familiar with handling a sticky dough, I suggest leaving 20-30g of milk aside and add it later if you feel confident
It is the moisture, sugar and fat in the recipe that makes these doughnuts light and soft. So if you leave out some milk it will affect the texture of the final product. But they will still taste good :)

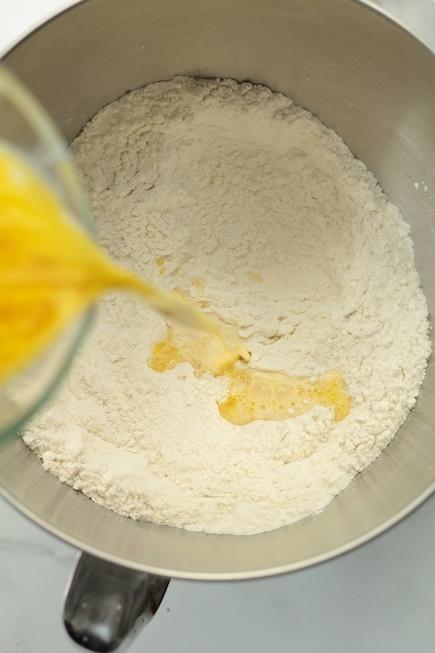
Now add the wet in gradients into flour
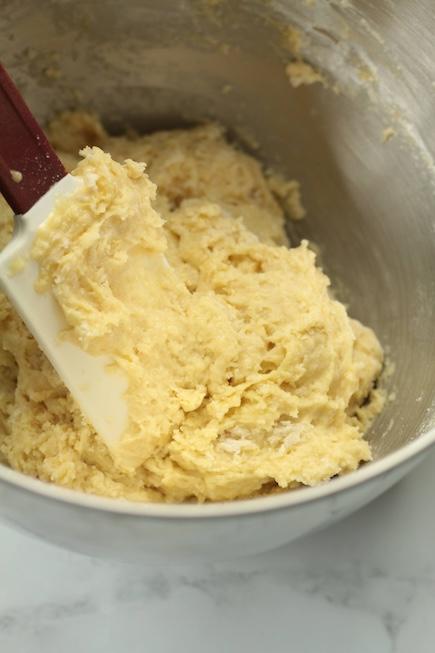
Using a spatula, mix to hydrate everything
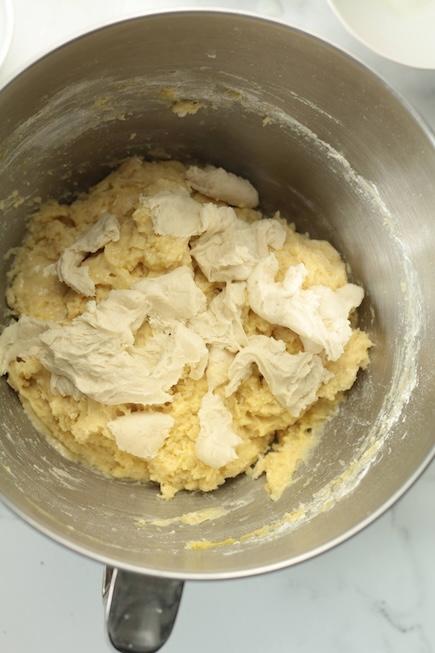
Break the stiff starter into pieces and add to the mixture.
If you are using normal liquid starter, you can add it with the wet ingredients
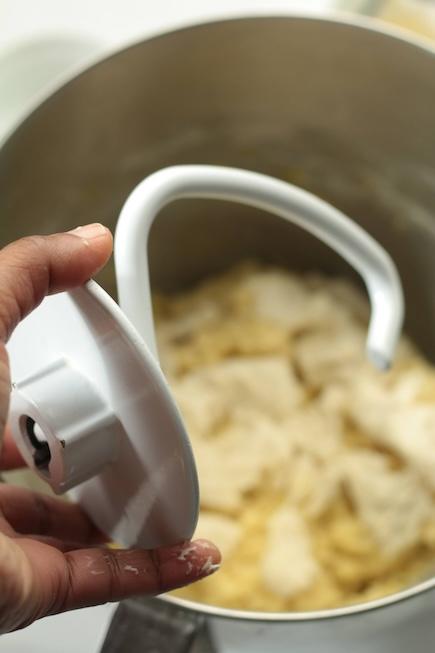
Use the dough hook and start mixing/kneading at speed 2 for about 2 minutes and then at 4 for about 6 minutes until an elastic dough is developed

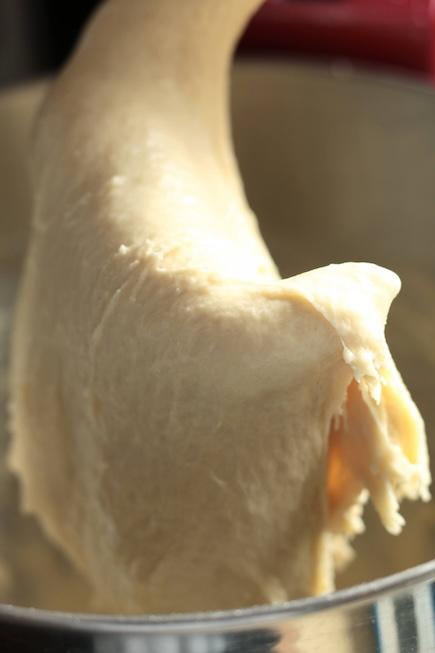
Cover the bowl with a cling wrap and refrigerate for about 10 -15 minutes. Then mix on speed 2 for about 5 minutes until a strong, silky dough is developed. The dough will be a little sticky.
use flour to help releasing the dough from the sides of the bowl
Kneading will encourage gluten development and it will make the dough strong and elastic and less sticky. Refrigerating will stiffen the dough(butter hardens) and resting will relax gluten and help absorbing more water. This will further encourage dough development.
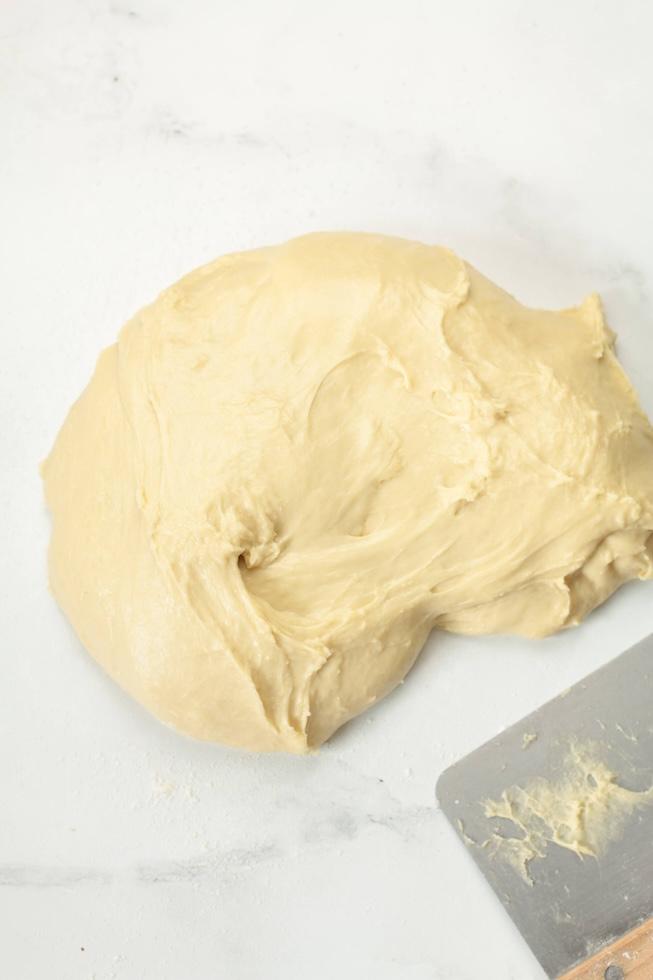
perform a few slap and folds to bring the dough together in to a smooth dough ball.
slap and fold technique
Lubricating your hands with oil or water will prevent the dough from sticking to your fingers. Handle the dough with just finger tips and not the palm. If you are worried about handling a sticky dough, you can grease the bench scraper and use that to gather the dough into a ball. Use a very light dusting of flour if necessary.
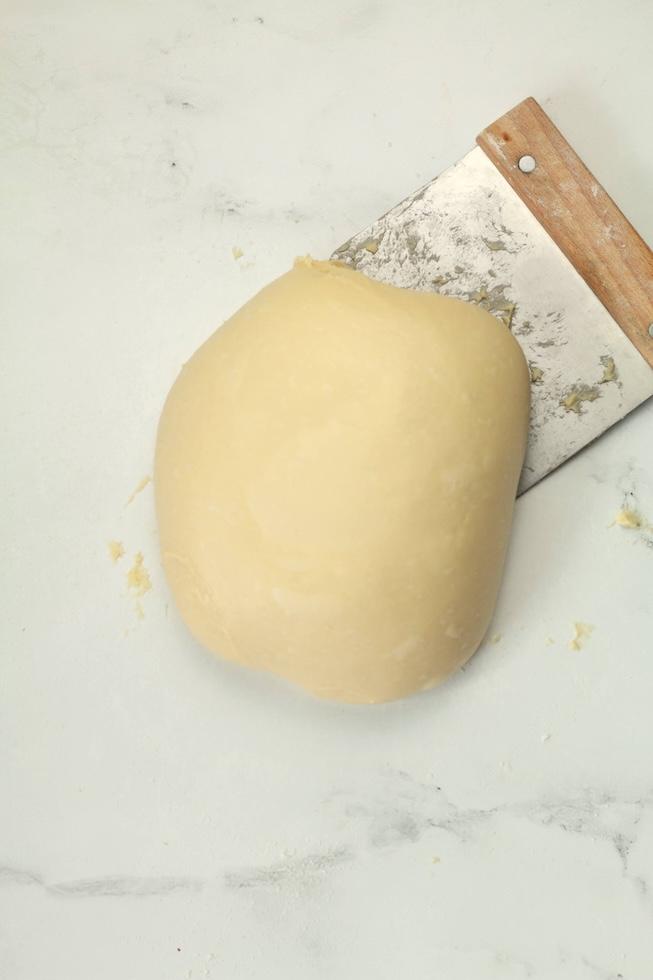
The surface of the dough shouldn't be sticky anymore. If it still sticks, dust with a little flour and do a few more folds.
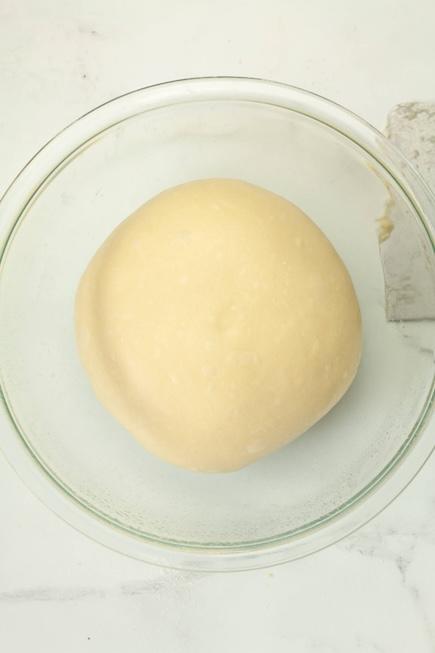
place the dough in a lightly greased bowl, cover and leave in a warm spot (70°F-75°F) until doubled in size
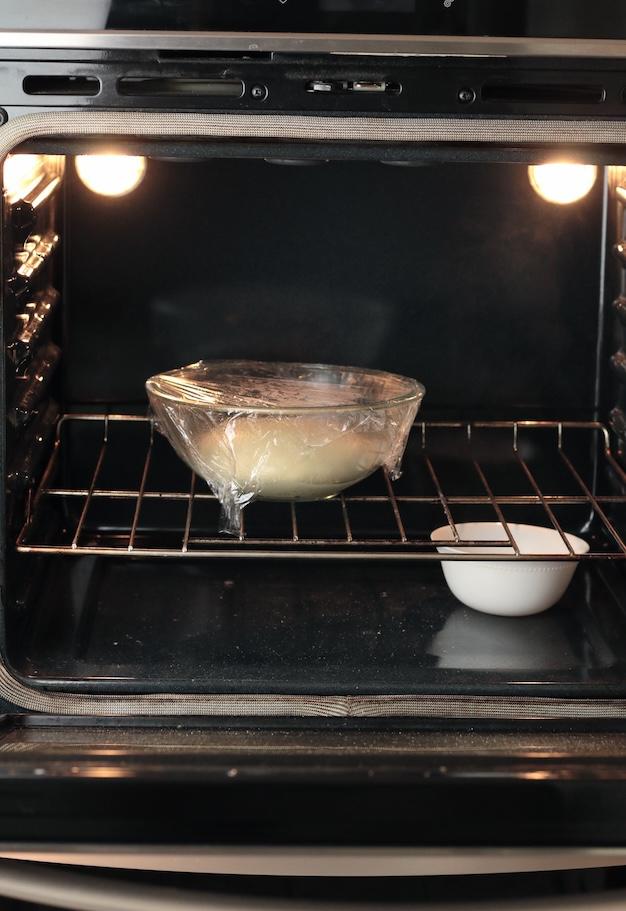
Find creative ways to build your own proofing spot. Near the heating vent, a proof box or use the oven like I do.
Place a bowl of boiling water in the oven and place your dough on a rack above. Close the oven door. You will have to replace the boiling water every hour or so.
You can also warm the oven (be very careful and mindful) slightly
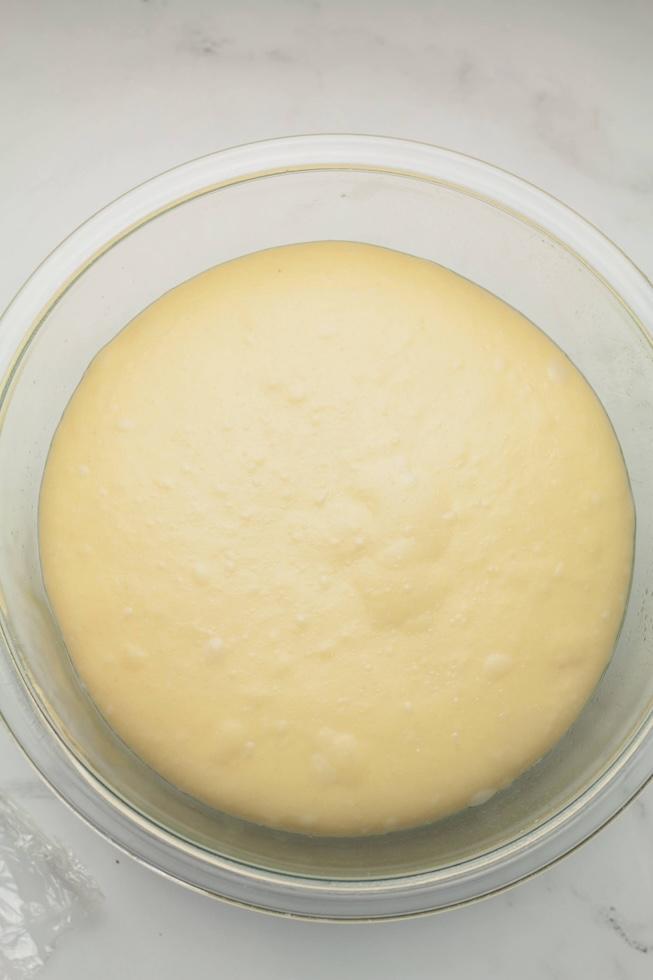
The dough will be doubled in about 4-5 hours. Punch down to lease all the air, place back in the bowl, cover and refrigerate until next day for the slow fermentation.
Same-day process
If you don't want to ferment over night, you can skip this step and continue to make donuts on the same day. Still, it is a good idea to let the dough relax in the fridge for about an hour. This will stiffen the dough and it will be easier to roll out and cut out shapes.
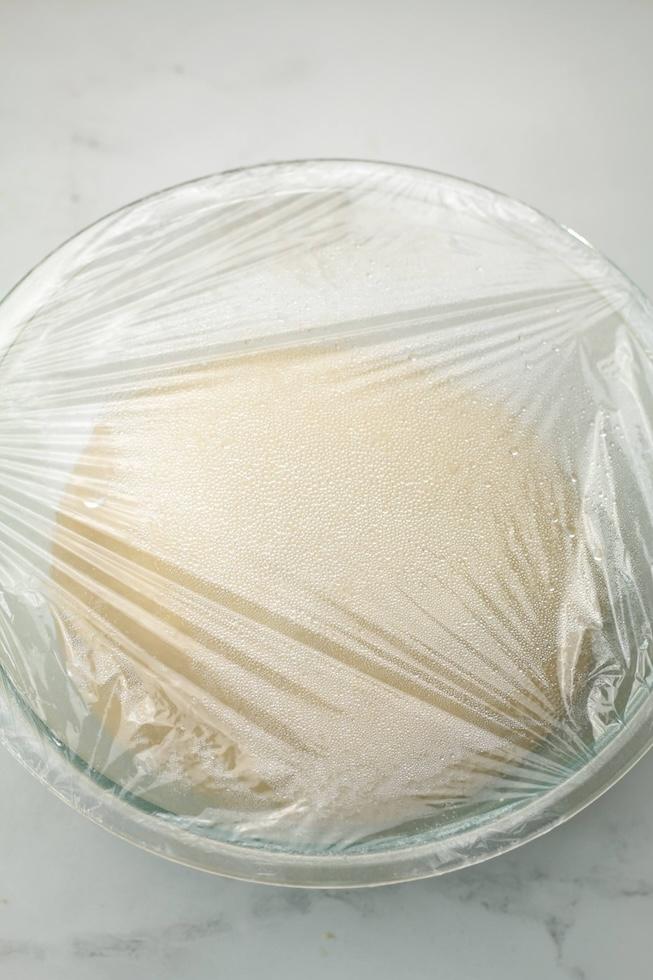
The next day, when you are ready to continue, pull the dough from the fridge and let it warm up a little bit. It will be too stiff to roll out
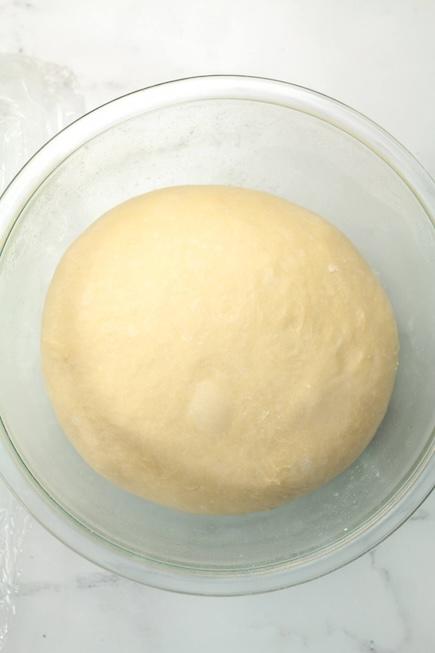
Notice the dough has puffed up a little even in the fridge. That's slow fermentation (slow proofing)
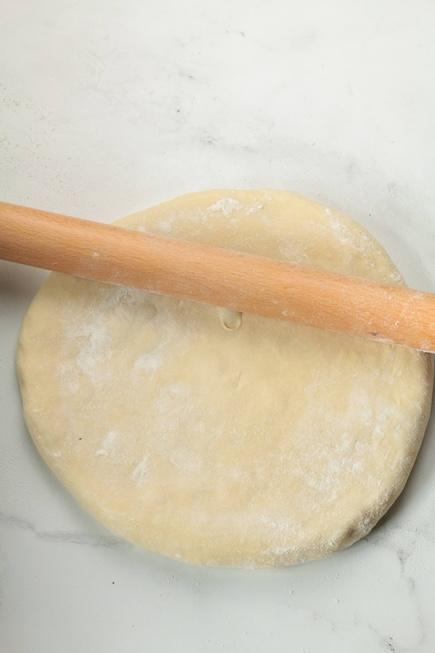
Get the dough onto a floured surface and start rolling out
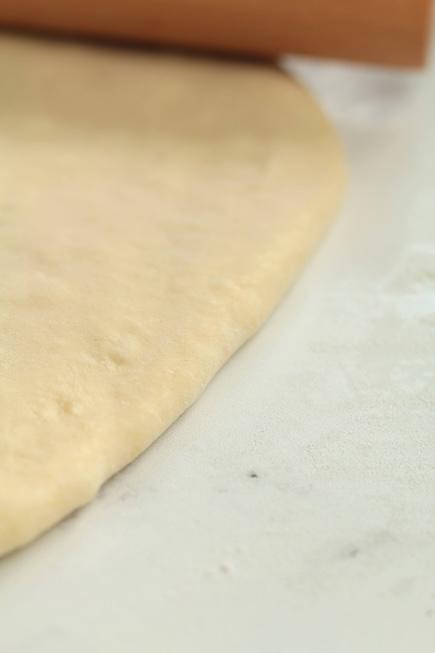
Final thickness should be about 1/2 an inch. Could be less but not more.

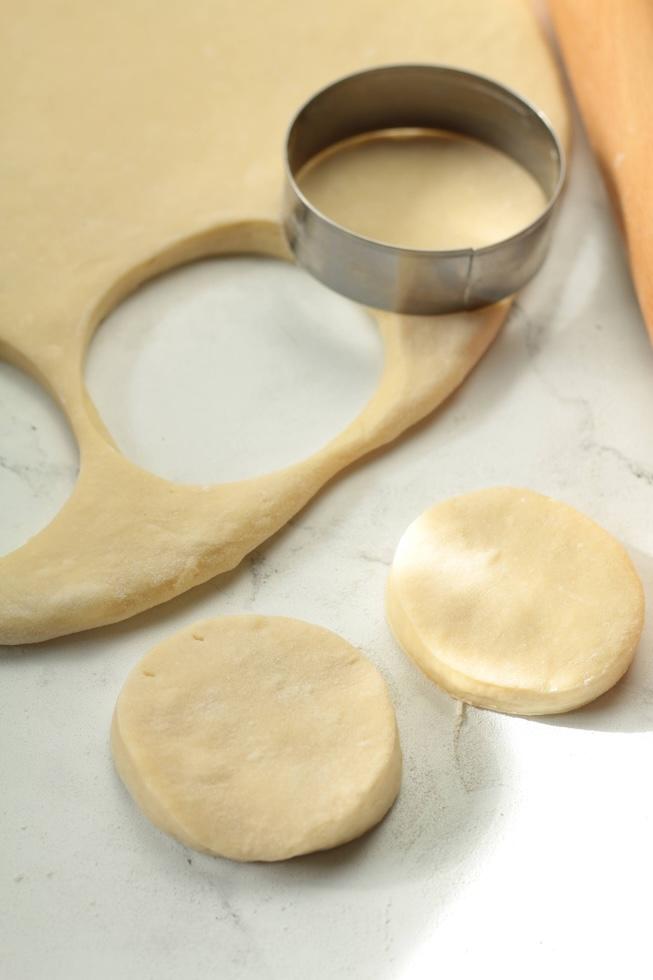
Prepare a tray lined with a parchment. Dust the parchment with some flour.
Using a round cookie cutter cut out rounds and place on the prepared tray
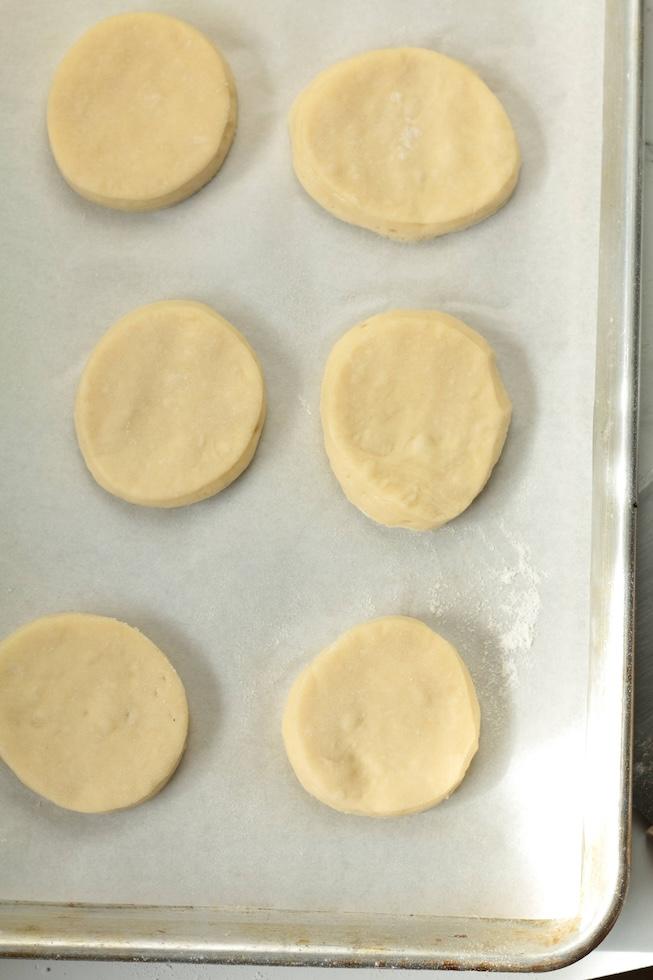
Leave space between them so they won't stick to each other. Cover lightly and place in a warm place until puffed up. In a warm place (70°F-75°F) they will be proofed in about 2-2.5 hours
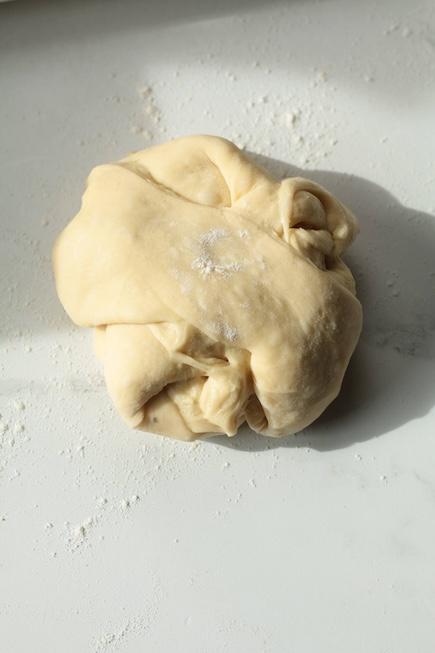
Leftover dough can be reused. gather and knead to a dough ball. You can let this relax, roll out and cut out more donuts or make donut holes

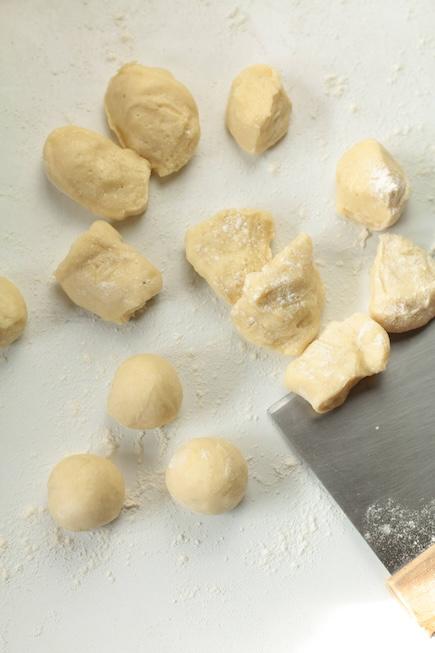
To make donut holes, divide into tiny pieces and roll into smooth balls. Place on a tray, cover and proof until puffed up.
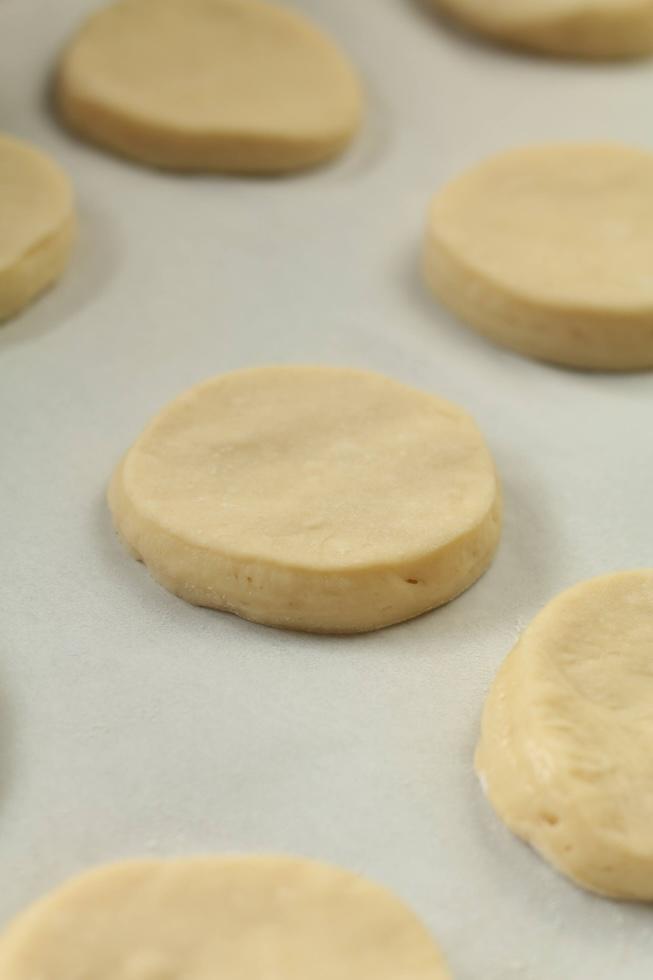
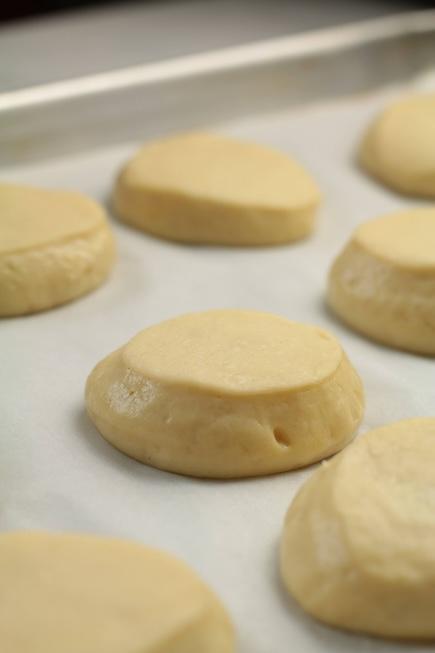
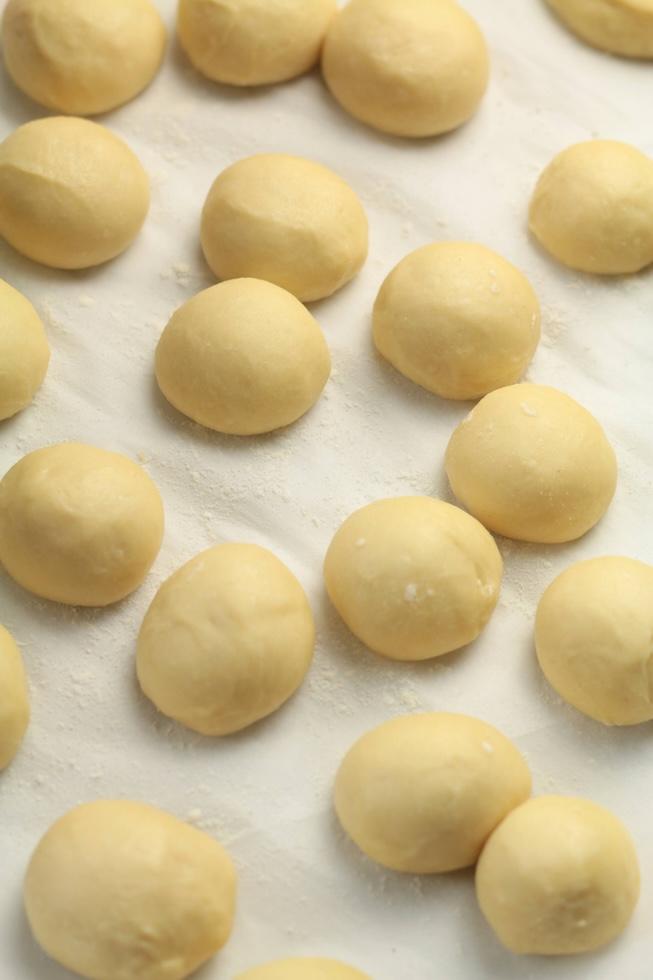
proofed donut holes are ready to be fried
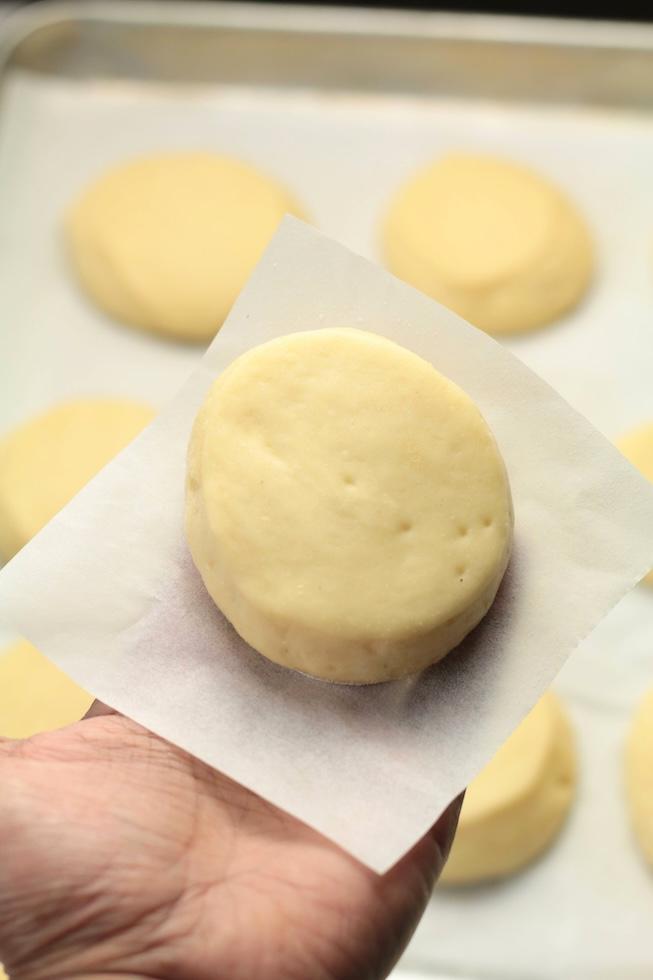
proofed donuts are ready for the fryer. Cut out the parchment like shown in the image so you can easily drop this to the hot oil.
If you try to remove the doughnut from the parchment, that could damage the dough. By cutting out the paper the doughnut will be intact. Place the doughnut side down in the oil and carefully peel off the parchment paper.
Heat a neutral oil to 320°F(160°C) in a 2-3 inch deep, wide pan(or pot) and fry the doughnuts in batches. Check the video <-
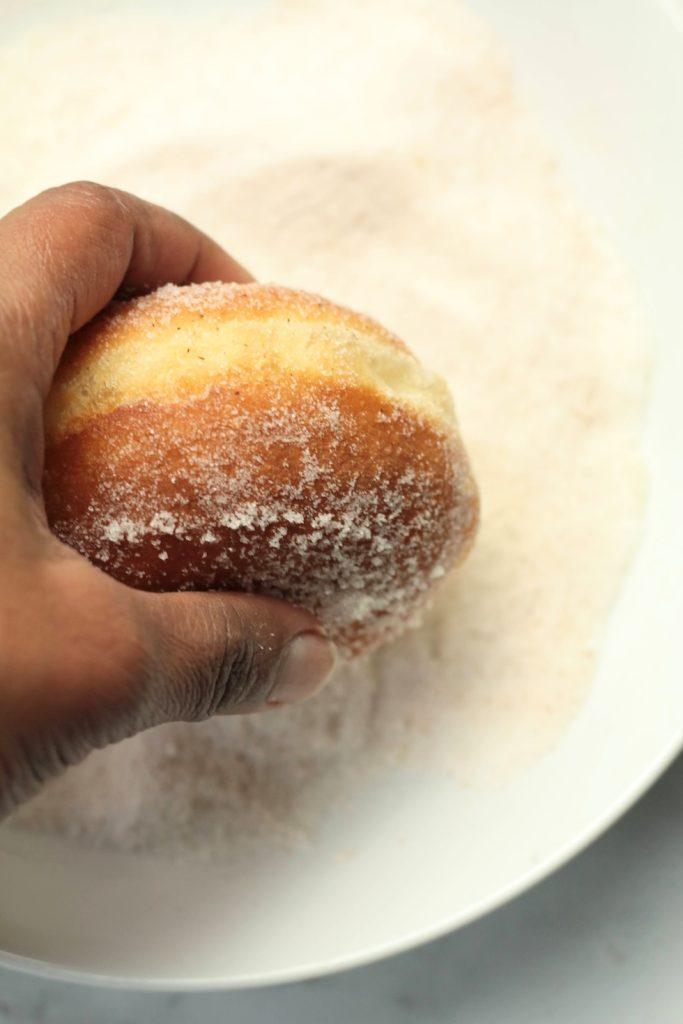
Roll the doughnut in cinnamon sugar while still warm

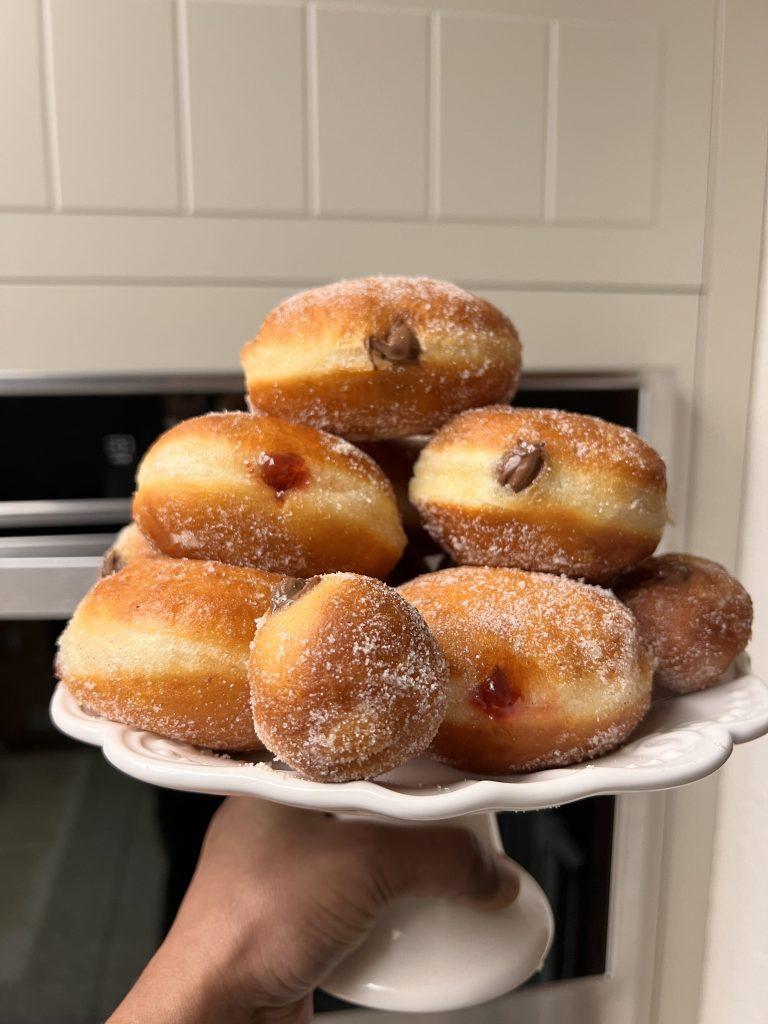
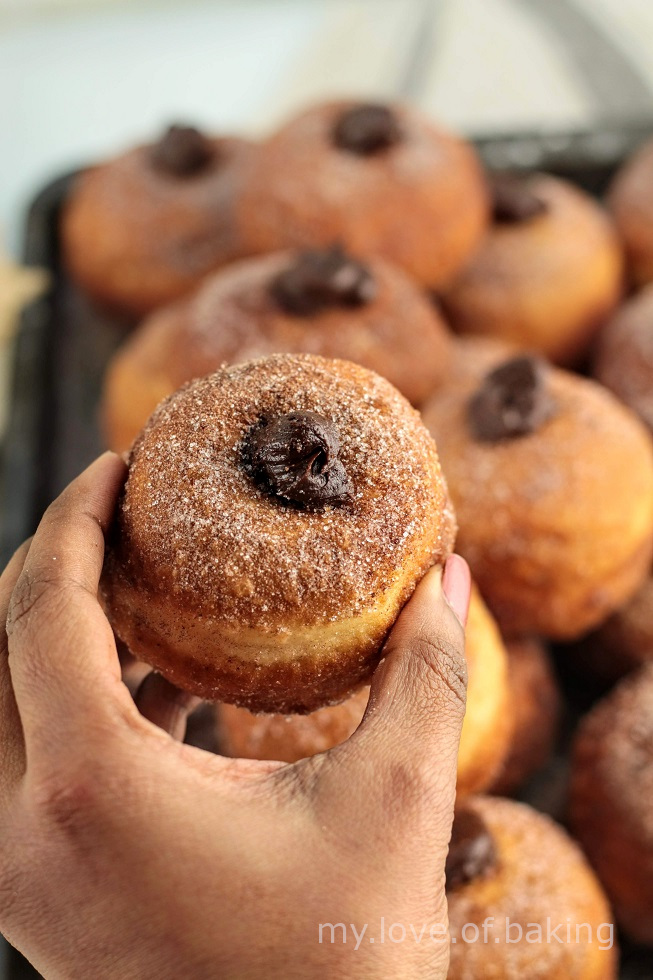
Leave to cool down. Fill them with any filling like strawberry jam, custard or chocolate spread
Fill the doughnuts with any filling. Jam, custard, lemon curd, nutella, ganache, caramel, pretty much anything works!
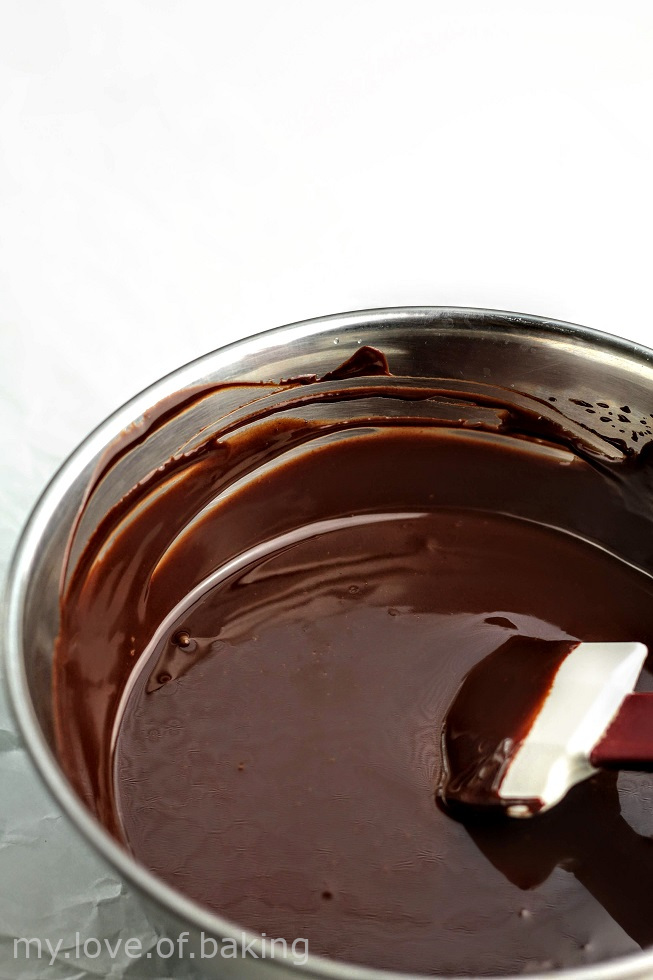
250 g cream250 g semi sweet chocolate1/4 cup chocolate malt powder (Ovaltine)
Simply add 1/4 cup malt powder(Ovaltine) to the cream once boiled. Add the hot cream onto chopped up chocolate and stir until smooth. Refrigerate to thicken. You can whip this up for a fluffier texture.
Sourdough doughnuts (Bomboloni)
Ingredients
Method
- 1
The night before
- 2
To make the stiff starter, mix everything and knead to a smooth dough, cover and let ferment (double or triple) over night (or 8-12 hours)
- 3
Day 1
- 4
To make the dough, weigh flour and salt into a bowl of a stand mixer. Give a quick mix
- 5
Add the sugar to the same bowl followed by all the wet ingredients (you can leave a little milk aside if you want and add later if the dough is too dry)
- 6
Check the post above for fine details
- 7
Mix with a spatula to bring everything together
- 8
Use a dough hook and start mixing on speed 2 for about a minute. Increase the speed to 4 and mix for about 6-8 minutes. If the dough becomes too stiff, reduce to speed 2
- 9
Cover the bowl and let the dough rest in the fridge for about 10-15 minutes
- 10
Then mix again at medium speed for about 5 minutes or until a strong silky (a little sticky) dough is developed
- 11
Scrap the sides, and use extra flour to help dough come away from the bowl
- 12
Bring the dough out and perform a few slap and folds (or coil folds) to bring the dough together into a smooth dough ball
- 13
Place in a lightly greased glass bowl, cover and leave in a warm spot until doubled in size
- 14
Once doubled, punch down and form into a ball again, place in the same bowl, cover tightly and refrigerate over night or until next day
- 15
You can also skip the overnight slow fermentation and make the doughnuts on the same day
- 16
Day 2
- 17
Bring the dough out of the fridge and let it thaw a little or until dough has softened a bit
- 18
Prepare trays lined with baking paper, dusted with flour
- 19
place the dough on a lightly dusted surface and roll out to about 1/2 inch thickness
- 20
Using a cookie cutter cut out doughnut shapes (rounds) You can do other shapes like squares
- 21
Place the doughnuts on the prepared tray leaving space around them
- 22
Cover loosely and let the doughnuts rise (almost double their size) in a warm place
- 23
Use leftover dough to make more doughnuts or doughnut holes (check the post above for details)
- 24
Once the donuts are ready, heat oil in a 2-3 inch deep wide pot to about 320°F (160°C)
- 25
Fry the doughnuts until golden brown (roughly about half a minute each-side)
- 26
Drain excess oil and roll out on sugar if you are doing so or leave them plain if you want to glaze
- 27
Fill the doughnuts as desired
Never Miss a Recipe
Get new recipes straight to your inbox.

You might also like


Comments
Loading comments…