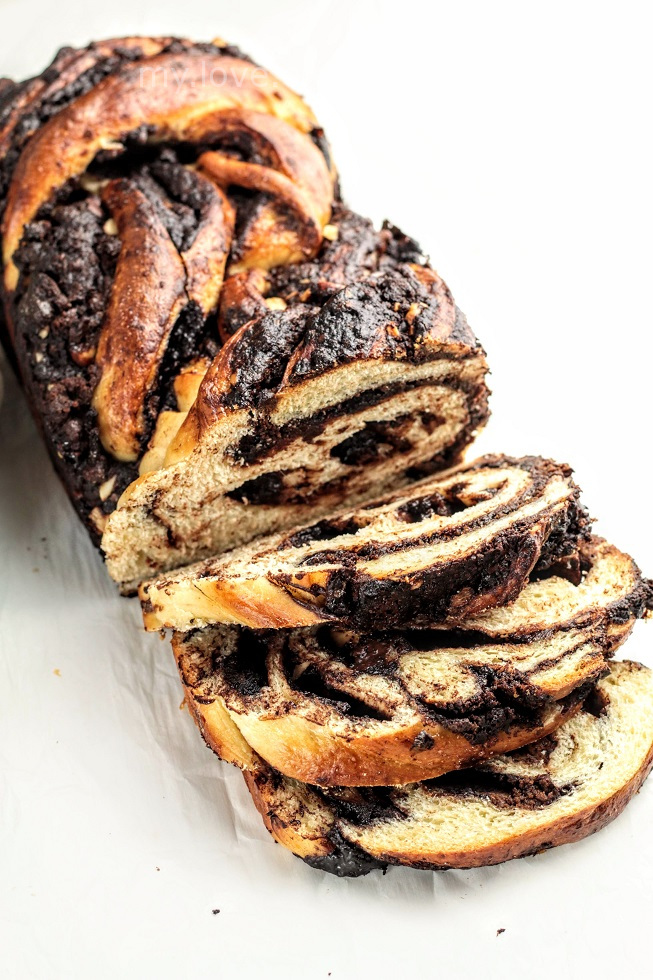
Sourdough chocolate babka

A babka for me is another way to eat brioche, my favorite sweet bread. The combination of rich soft brioche and chocolate can only be described as heavenly. I have made this a few times before, for get-togethers, tea parties and pot lucks. Those were made with commercial or instant yeast.
With my obsession with sourdough, lately, I have tried to replace instant yeast with natural yeast. It has been successful in almost all the cases. I guess once you get the hang of it, everything just falls in to place.
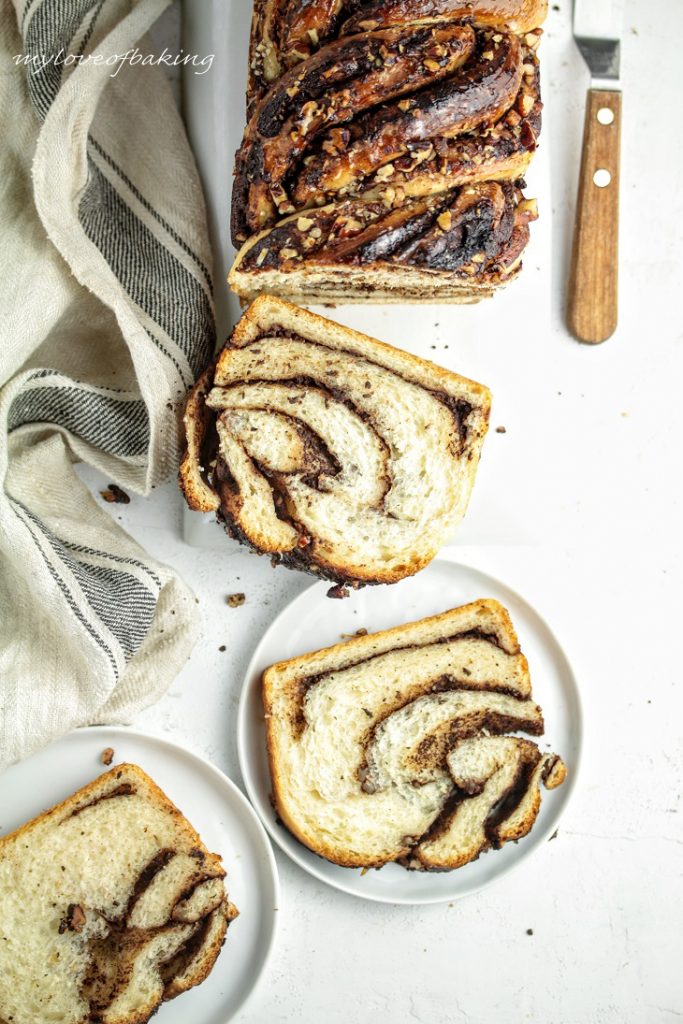
Once you know your starter, you can predict it's activity and how much rise you can get with what quantity and in how many hours and so forth. And after-all for me it's a game of all senses. I clock my process and keep track of time, but at the same time, I touch and feel my dough and eye-ball too. This is what makes baking so much enjoyable and engaging.
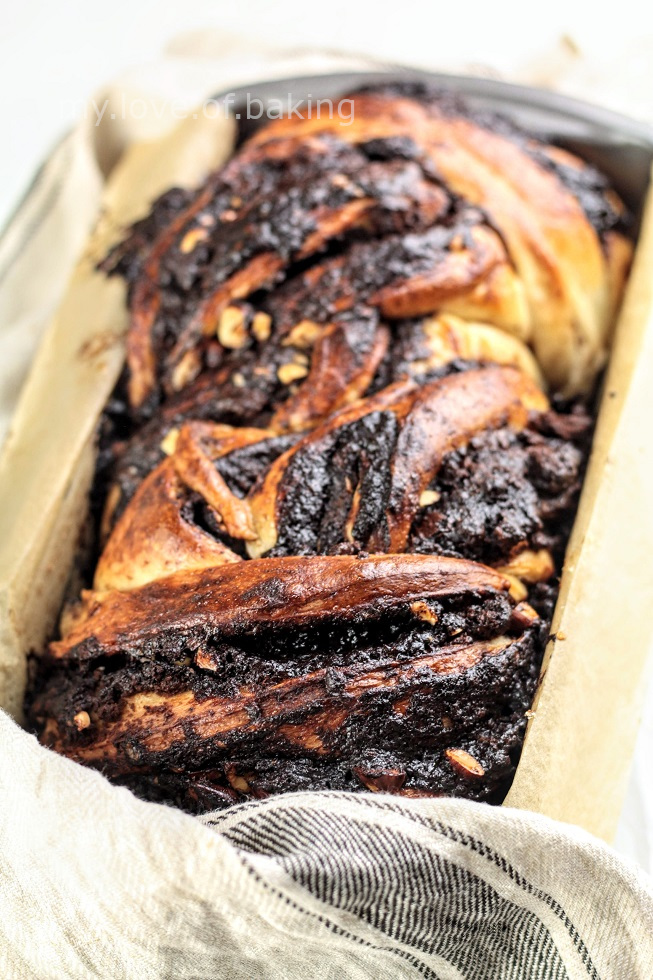
So back to the babka. The brioche dough I'm using is comparatively less richer than a normal brioche or a traditional babka. Reason begin, I wanted to fill it with a much richer chocolate spread that would be oozing with butter and cocoa. So I thought, to take some of the richness off of the brioche would balance out the flavor and the consistency. Also I am using natural yeast, so this will need more time for bulking and proofing.
Make sure your starter(100%) is refreshed and ready to be used!
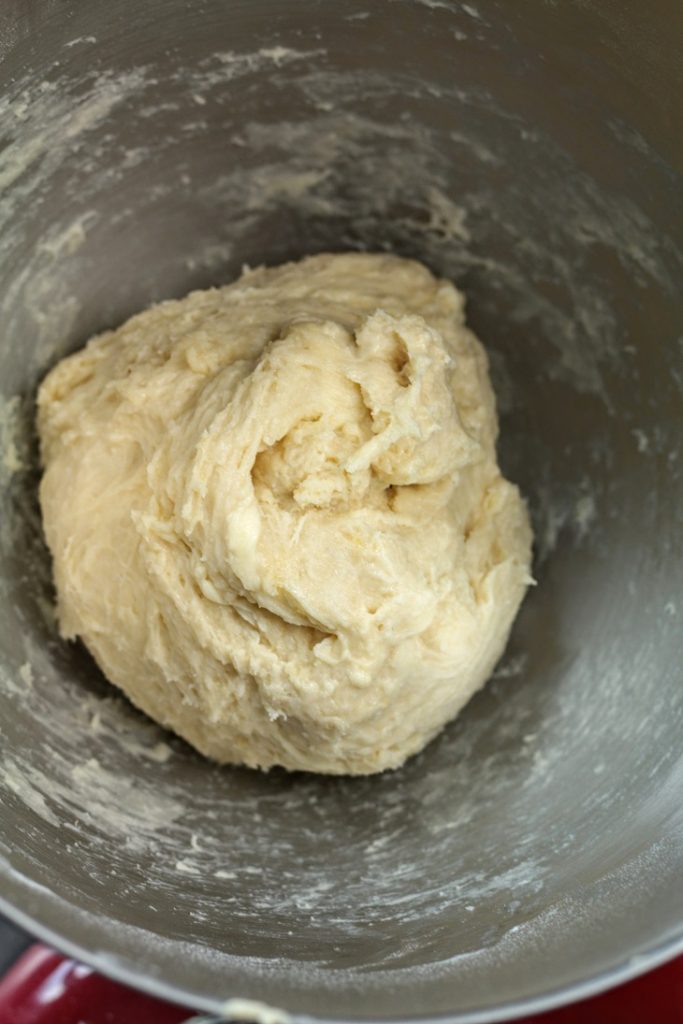
Mix everything until it all comes together into a soft sticky dough
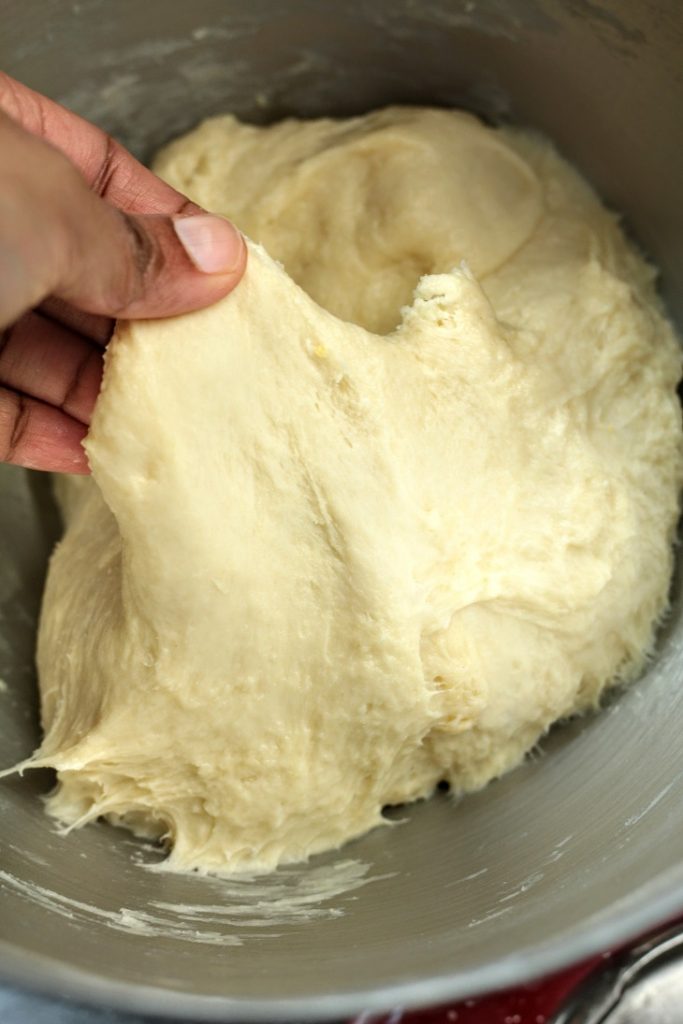
Keep mixing on medium speed ( 2 on KitchenAid) for about 3-4 minutes. Stop and scrape down the sides and use a dusting of flour on the mixer wall, to encourage dough to release from the sides. Once the dough feels developed ( there won't be any window pane as such) stop mixing/kneading
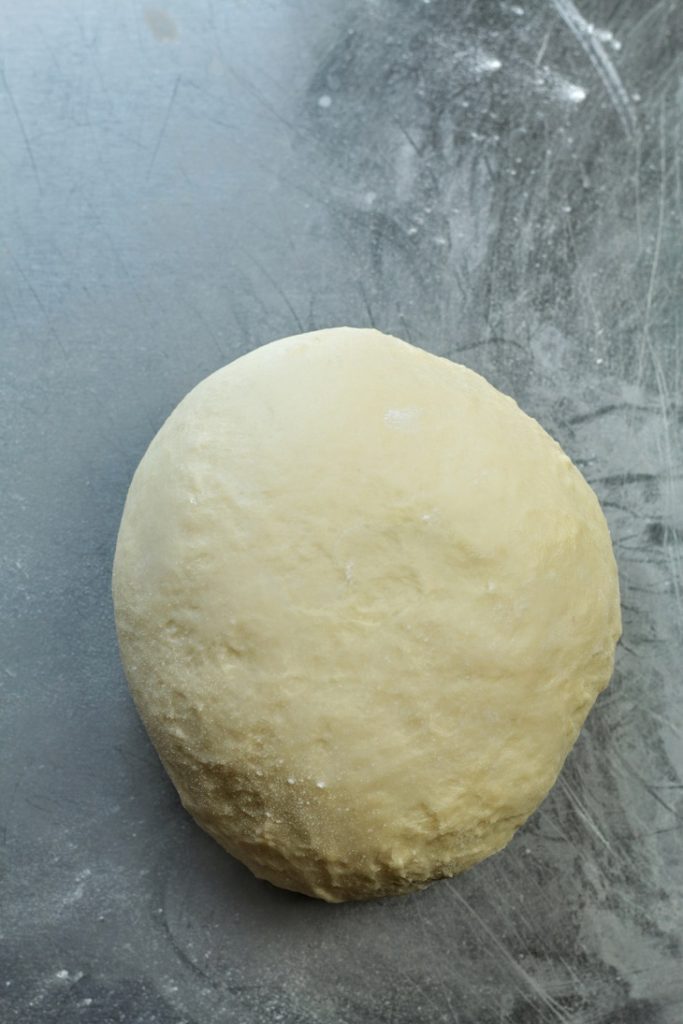
Bring the slightly sticky dough out onto a floured surface and do a few slap and folds to bring the dough together. It will become smoother. Now round up the dough to a tight ball. Place in a greased bowl, cover and leave in a warm place to bulk
4-5 hours roughly around 32°C
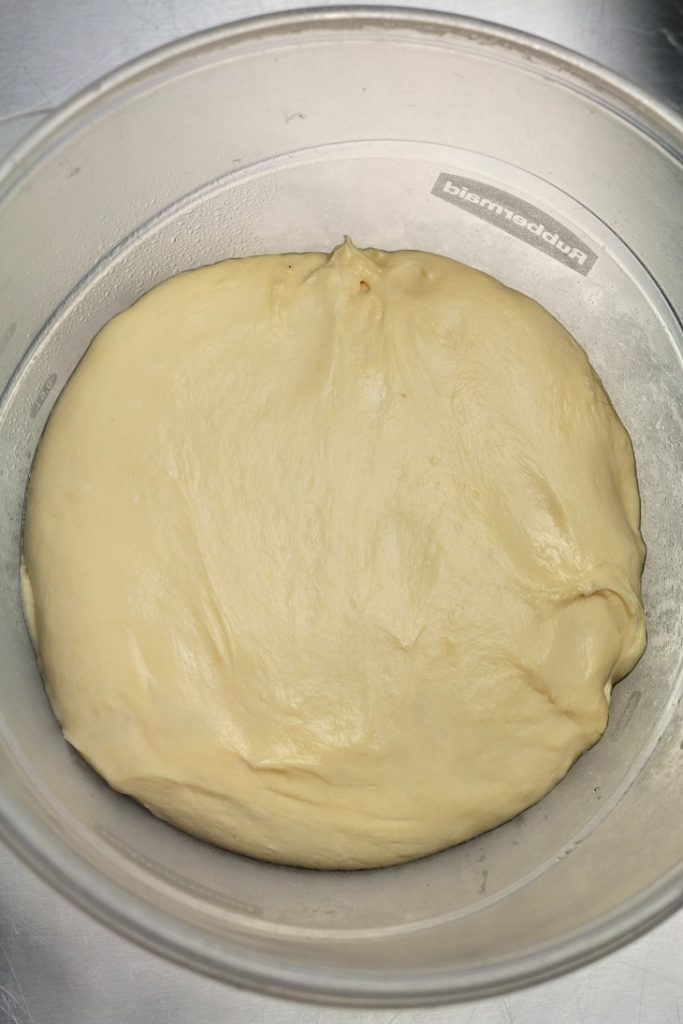
Once the dough has bulked ( it will expand to almost 1.5 times the original size) bring it on to a floured surface and round up to a tight ball again.
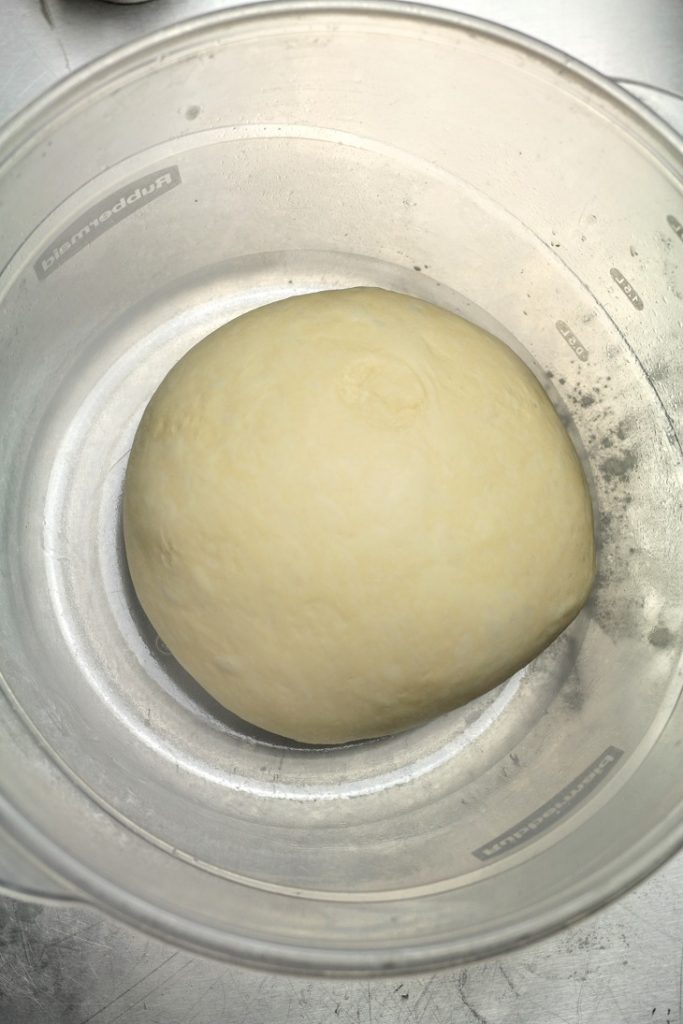
Place the bulked dough in a container, close tightly and refrigerate for the long slow proof/fermentation. Anywhere from 12- 18 hours is fine
Same day bake:You can also shape and bake this on the same day. In that case place in the fridge for 2 hours just to harden the dough and continue to shape and proof
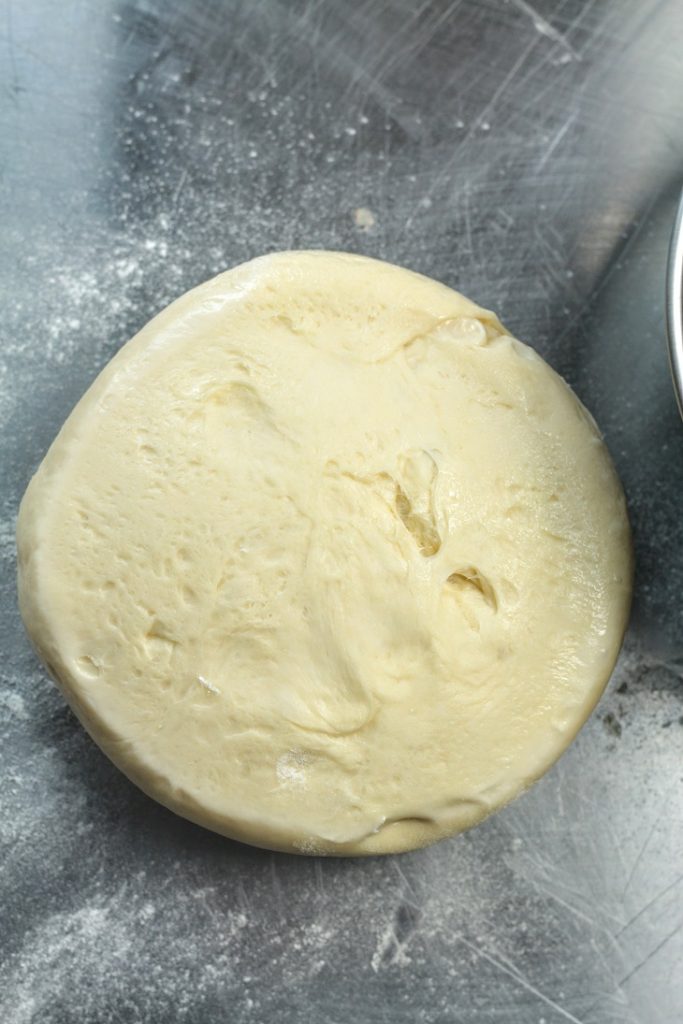
If you retard the dough in the fridge, first take it out and let it sit on the counter for about an hour. Just until it is soft enough to roll out. Do not let it thaw completely
In the meantime, make the chocolate spread and let it cool completely.
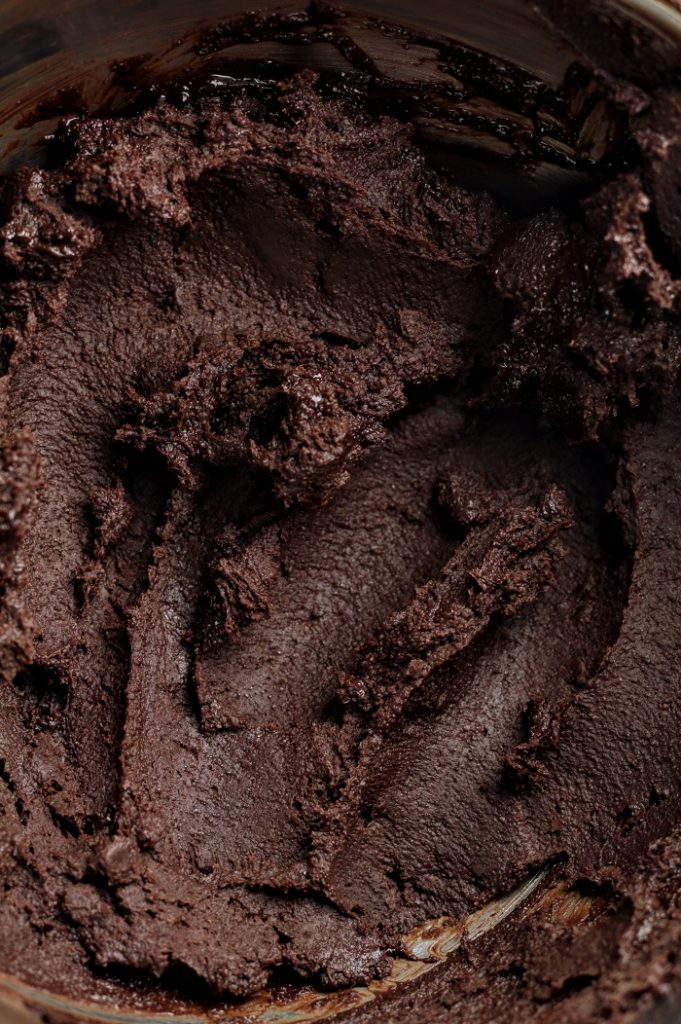
Use a good quality 70% dark chocolate. This elevates the cocoa flavor and it will prevent the spread from becoming super sweet. Recipe use both chocolate and cocoa powder. This is to reduce sweetness while lifting the deep chocolate flavor. Use unsweetened, dutch processed cocoa powder, again, make sure it is of good quality.
You can add any essence or other flavors you like;orange essence/liquorcoffeerum etc.
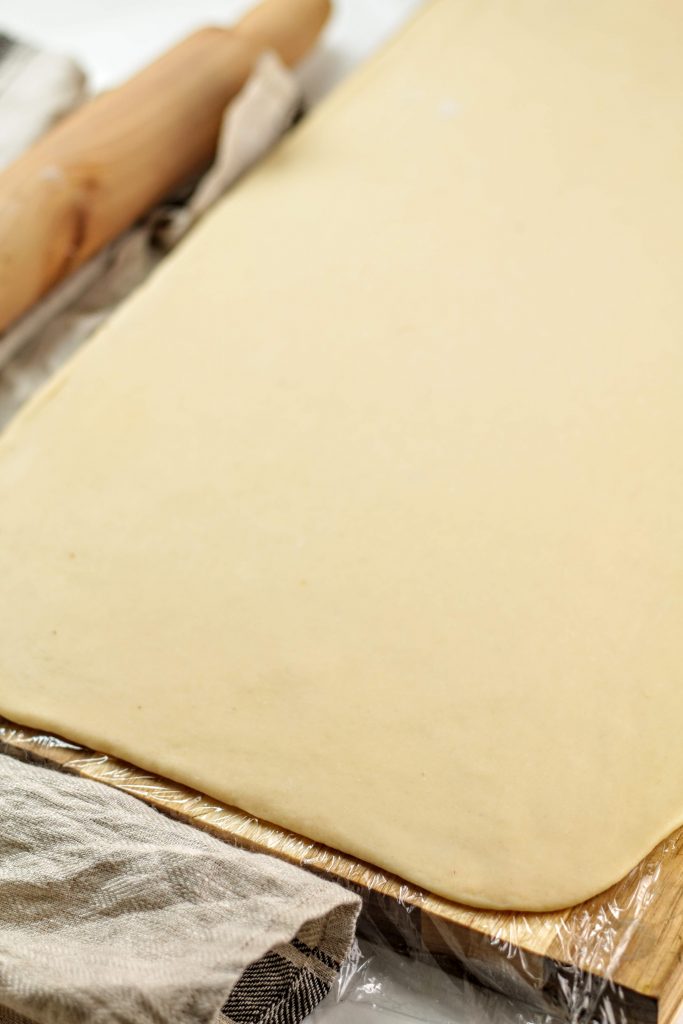
Once the dough is soft ( but still very cold) roll it out to about 1/2 cm thickness.
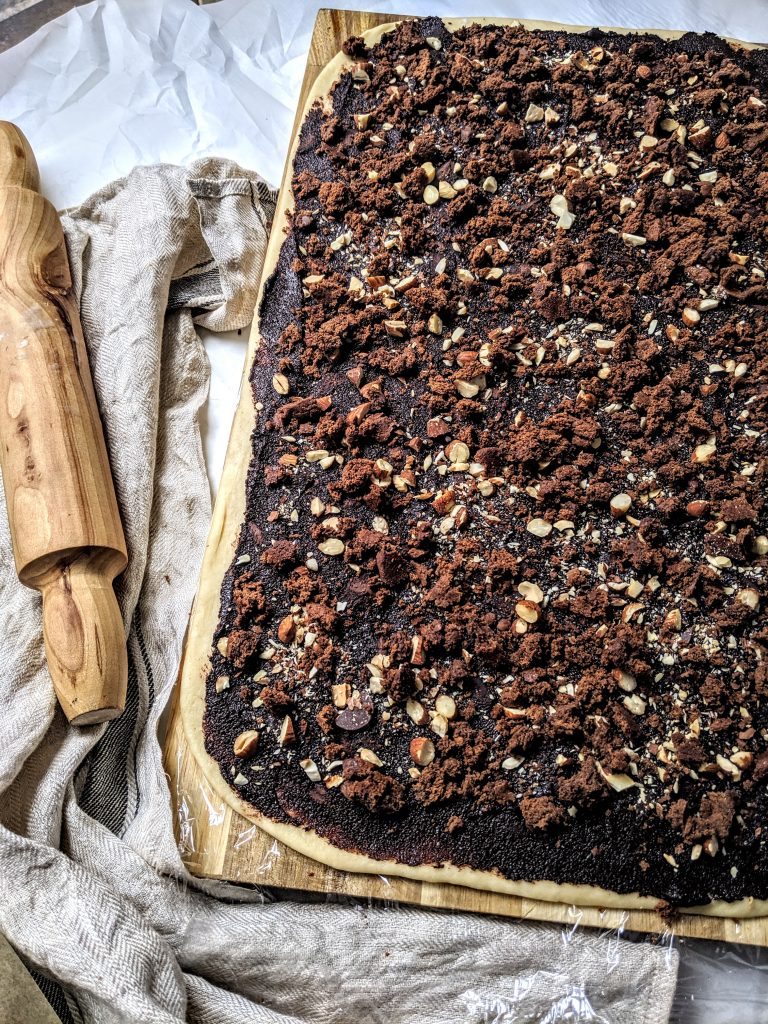
Spread the chocolate mixture and sprinkle with cookie crumbs and nuts or leave it plain if you like
I am going with toasted almonds. I love almonds and the crunch they add. But you can use other nuts too or even a mix. Make sure to toast the nuts and chop them coarsely.
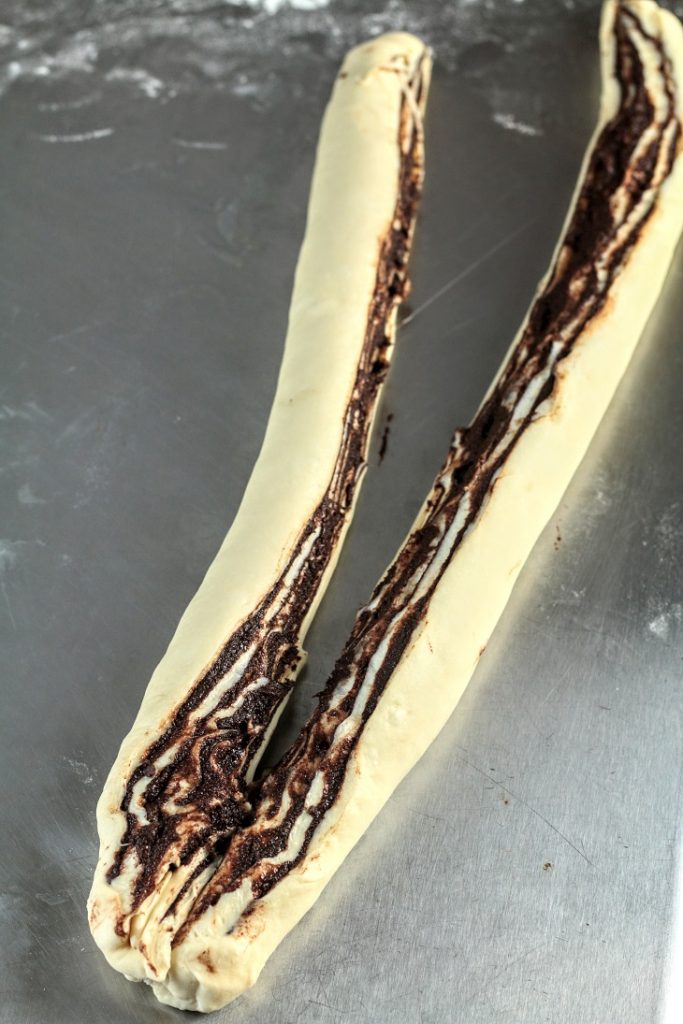
Now roll the dough length-wise in to a log ( just like when you are making cinnamon rolls) Split the log using a sharp knife. Turn the cut sides upwards (so that the interior is exposed), pinch from one end and twist
If the dough becomes too soft, you can place it in the fridge for 15 minutes, so you can handle it without an issue
what this video to get an idea on how to cut and twist.
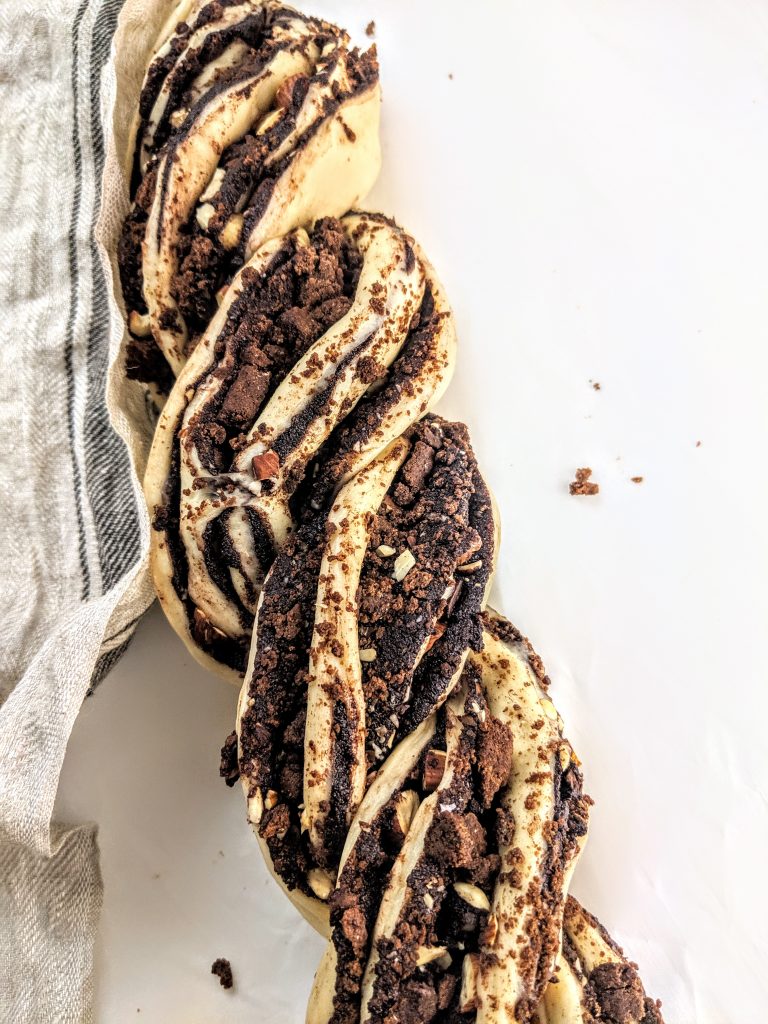
When you twist, the strands will get shorter. You can slightly press from the sides so that it will be compacted and fit the baking pan.
If the dough becomes too soft, you can place it in the fridge for 15 minutes, so you can handle it without an issue
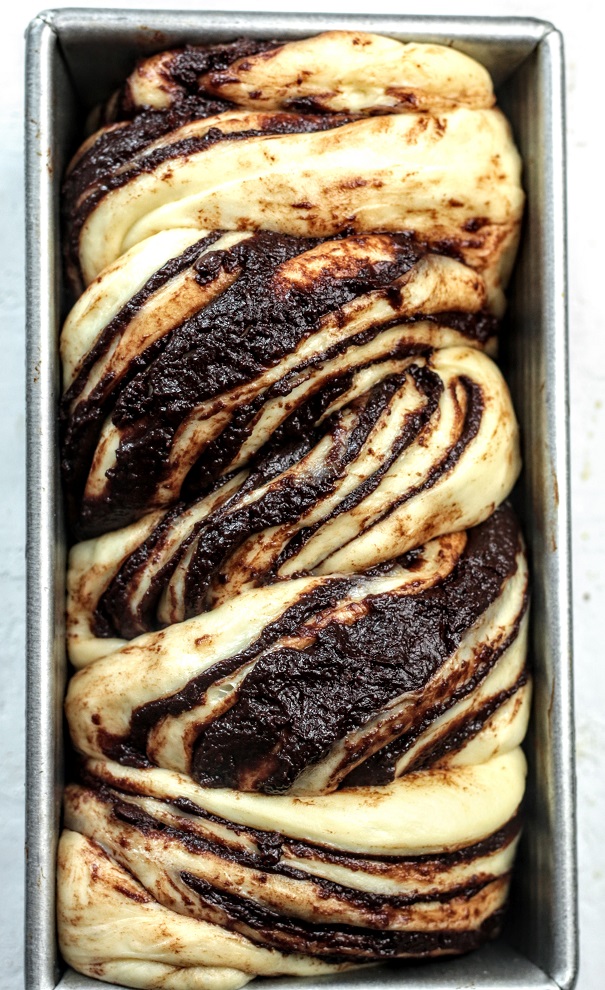
Place the twist in the pan (9" by 5") cover loosely and leave in a warm place to proof
Roughly for about 3-4 hours at round 32°C
Once proofed, egg wash lightly (optional) and bake. You can sprinkle the top with roughly chopped raw nuts for a added crunch. I love using walnut, pecans for this.
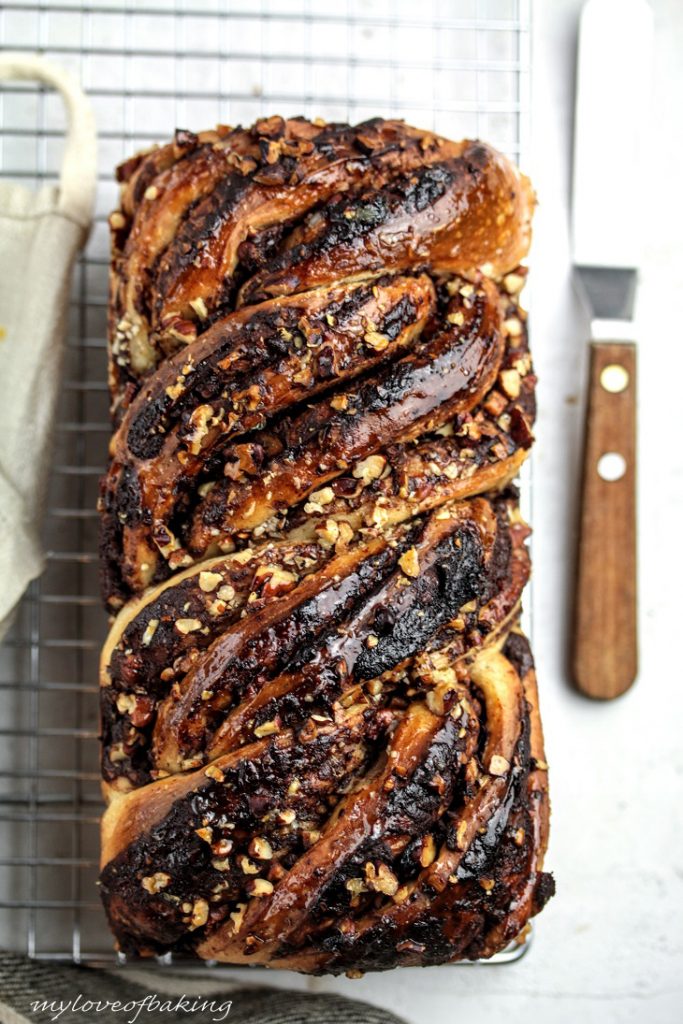
Once fully baked, leave the pan on a wire rack to cool down for about 15 minutes. Unmold the babka and let it cool completely on a wire rack before slicing with a serrated knife
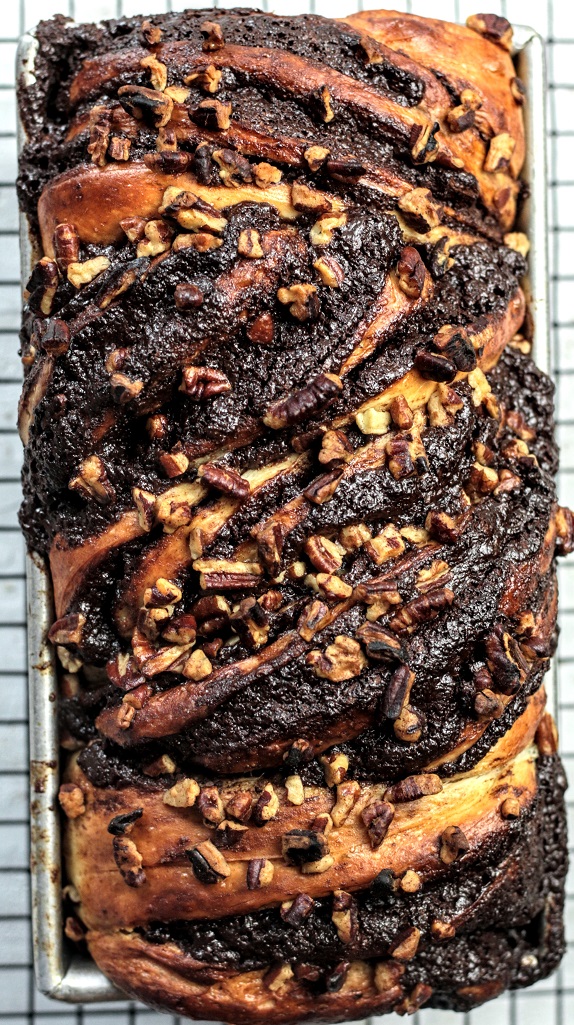
Those are my tips for nailing a great sourdough babka. Take these tips home and make it your own. This babka has no sour flavor( or it is not noticeable) and I have shared this with friends and family and they don't even realize that it is sourdough unless I tell them so.
Feel free top play with the recipe, use different fillings and create something fun, share and enjoy!
Shop the Ingredients

Sourdough chocolate babka
Ingredients
Method
- 1
To make the dough, mix everything except milk in a bowl of a stand mixer, fitted with a hook attachment.
- 2
Start mixing on low and slowly add milk, to bring the dough together
- 3
If necessary add extra milk or a little water (tablespoon at a time). The dough should be soft but not runny
- 4
Once the dough start to form, increase the speed to medium and mix for about 5 minutes, until dough becomes smooth
- 5
Take the dough off on to a floured surface, and knead by hand (slap and fold) to form a ball
- 6
Place in a covered bowl and leave in a warm place for about 5 hours
- 7
The dough will be risen considerably (almost double) if not leave for another hour or two
- 8
Then pat down the dough and form in to a ball again, place in the same container and refrigerate for several hours or overnight. (I left it overnight and a whole day and it still turned out to be good)
- 9
When you are ready to make the babka, take the dough out and let it soften (not too much, its easier to handle when cold)
- 10
Prepare a loaf tin lined with a parchment paper or spray with oil, lightly
- 11
To make the chocolate spread, melt butter and pour over the chopped chocolate
- 12
Stir the chocolate and add the sugar
- 13
Then add the cocoa powder and mix until you get a smooth paste. It's okay to have undissolved chocolate pieces and sugar
- 14
Add the salt
- 15
Leave aside to cool (as it cools it will become spreadable)
- 16
Take the dough on to a floured surface and roll out to a rectangle
- 17
About 45 cm by 35 cm( the dough thickness should be no more than 1/2 cm)
- 18
Once done, spread the chocolate mixture evenly
- 19
Sprinkle the nuts and the cookie crumbs
- 20
starting from one end roll the dough tightly length-wise
- 21
Using a sharp knife cut the rolled cylinder in half along the length
- 22
Now twist the two strands (look at the photos in the post)
- 23
Twisting will make it shorter and would fit nicely in the loaf tin
- 24
Make sure to have cut sides exposed.
- 25
Some nuts and crumbs may fall off, but its okay, you can toss them back in the pan
- 26
Once twisted, pack the dough in the loaf tin
- 27
Tuck the end bits underneath
- 28
Make sure the dough is as evenly as possible spread across the tin
- 29
Leave covered in a warm place for about two - three hours for the final rise
- 30
The loaf will expand and fill the tin and will look fuller and softer
- 31
Preheat the oven to 200 C (roughly 400 F)
- 32
Brush the top with egg white(optional) and/or sprinkle with roughly chopped nuts(raw) for an added crunch
- 33
Bake in the center rack for 20 minutes. Reduce temperature for 180 C (around 375 F) and bake for another 10 minutes
- 34
Top should be golden brown and should sound hollow when tapped on the crust
- 35
Once done let this cool completely before cutting in as chocolate need setting
- 36
Slice with a serrated knife
Never Miss a Recipe
Get new recipes straight to your inbox.


Comments
Loading comments…