Hoppers (Sourdough coconut crepes)

fermented rice flour and coconut milk pancakes/crepes
If you have been to south east Asia, specifically Sri Lanka or southern India, chances are that you've already eaten these. If not, these should be on the top of your "must have food" list, when/if you go there.
These are a very popular staple in Sri Lanka, where I was born and a family favorite in almost every household. There are different recipes and a few variations to this versatile oriental pancake.
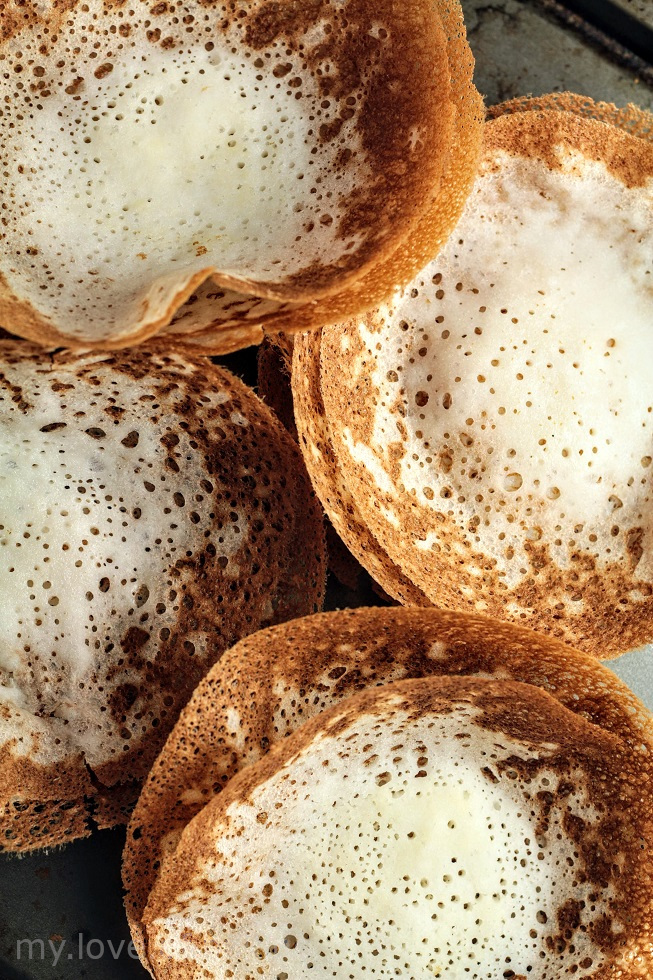
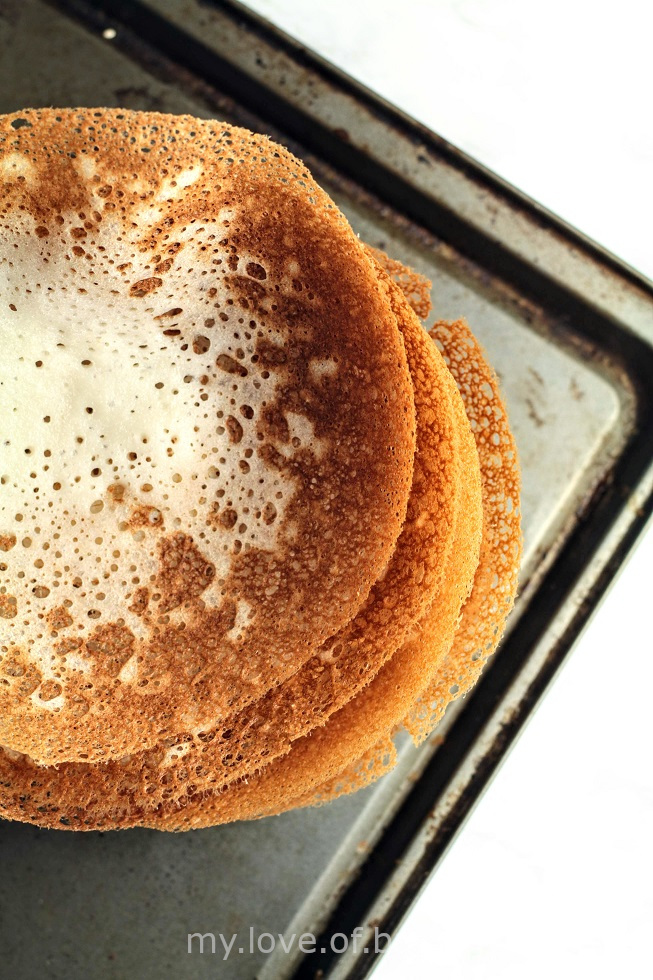
The crispy, melt-in-your-mouth, tuile like edges are addicting! The center is soft and naturally mildly sweetened by the thick coconut milk. They have to be eaten as soon as they are made which makes the experience even more exiting. Due to this reason, you'll always find a "hopper station" in buffets and restaurants, where hoppers are made to order.
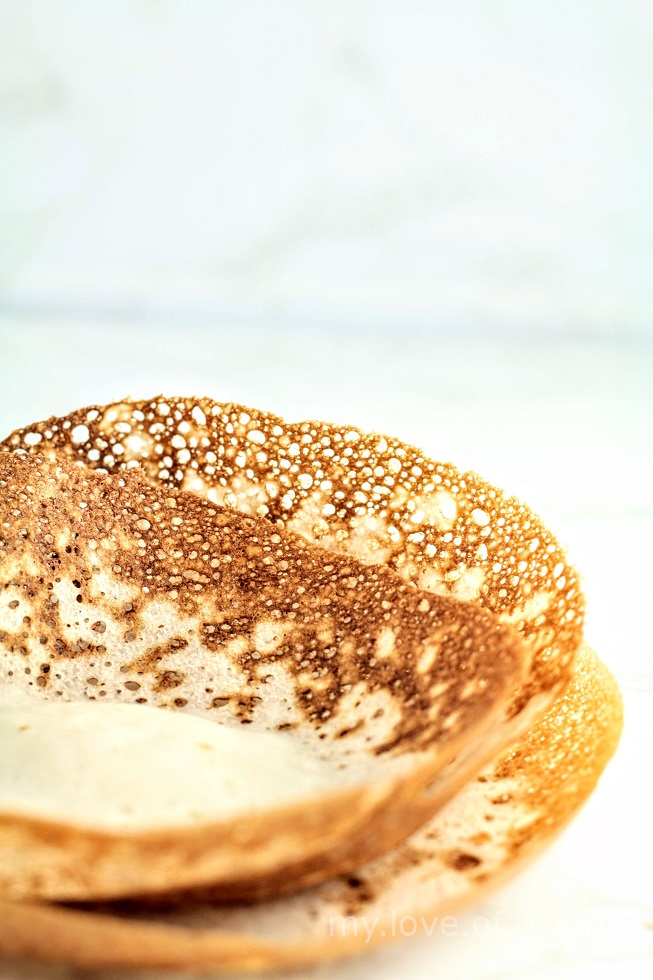
The recipe is so simple, it only has five ingredients including the salt. This is a mixture of rice flour, coconut milk, water, salt that is fermented using either commercial yeast or a sourdough starter. The instant version, use baking soda(sodium bicarbonate) to get the bubbly effect and so you can skip the long fermentation. But you'll get an after taste, which I personally don't like.
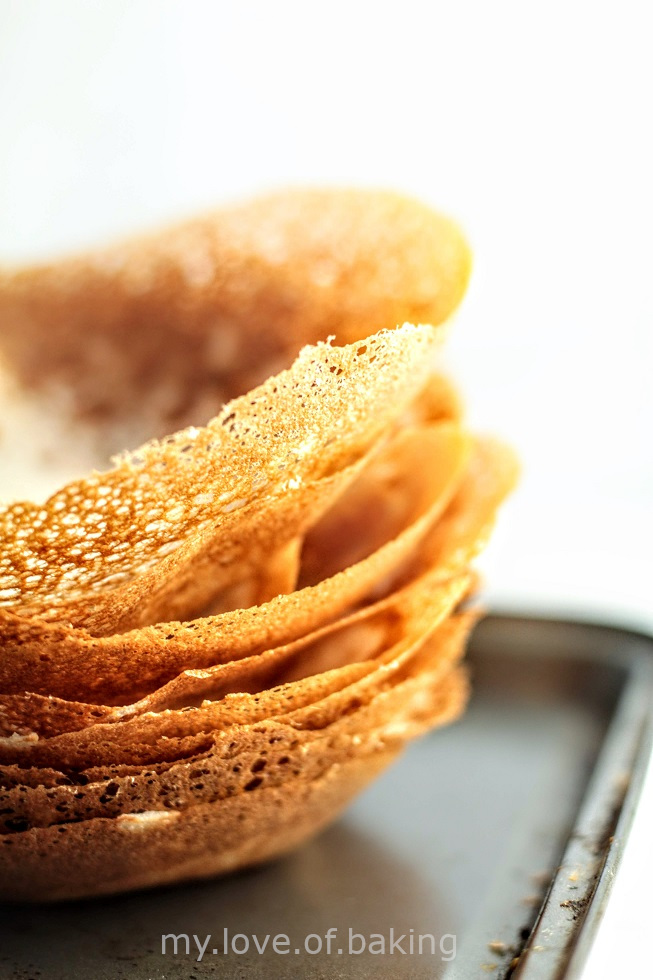
In lot of house holds, they use a piece of bread instead of the yeast. This is a cleaver way of using the leftover yeast in the bread. Yes! apparently, some yeast survive the heat of the oven. All you have to do is mash up a piece of bread in a little water and add it to the rice flour mix and let it ferment!
If you want them to be completely gluten free, feel free to use commercial yeast or use a gluten free starter. Remember commercial yeast is fast acting so your batter will be ready in 2-3 hours. Use 1 tsp of instant dry yeast to ferment, roughly about two cups of flour. Activate the yeast first! Stir the yeast in a little water and a pinch of sugar and let sit for 10 minutes. Then mix that with water and rice flour to form a thick batter. This should now be left in a warm place until doubled in volume. After which you can incorporate coconut milk and salt. There you have it! GF version done!
In my case I'm using my trusty sourdough starter! So my hoppers aren't gluten free. If you have a gluten-free starter, then of course you can follow these same steps and make sourdough hoppers that are gluten free!
The only difference when you are using a sourdough starter to ferment something, is that it takes a longer time. So if you use 1:1 ratio of rice flour and starter, it takes about 4-5 hours to ferment. You can double that time if you use 1:2 ratio. So one part starter to two parts rice flour. This is my preferred method as it allows me to mix these the night before, so I can make hoppers in the morning. Or you can mix in the morning and make your hoppers in the evening for supper. This works perfectly with my schedule, that I can actually make them on a weekday!
Ideally, for this, you need ripe starter. So feed your starter and let it get activated. If you are using leftover starter, then it might take considerably longer to ferment so keep an eye on your batter.
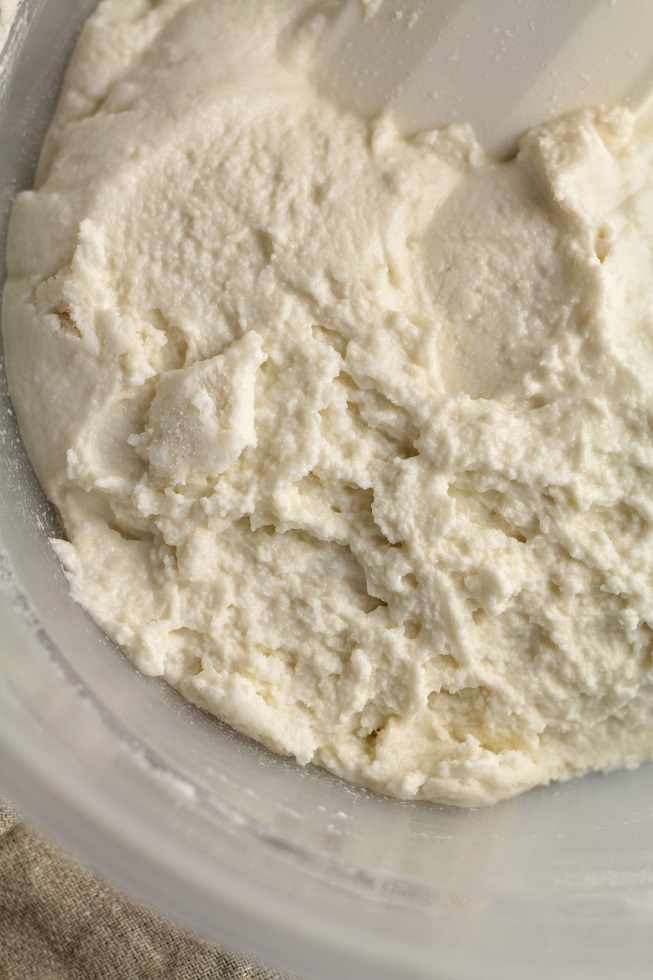
To make the batter, all you have to do is mix rice flour, starter and water in a big plastic bowl. Do not add all the water in. Add half of the water in the recipe and mix well. Then keep adding more water until the batter is thick but not firm. It shouldn't stick to your hand but look like a past than batter.
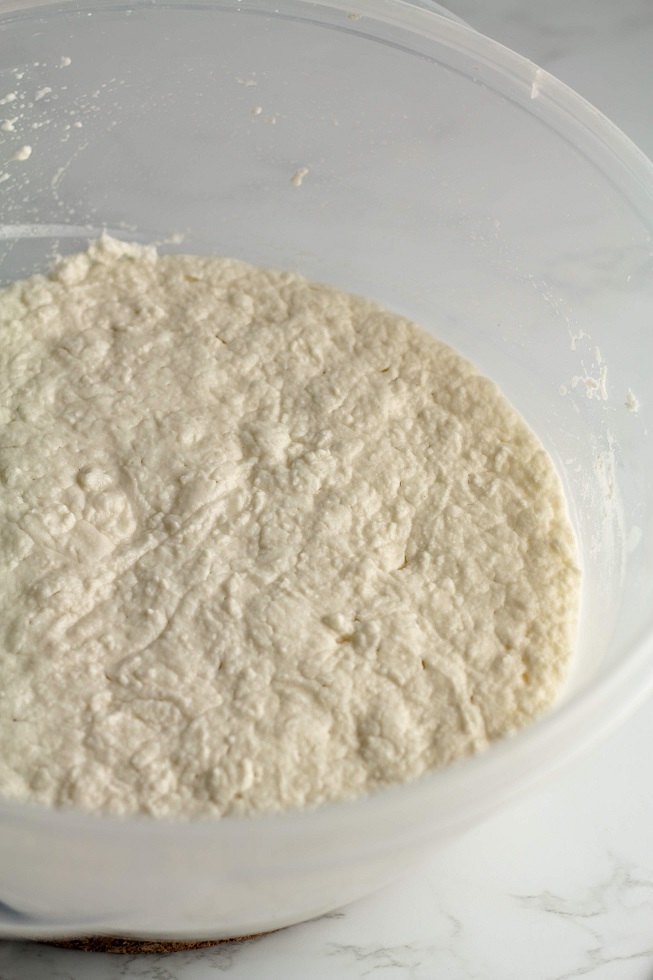
Now all you have to do is let it sit in a warm place covered. You will see some activity in about 4-5 hours. There won't be bubbles or visible action but you will see the batter rising upwards slowly. At the end of the fermentation, there will be a considerable increase in volume. But more than that, when you touch the batter, you will feel it has lightened up and aerated.
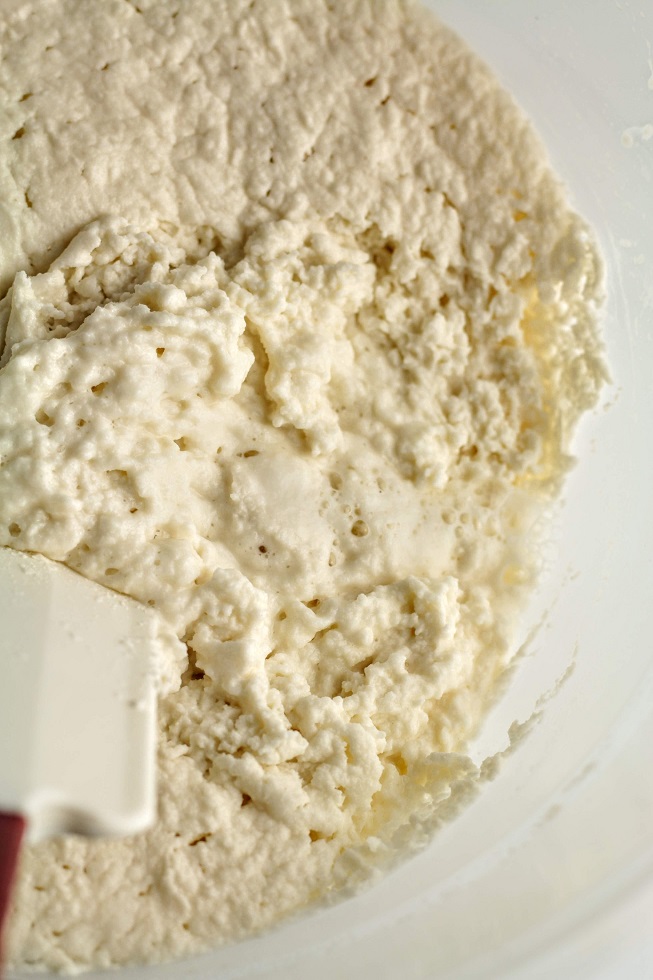
This will look like, cottage cheese and you will see bubbles underneath the dough. Also it will smell acidic or yogurt like!
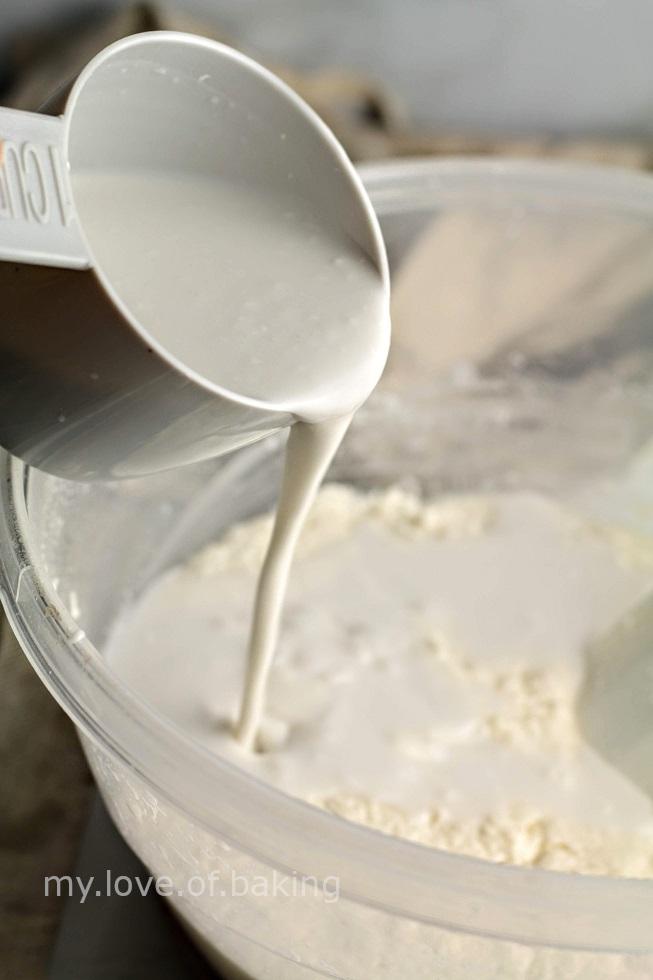
All you have to do now is add thick coconut milk and salt. Again go slowly when adding coconut milk. We need a runny batter but not watery.
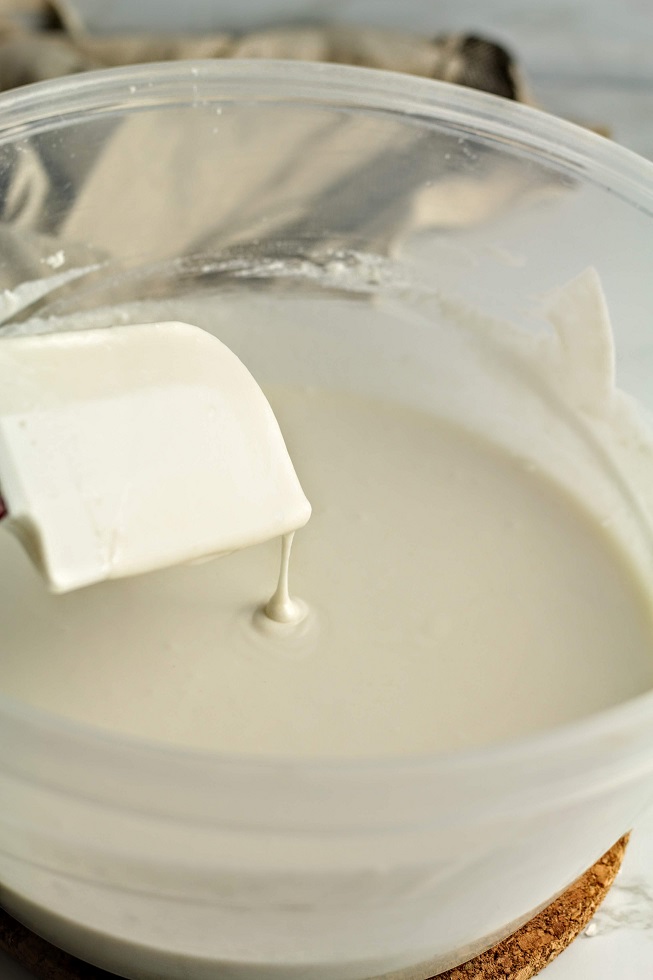
It is runnier than a normal pancake batter.
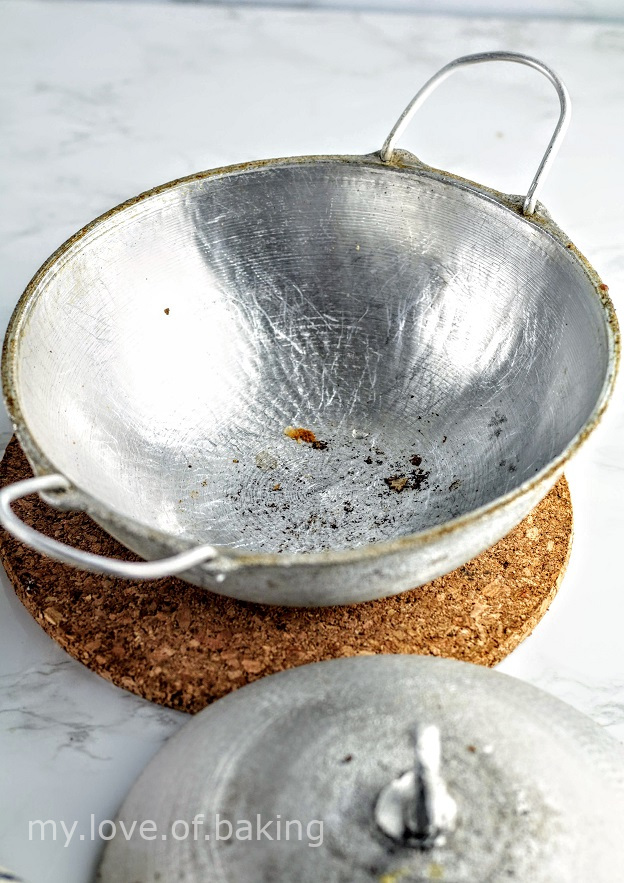
To make the hoppers, ideally you need a hopper pan and the lid and an open flames that heats the sides of the pan.
Spray the pan with cooking oil and remove excess using a paper towel or piece of cloth. Too much oil will prevent batter sticking to the sides. Heat the pan to medium hot, (shouldn't be smoking) and ladle about a 1/4 cups of batter and swirl the pan to let the batter flow around to cover the entire area. Place on medium heat, cover with lid for 30 seconds. Then remove the lid and let the sides go golden brown and crispy. Once done, use an offset spatula or a knife to carefully release the crepe from the sides. Slide the knife all around until it is completely released and toss on to a plate.
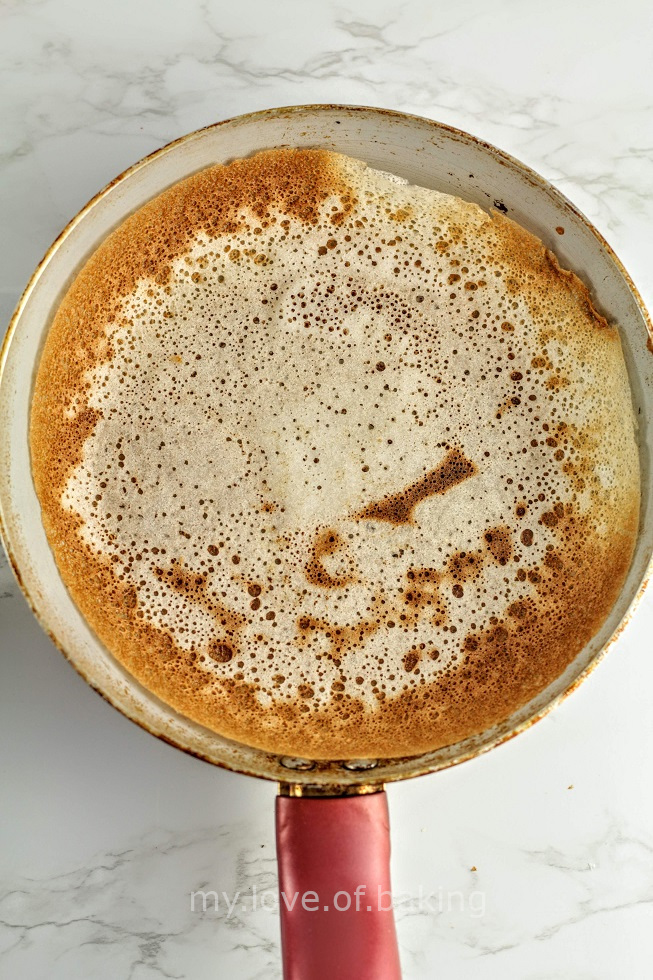
If you don't have a hopper pan, worry not. You can use a non stick pan to make these. They will be of a different shape, but will taste the same.
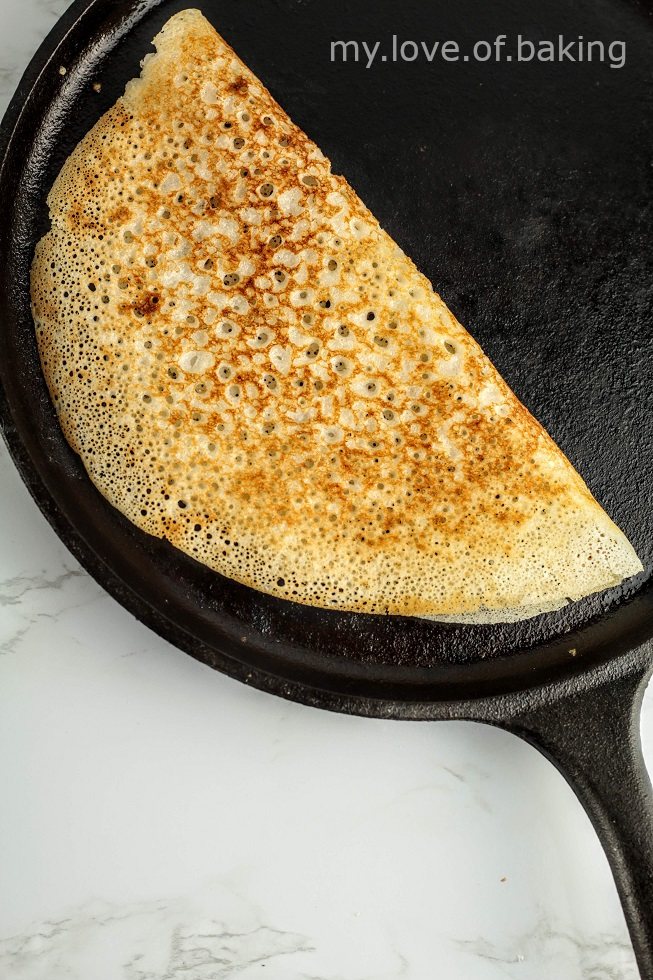
If you have a cast iron skillet, that'll work too. Make sure to spray and wipe excess oil off. Heat the skillet and drop about 1/3 of a cup batter and spread the batter quickly to form a thin crepe. If you have a crepe tool, use that or use the back of a ladle. Or if you can, swirl the skillet so the batter will spread evenly. These will be flat, thin and crispy.
Egg hoppers is another variation, where you break an egg to the center and it will cook the same time as the hopper.
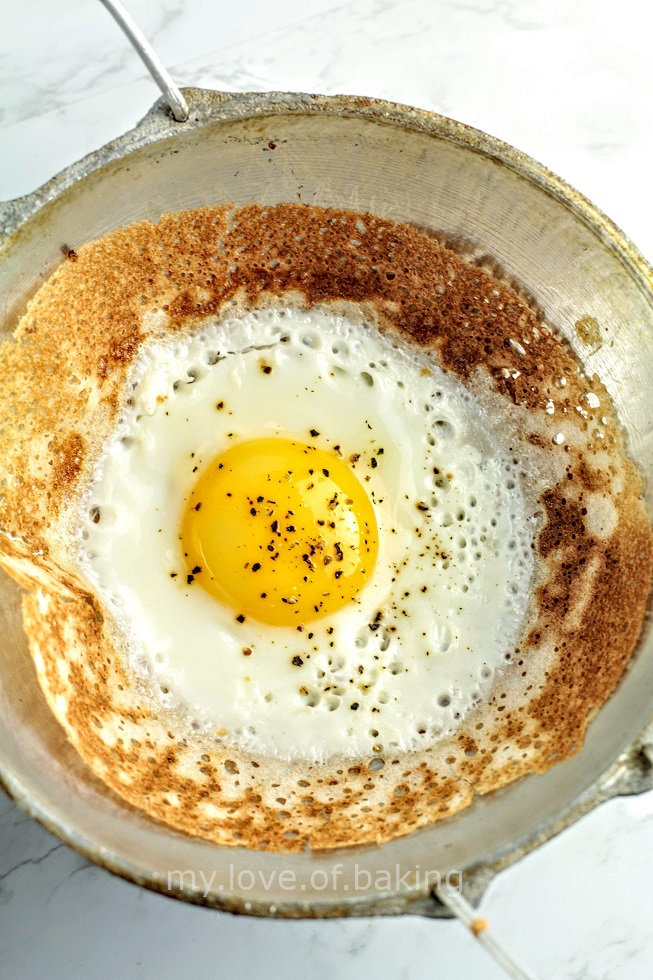
Hoppers are really neutral, so you can serve them with anything. We love it plain, with butter ,with a curry, coconut chutney, salsa, honey, maple syrup you name it!. This can be served as a dessert too, if you pair with cream and strawberries. You can also add brown sugar to the batter and make these extra sweet! Really the possibilities are endless.
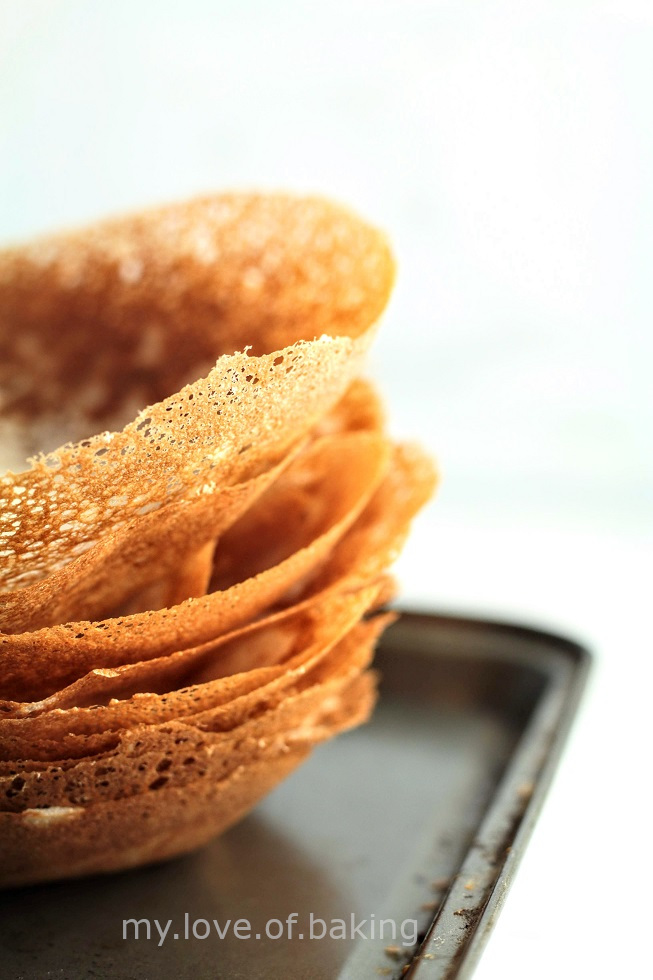
They will lose their crispness over time, so eat them as soon as they are made. You can refrigerate the batter though, for up to a day. Any longer and it will be turn sour.
So give these a go. It is worth it! I'd love to here or see if you try it so please either leave a comment or tag me on Instagram.
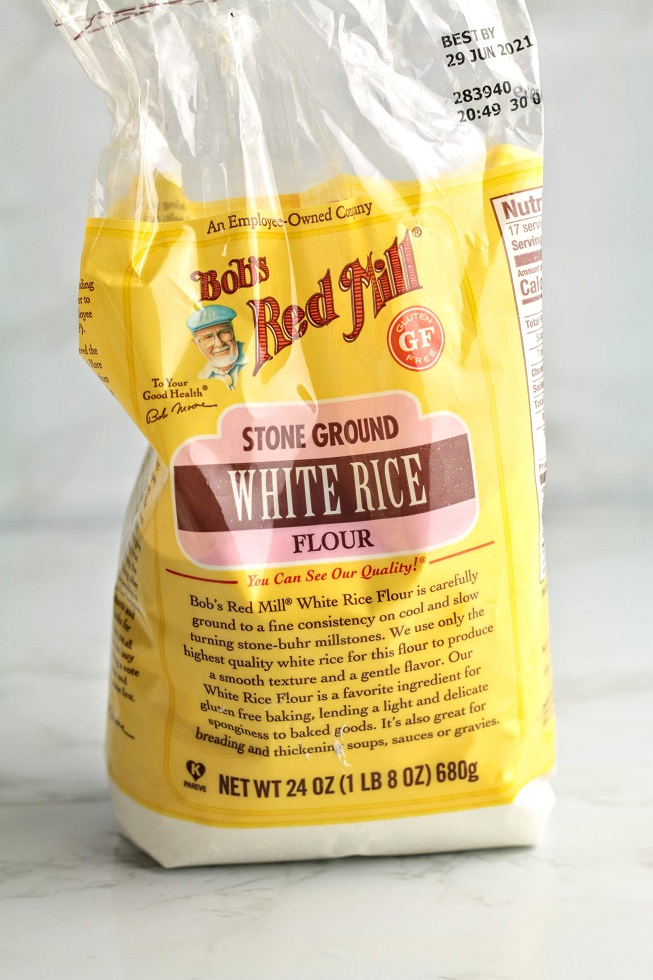
Shop the Ingredients

Hoppers (Sourdough coconut crepes)
Ingredients
Method
- 1
Mix starter, flour, and 1 cup of water in a plastic bowl. Mix well.
- 2
Keep adding water a little bit at a time and mix until a thick paste like batter is formed. You may not need all the water.
- 3
Close with a lid and place in a warm place to ferment (8-10 hours or overnight)
- 4
Add the coconut milk a bit at a time until a thin batter is formed, add salt and stir slowly
- 5
Spay a pan or skillet and wipe off excess oil
- 6
Heat to a medium hot stage (precise heat will produce more bubbles and give a nicer lace like edge. If it's not hot enough, there won't be any bubbles, so the crepe will be like a sheet. We want a net like texture with a lot of tiny holes. That's what makes it crispy
- 7
Once the pan is ready pore 1/4 cups of batter and quickly swirl the pan to spread batter evenly as thinly as possible. Thinner the better
- 8
You will need to practice this a few times
- 9
Now let the crepe/hopper cook and crisp up.
- 10
Once it's edges are golden brown, use a thin offset spatula or a knife to release it from the pan
- 11
Repeat until the batter is finished
- 12
Best eaten while still warm and crispy!
- 13
Never Miss a Recipe
Get new recipes straight to your inbox.

You might also like


Comments
Loading comments…