High-hydration sourdough (Country Loaf)

High hydration bread has received a lot of attention lately, specially among the sourdough bread enthusiasts. And to be honest, this is my favorite way to go, even though it did require a lot of time, practicing and perfecting the method.
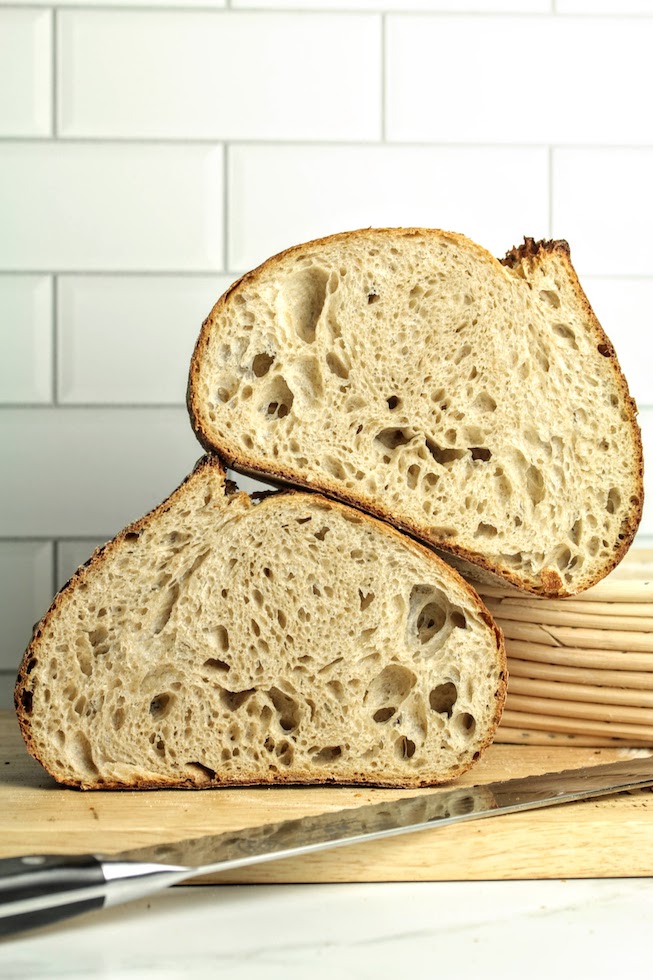
What is not to love about a high-hydration bread, be it a baguette or a loaf. The thin crispy crust and the gelatinous open crumb is the ultimate bread goals. Am I rite? It is such a pleasure to slice through these crusty bread and they are the best when toasted.
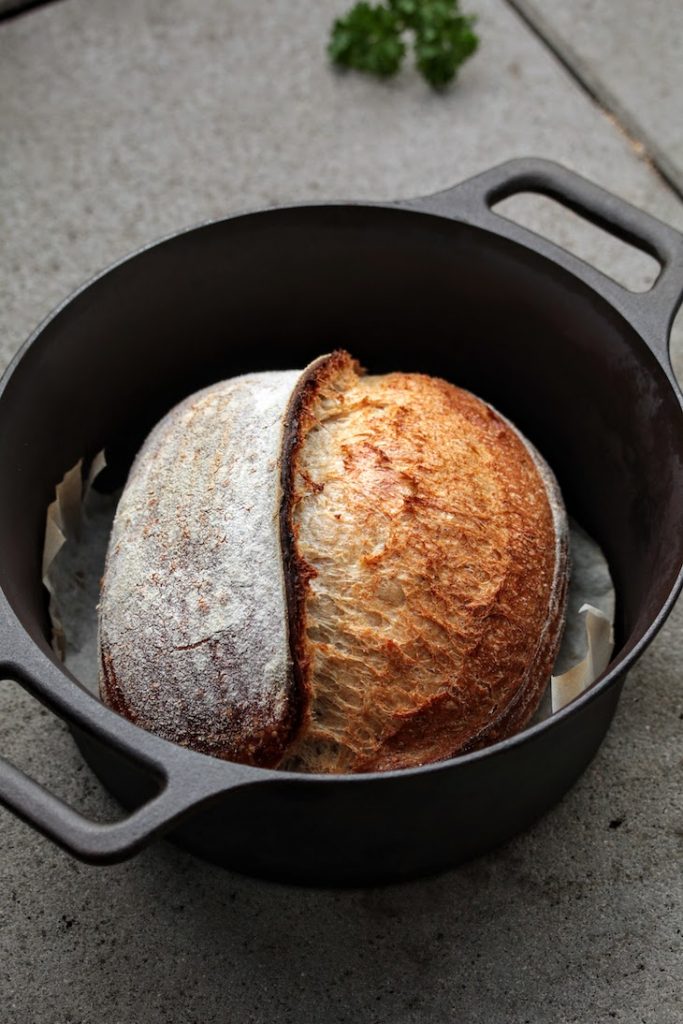
My baguette recipe is a high-hydration one. Naturally, baguettes are higher in hydration than other breads as we need that moisture to obtain the signature irregular, open crumb.
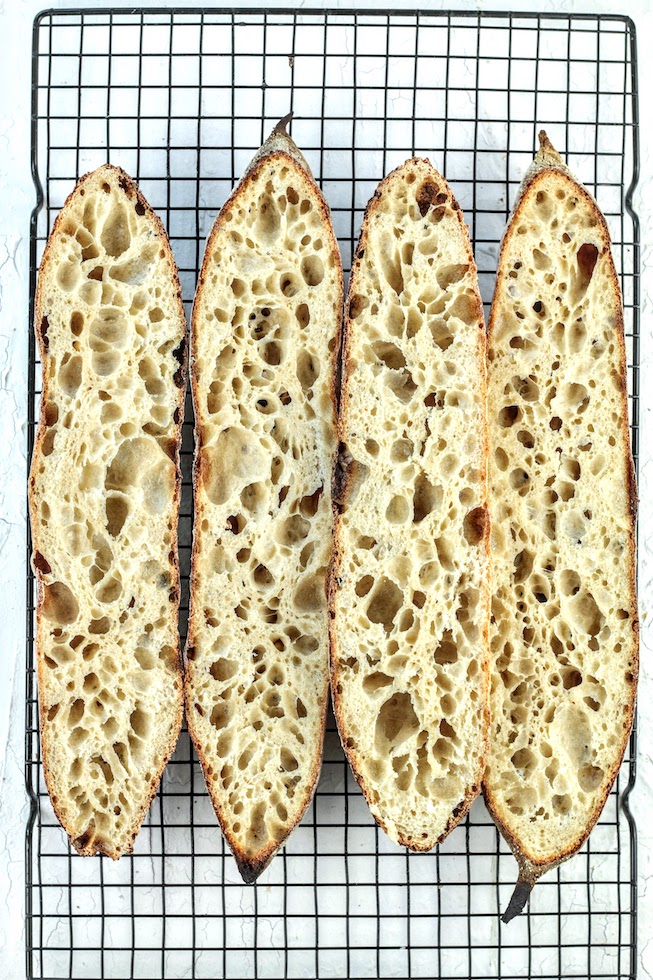
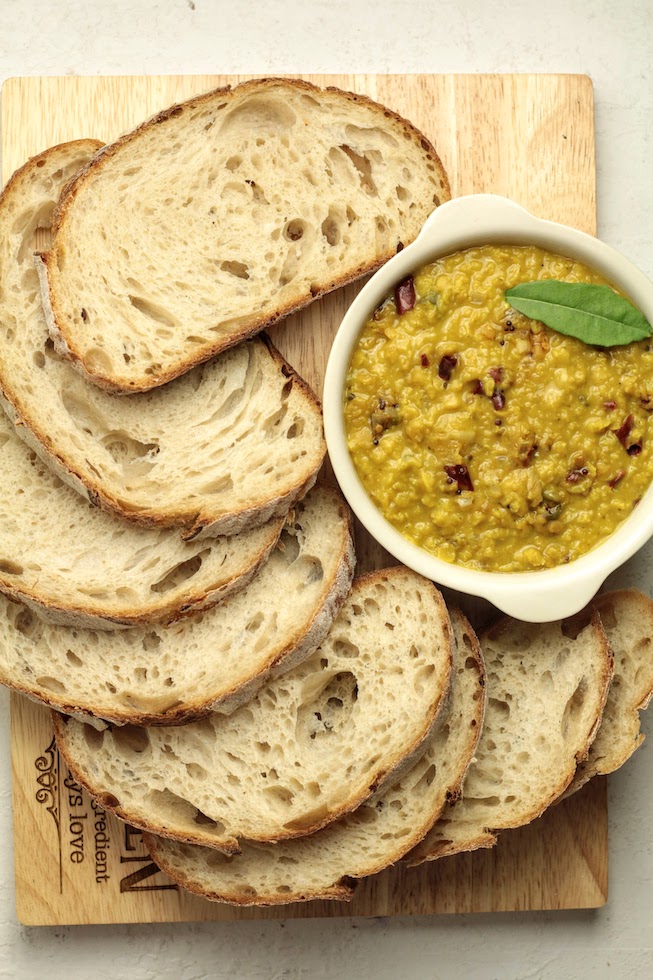
The high water content makes the crumb gelatinous as it bakes, and hence the chewy bite that we all adore. A glutenous crumb doesn't go mushy, when you dunk it in a broth, curry, or a stew.
Flour I use
I use all sorts of flour. But when I fist started making bread at home, I stuck with a good brand of store bought white bread flour (13% gluten). This is important. Do not try to experiment with flour until you are thorough with your recipe, process and technique. Once you have graduated out of beginner level, then it is time to mix different flour varieties and be adventurous.
For my bread baking now, I mostly use locally milled flour. In Washington you can find good quality flour and if you look for you will find similar types in your region too. I mostly use flour from CairnspringMills and Fairheven Mill. They have high-extraction flour with higher gluten % and finer particles. Learn more about flour in this post.
I use different proportions and experiment different ratios in every loaf. A common recipe I bake often is similar to following;
60% cairnspring mills T-85 (either expresso, trailblazer)
30% cairnspring mills T-85 Sequoia or skagit 1109
10% white bread flour (any brand)
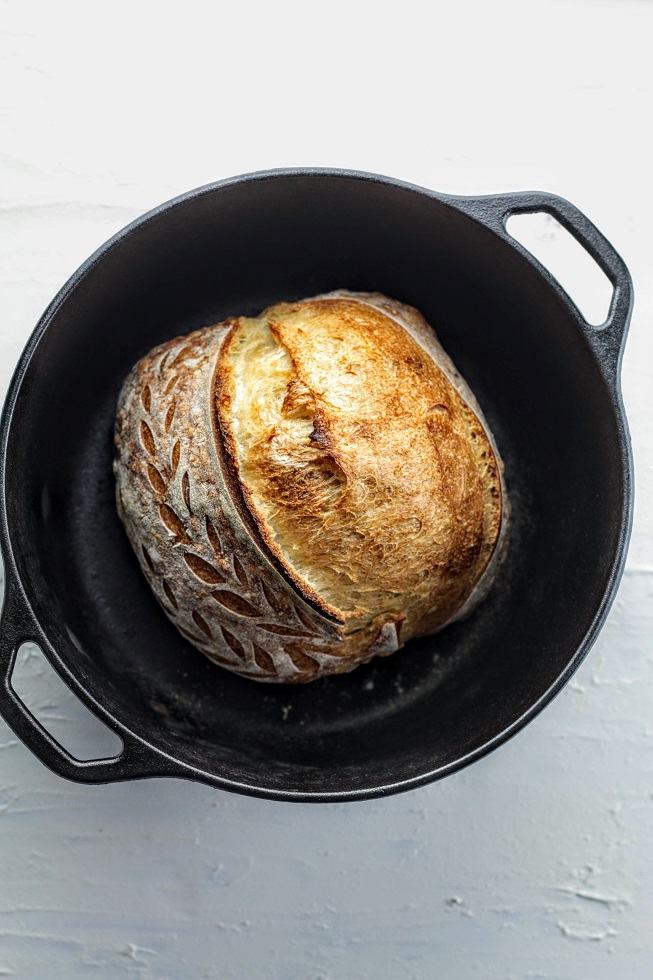
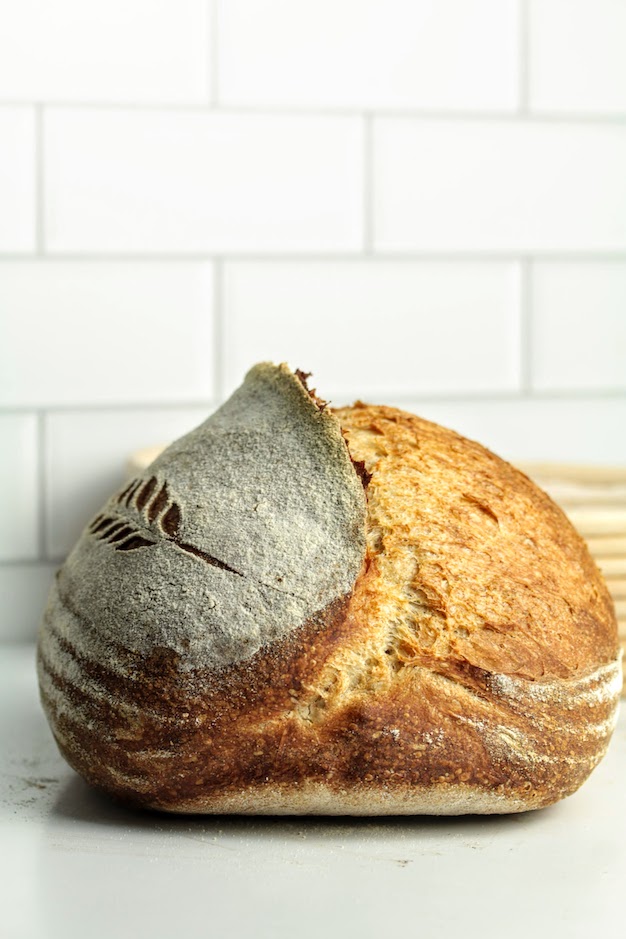
Baked bread in a round dutch oven
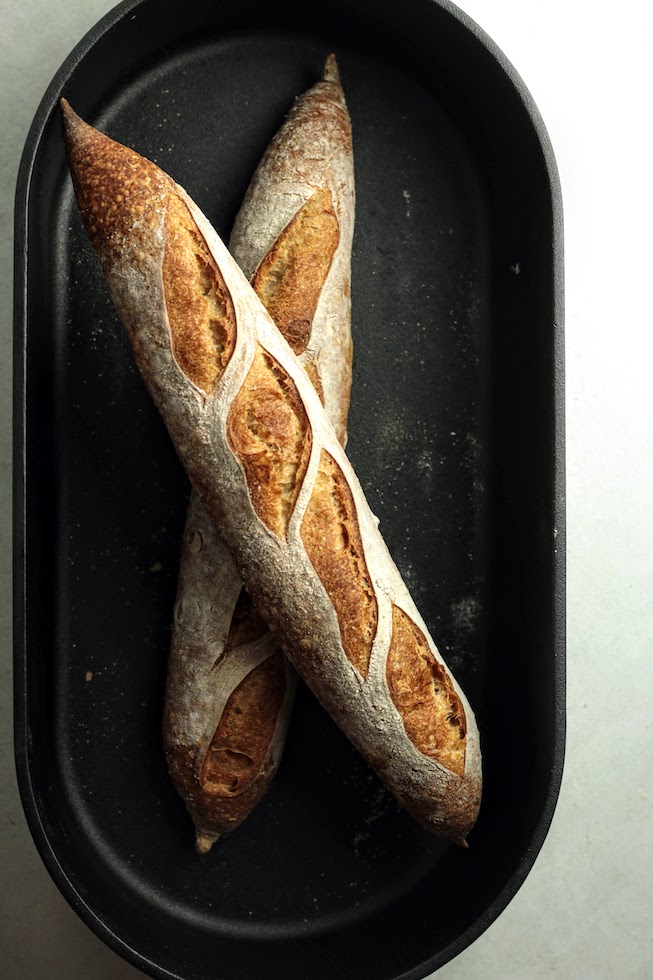
Enough talking and lets get bakin'. So here are the step by step process that I follow and found to be most aligned with my daily schedule. I mostly make the bread in the evening/night and bake it the next day evening. But feel free to attempt this anytime of the day and it is okay to tweak the process here and there to fit to your personal liking.
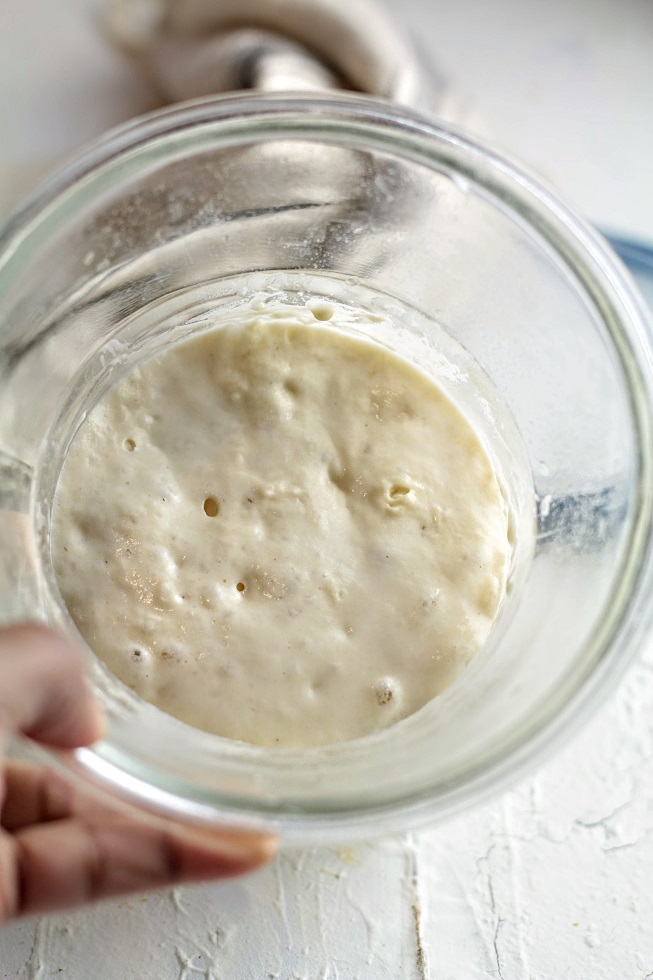
First step is getting the starter ready. Feed the starter with 1:1 water and flour mixture several hours before making the bread. (the time depends on your starter, room temperature and the amount of culture that you feed. Read more on this here.
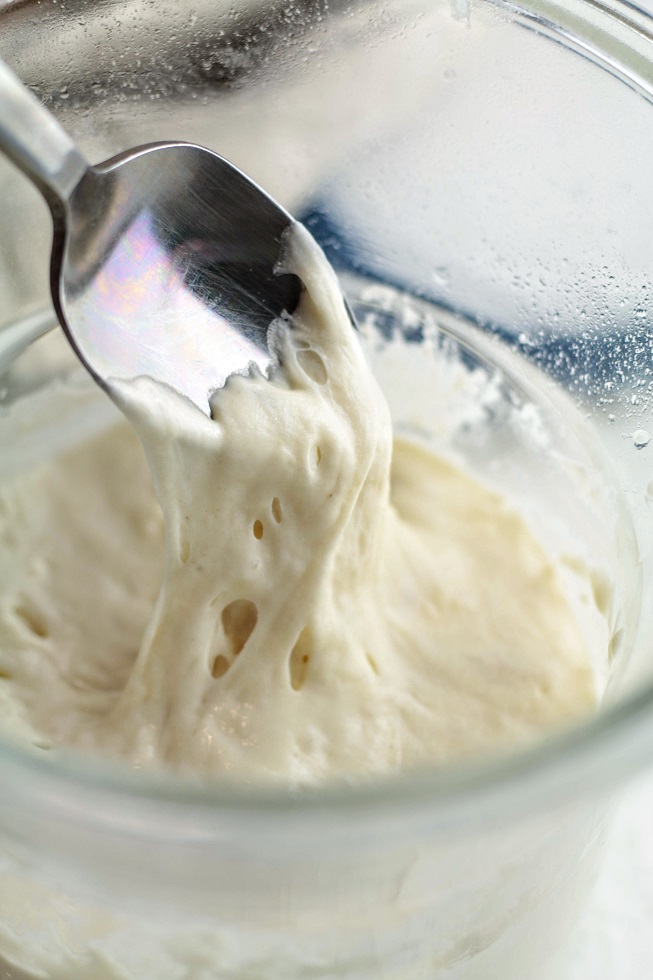
Starter should be at it's peak. I usually feed my starter with bread flour and before feeding mix the flour and water thoroughly and make sure to mix well with the culture. The mature starter will be spongy and full of bubbles.
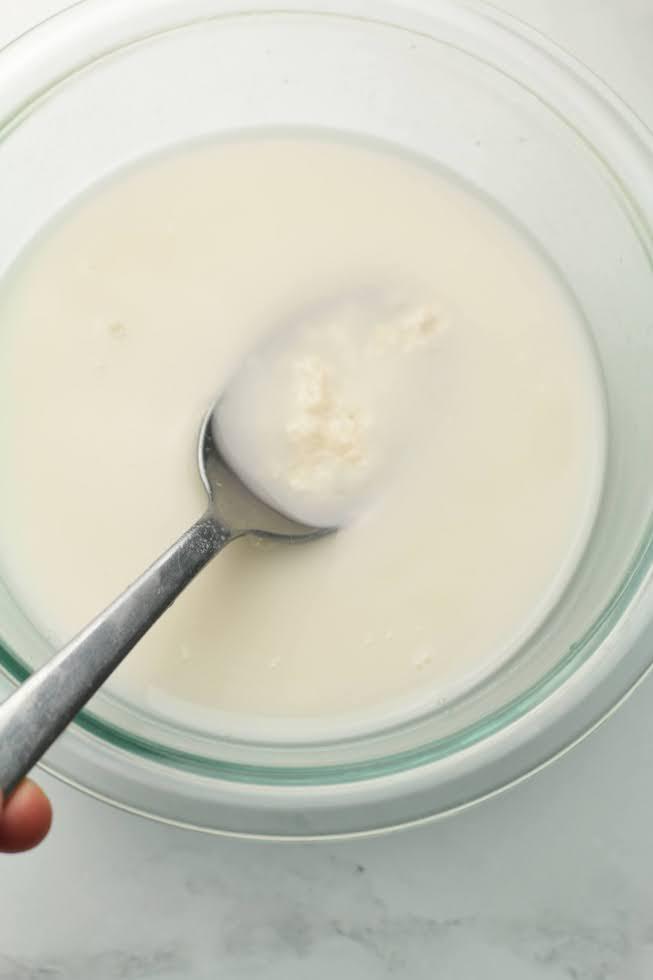
Measure 260 g water into a bowl and add the starter into the water directly. Starter should ideally float on top of the water. Dissolve the starter in water before adding to the flour.
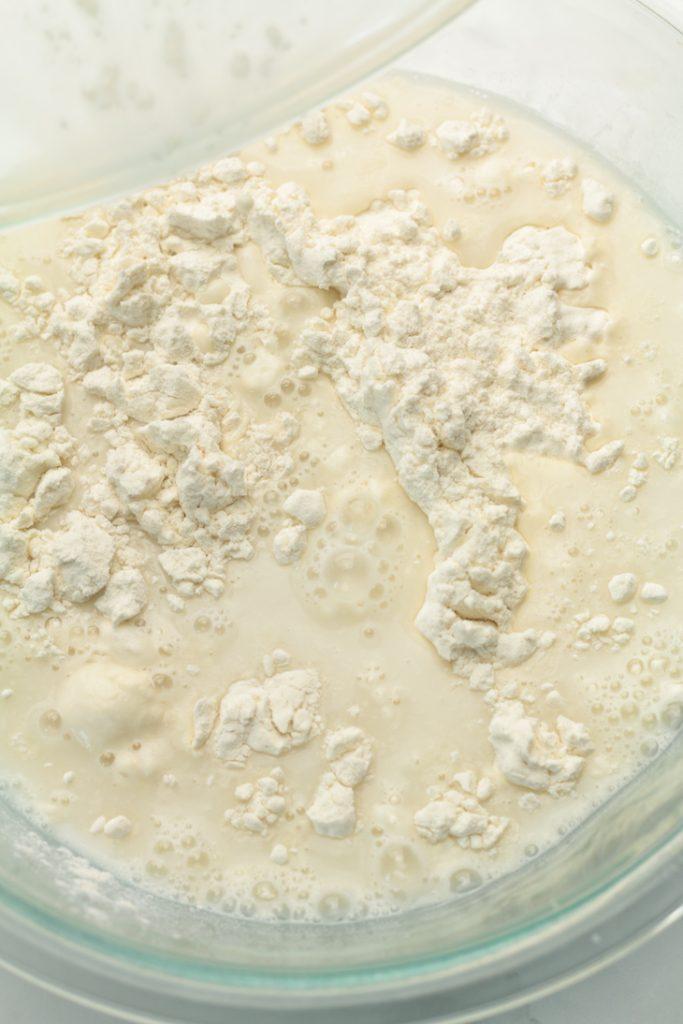
Mix flour (350 g) and starter+water in a large container. Just mix until incorporated, do not knead. I'm using a locally sourced, freshly milled strong organic bread flour here. This flour is great, it is a thirsty flour and of 13% gluten. But feel free to use the bread flour you have got at hand, but the results may slightly vary.
This is how it should look, it is just combined, make sure all the flour is wet (well hydrated). Now close the lid and leave this for an hour.
This is autolyse. Meaning the flour will absorb as much water as it can and gluten will start to form and enzymes will get activated.
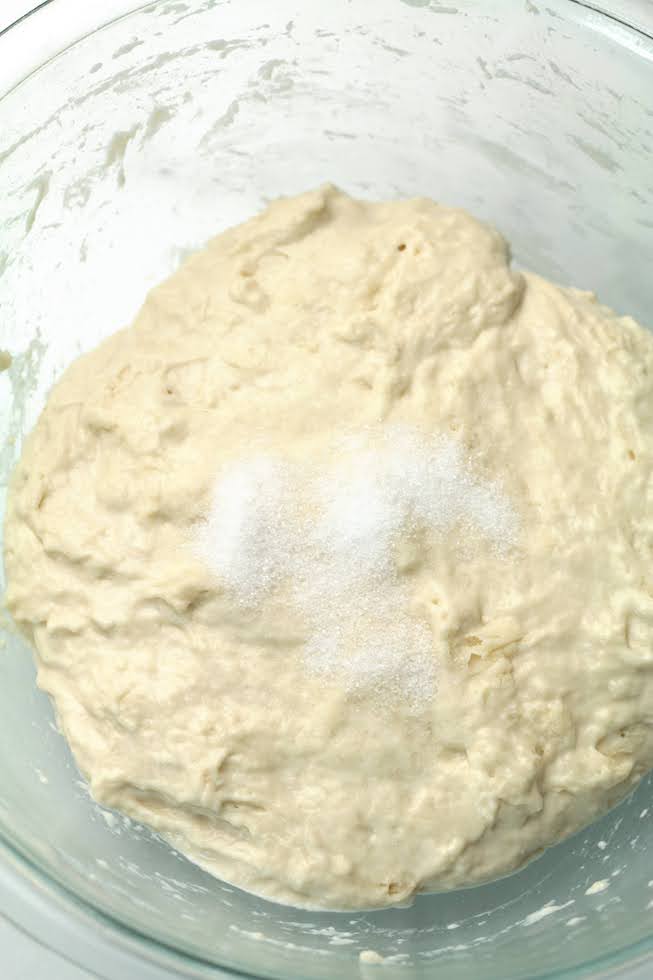
Then add the salt. Wet your hands before mixing the dough. Slap and fold technique works best for wet doughs like this.

After a few minutes of kneading, the dough will come together. This whole process of adding salt should not take more than 2-3 minutes.
Now cover and let this rest for 45 minutes. Do not over knead.
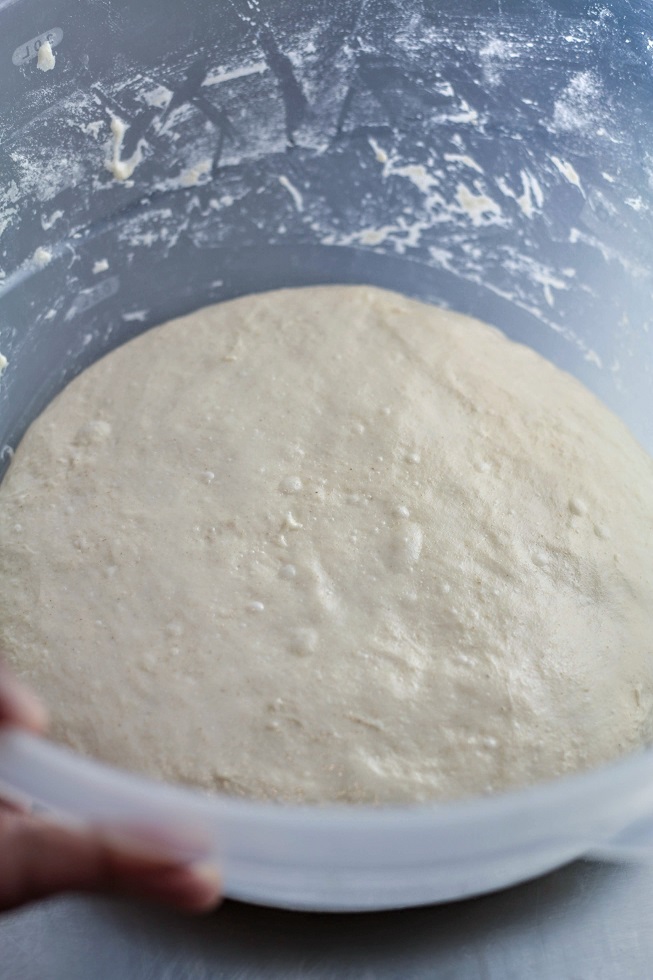
After the first 45 minutes, the dough will be spread like this. Give a coil fold / stretch and fold, whichever you prefer. Simply shape it back into a tight dough ball. Like the next picture.
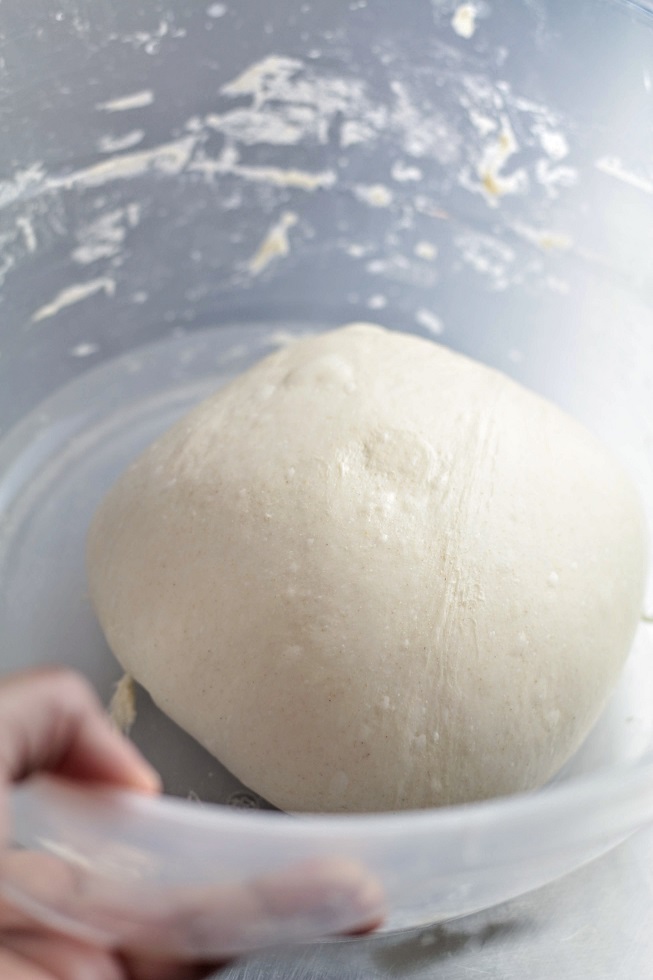
Dough is tight again. Every stretch and fold will strengthen the gluten structure. Now cover and let rest for another 45 minutes.
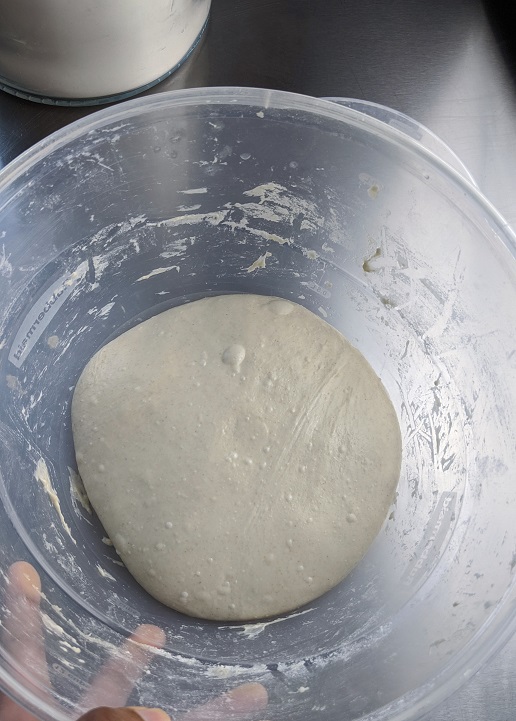
After the second 45 minutes, the dough will look spread again. Do another coil fold and bring the dough together to a tight ball. Like in the next picture.
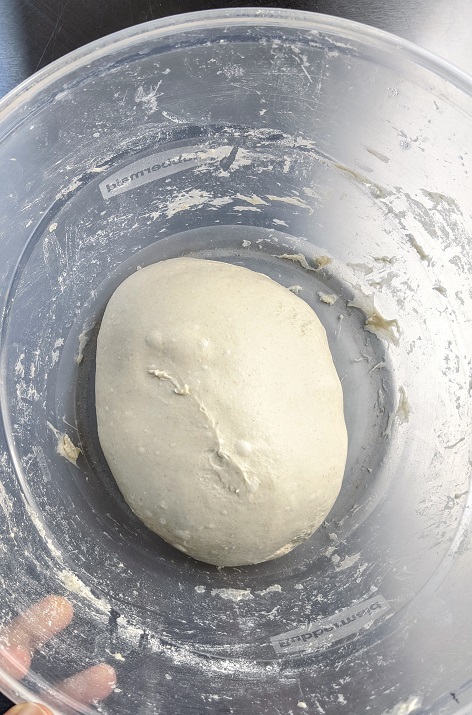
This time the dough will feel much more elastic and you will see air bubbles here and there. These are signs of gluten being strengthened and fermentation. Check my folding video here. Now, cover and let this rest for another 45 minutes.
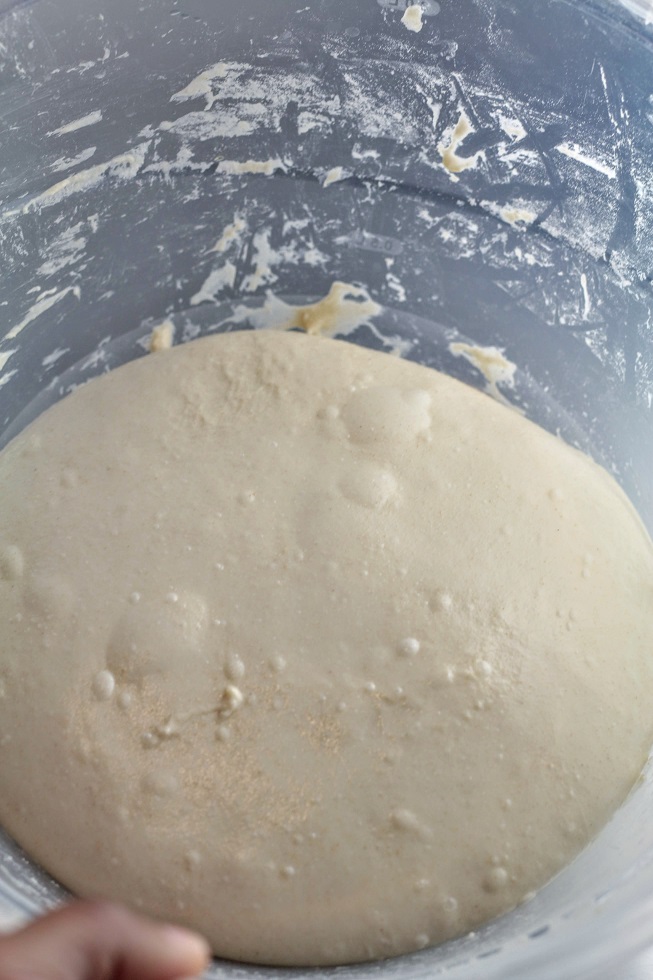
This will be the final fold. This time around, the dough is much stronger. Be careful when you fold. Do not do more than 2 coil folds. Notice the bigger air pockets and the dough has grown slightly too.
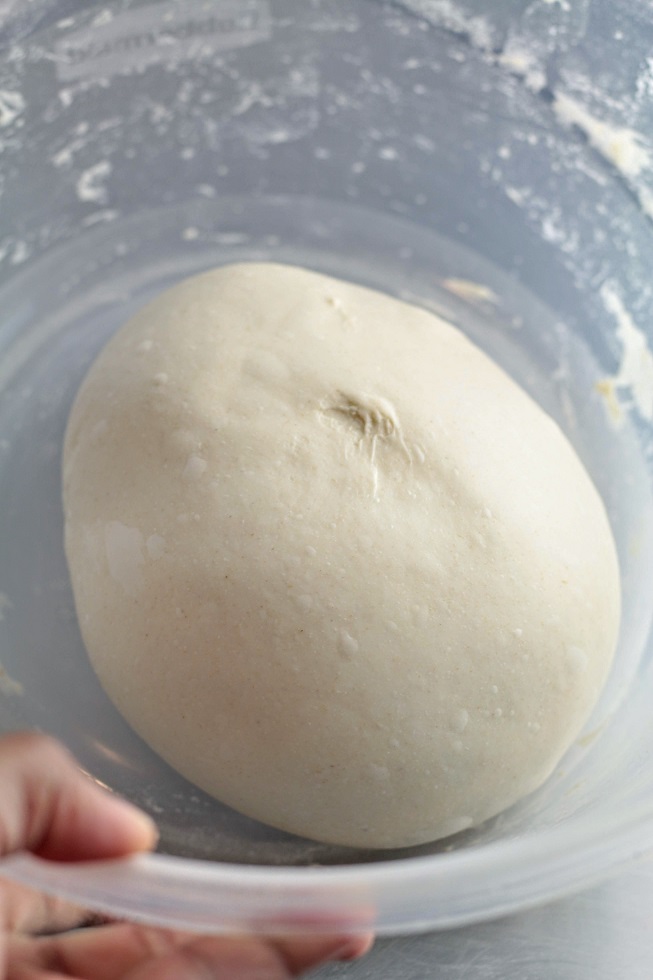
After the final fold, the dough is much stronger and now we are ready for the final hours of bulk. At this stage we are done strengthening the gluten, now we need to give undisturbed time for the yeast to do their job. Close the lid and let this ferment for two hours. My room temperature was around 19C. If yours is warmer reduce this to a 1 1/2 hours. If its colder you can give it up to 3 hours. Decide that by looking at the dough.
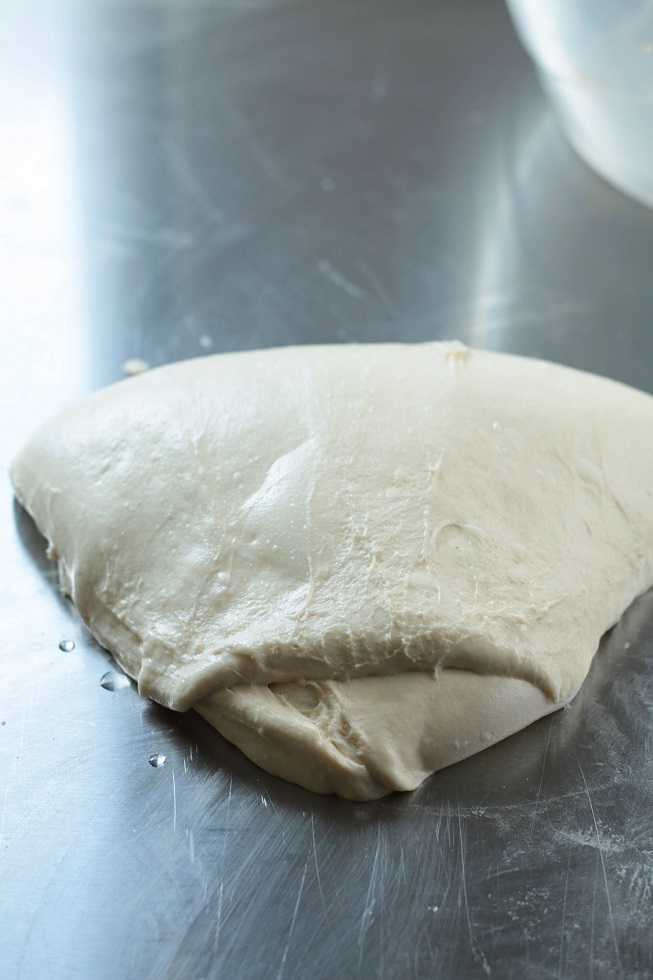
At the end of bulking, the dough will look plump and a bit wobbly. Dump the dough on to a lightly dusted surface and pre-shape.
pre-shape means; tuck the lose ends underneath and bring the dough into a tight ball.
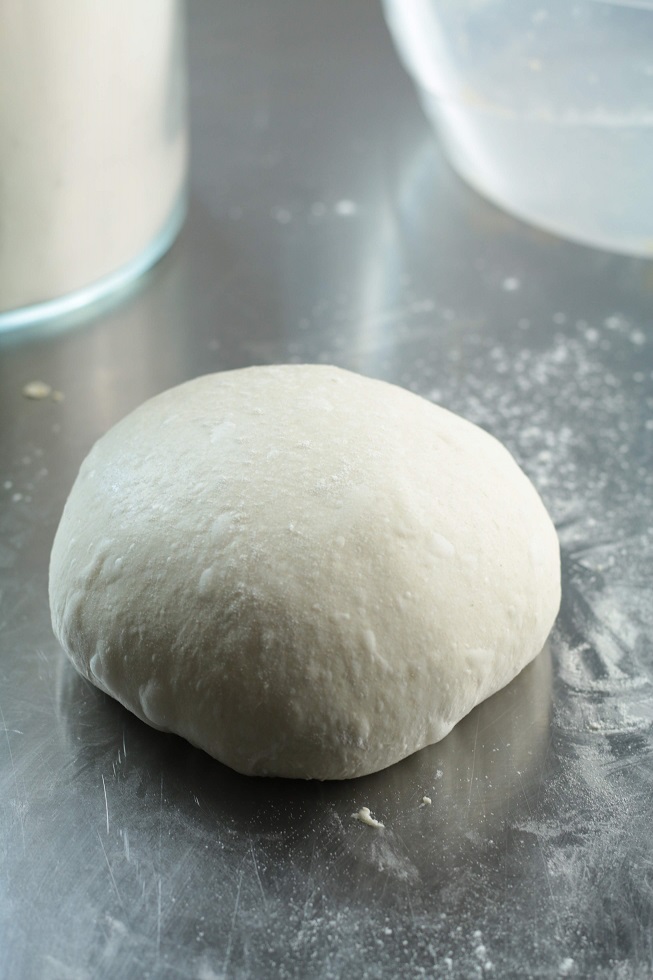
Pre-shaped dough. This will feel super strong and stretchy and elastic like a balloon.
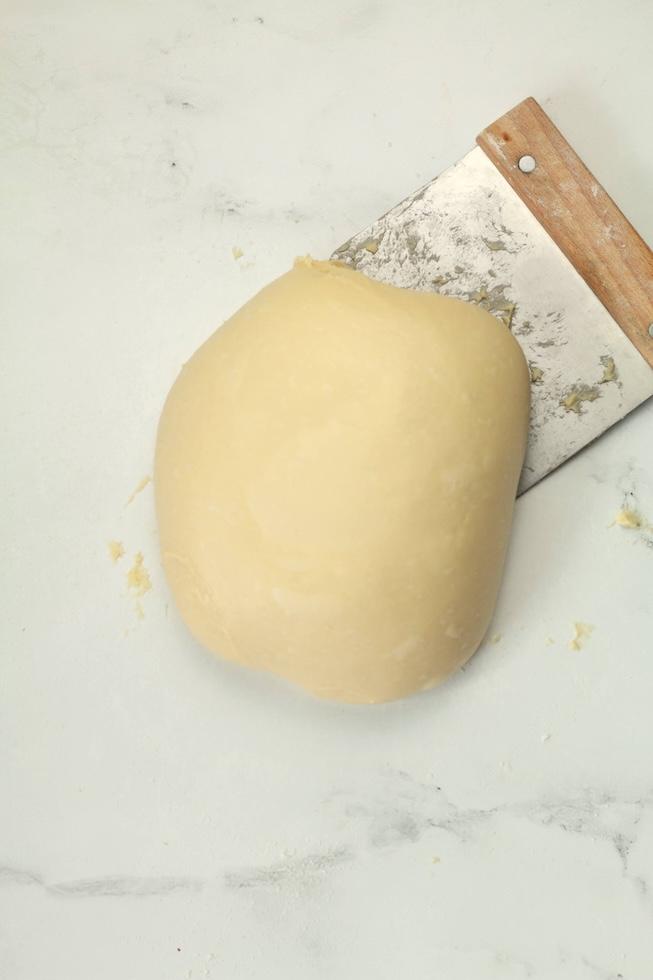
Cover this and let it rest for 30 minutes. This will help the gluten relax, so we can shape this into a loaf easily. Otherwise, the dough will be too elastic and would try to unwind when you shape.
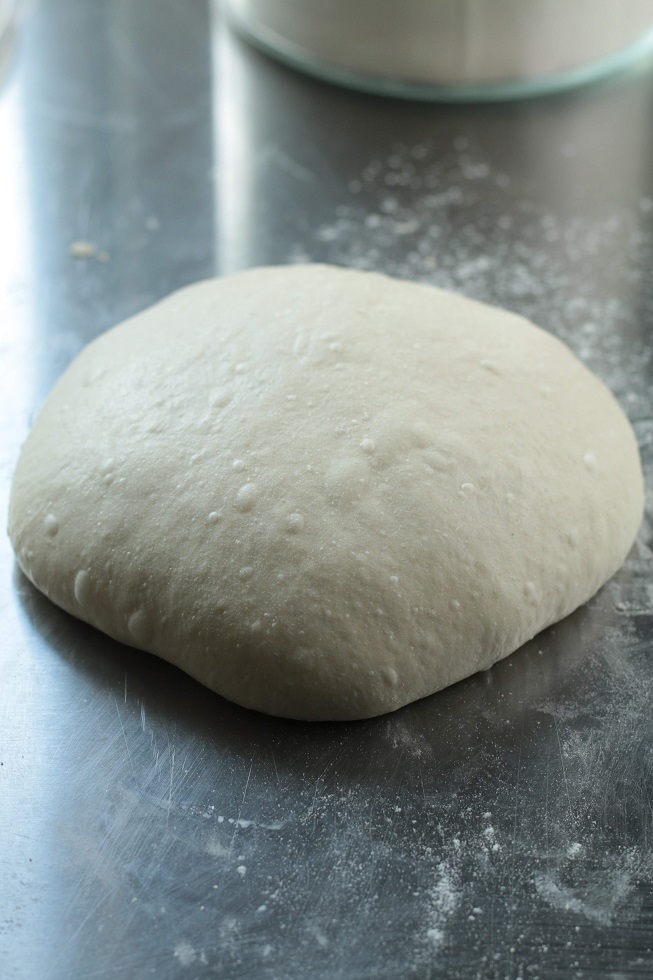
This is the rested dough. This is now ready to be shaped. Check shaping video here. This is only one way of shaping, you can find many more methods on the internet.
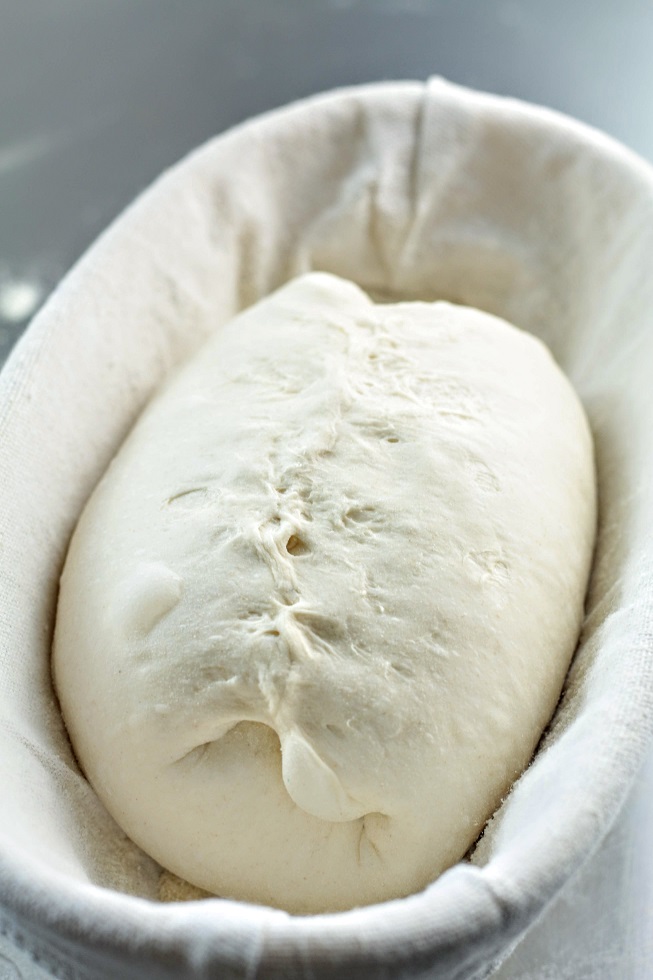
Once shaped, place in the banneton basket. You don't need a special basket to proof a dough. Check this video where I have a loaf pan with a tea towel.
This is a 10"x 5"x 3" size banneton. Alternatively, you can also use a loaf pan of similar size. Cover the loaf pan with a thick tea towel and dust it generously with flour/semolina.
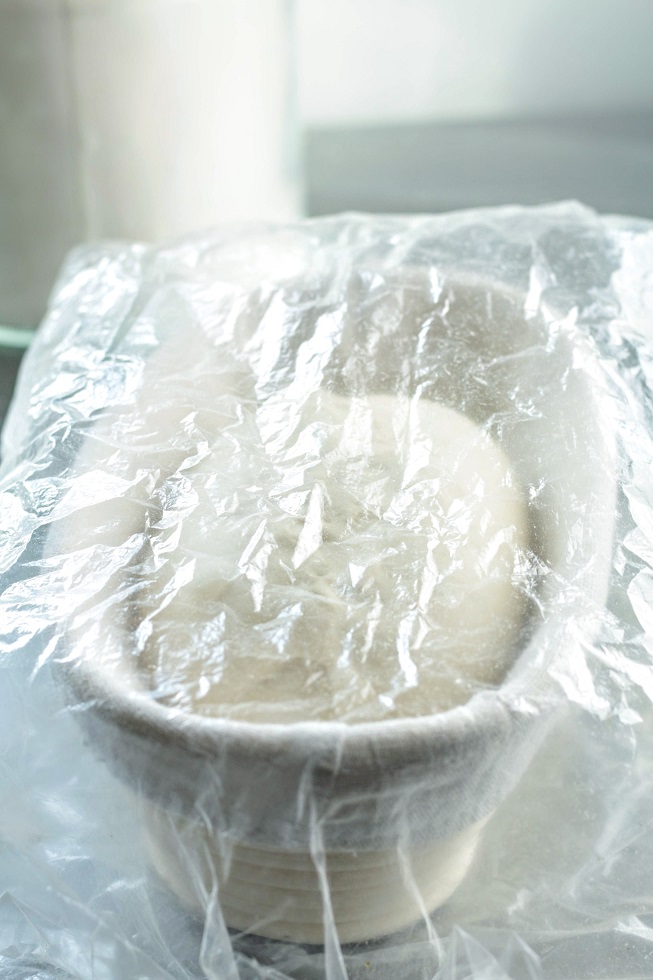
Cover the whole thing with a plastic bag and place in the refrigerator until you are ready to bake(usually next day). This slow fermentation is called retardation( we are actually slowing down the fermentation) This could be anywhere from 18 - 24 hours. I left it for 24 hours.
When you are ready to bake, first preheat the oven, with the Dutch oven (if you are using one) or your baking stone in. Thermometer placed inside should read 500 F / 260 C. Let the oven heat for another 30 minutes or an hour even after the temperature reaches this. Check below to see how to bake with/without a Dutch Oven.
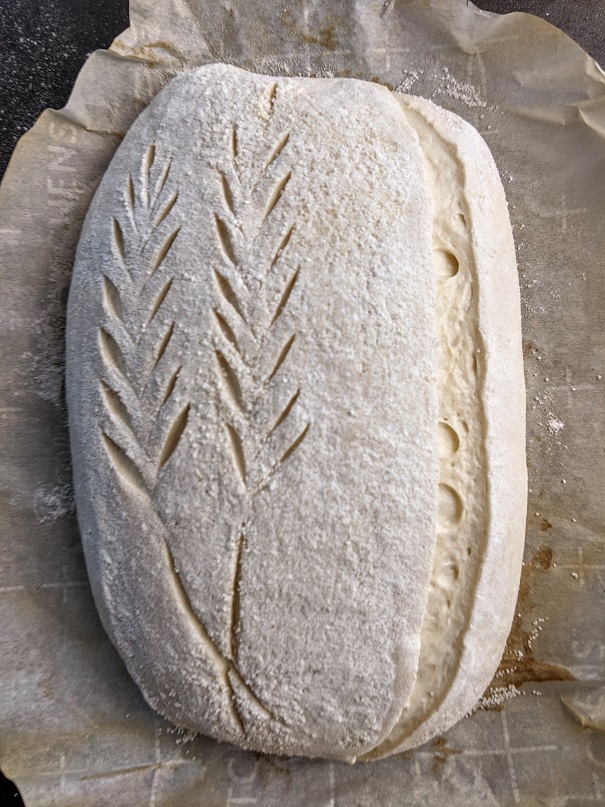
Now, take the loaf out from the fridge and tip onto a floured (rice flour) parchment.
Spray with some water and dust with flour. Remove the excess flour and score the bread. Place in the Dutch oven/or directly in the oven. Bake 25 minutes lid on, and then reduce temp to 450 F and bake another 20 - 25 with lid off.
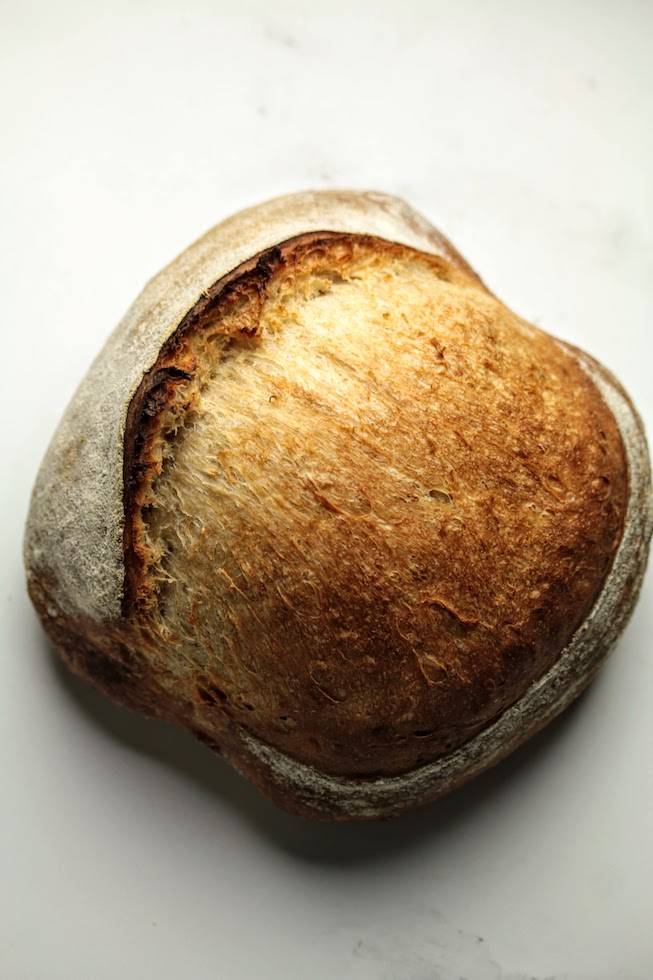
Once baked, let the bread cool on a wire rack.
Baking bread at home
At home, bread can be baked using different techniques. Because we don't have industry standard ovens or built in steam always, we need to get a little creative here. Let me show you how.
Open baking
If you have a convection oven (convection setting/fan forced) you can try to bake without a Dutch Oven. But make sure your oven is capable of heating properly. The best way to find out is, by baking a few loaves, of course.
For this method we need a surface that can reach a very high temperature (to act as a stone base). You can use any of the following; baking steel (I use @bakingsteel), heavy metal sheet, pizza stone (ceramic or cast iron), cast iron lid (of the dutch oven) etc.
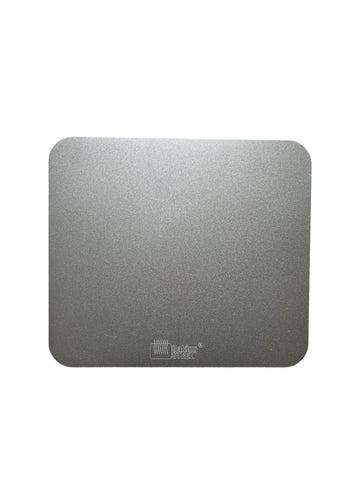
Then you need to find a way to create steam. Use a bread pan filled with boiling water (place a tea towel in so the water won't boil vigorously). Also use a spray bottle to add a mist once the bread is in. Last but not least, you can throw some ice cubes either on the steel or onto another tray placed underneath the bread.
Now depending on where the heat element is, you may need to decide where to place the bread. My oven has a top heating element, so I place my bread on the lower 3rd of the oven. Preheat the oven to 500°F with convection setting on (make sure to use an oven thermometer) for about an hour with the steel in.
Then place the pan with boiling water. Score and place the bread on the steel. Throw some ice, and spray some water, close the oven door. Bring the temperature immediately down to 450°F. Bake the bread for 20 minutes. then pull the boiling water out and continue to bake for another 20 minutes.
Using a Dutch Oven
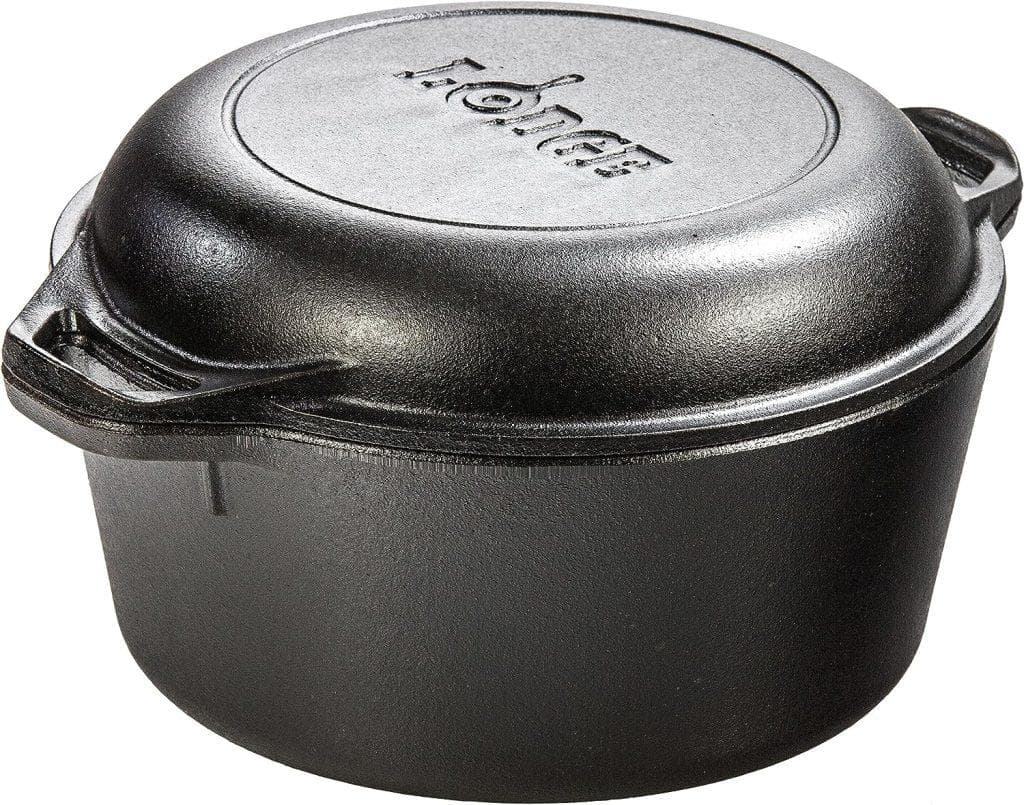
If open baking is not an option, you can always rely on this method. A Dutch Oven (DO) is very reliable and you can make sure the bread is baked to perfection every time. Cast iron, ceramic, porcelain anything works. A Dutch oven creates a nice hot environment and traps moisture. So you don't have to worry about providing steam. However you can place a few ice cubes inside the preheated Dutch Oven with the bread to create extra steam. This helps expand the bread and create that thin crispy crust.
Place a rack in the center of the oven. Place the Dutch oven (Lid on) and preheat the oven to 500°F with conventional (maximum) or 475°F with convection settings for about an hour. This temperatures could vary depending on your oven so please do a few trials and adjust accordingly. Some ovens are very efficient and even without fan, it may reach a very high temperature pretty quickly.
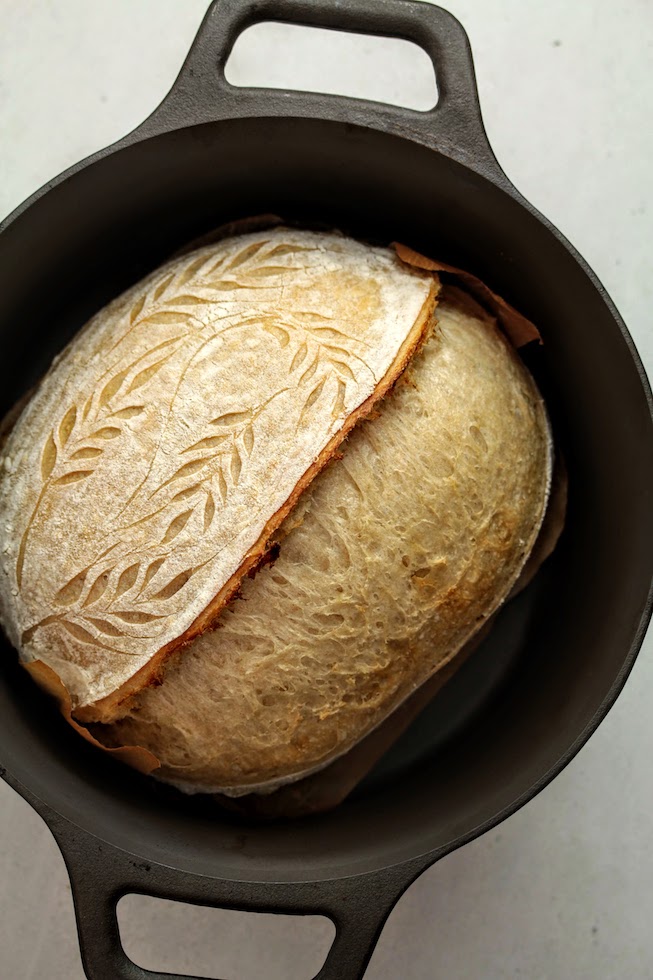
Then place the scored bread in the Dutch oven, replace the lid. (Place some ice cubes in if you like and have space in the DO). Bake for 20 minutes
Then remove the lid, bring the temperature down to 450°F and bake for another 20 minutes.picture shows a bread after the first 20 minutes
Always let the bread cool completely before slicing into it. I know this is hard, but the crumb will be a lot less sticky once bread is cooled. Use a serrated knife for clean slicing. You can store the bread wrapped in a tea towel or use a paper bag. If you want to keep for longer, wrap in plastic and freeze.
Shop the Ingredients


High-hydration sourdough (Country Loaf)
Ingredients
Method
- 1
Make the starter ahead of time
- 2
Dissolve the starter in water and add it to the flour. Mix until hydrated.
- 3
Cover and set aside for an hour
- 4
Add the salt mix to incorporate. Do not over mix Read and check blog photos and relevant steps
- 5
Let this rest for 45 minutes, covered
- 6
And give a fold after 45 minute rest. Check photos and video above
- 7
Repeat this twice more
- 8
After the final fold let the dough rest for two hours (or longer if it is cold)
- 9
After the bulk proof, pre-shape the dough and let it rest for 30 minutes
- 10
Then shape the loaf and place in the proofing basket
- 11
Cover with plastic wrap and refrigerate for 18 - 24 hours
- 12
When ready to bake, pre heat the oven ( for1 hour)
- 13
Check the post for different baking settings. You can decide to use a Dutch Oven or Open bake the bread depending on your oven and preference
- 14
So preheat accordingly
- 15
When the oven is ready, take the bread out of the fridge, score and place in the preheated oven bake according to instructions given in the post above
- 16
Let the baked bread cool off on a wire rack before slicing
- 17
Use a serrated knife to slice the cooled bread and enjoy!
Never Miss a Recipe
Get new recipes straight to your inbox.



Comments
Loading comments…