Spiced Fruit Sourdough
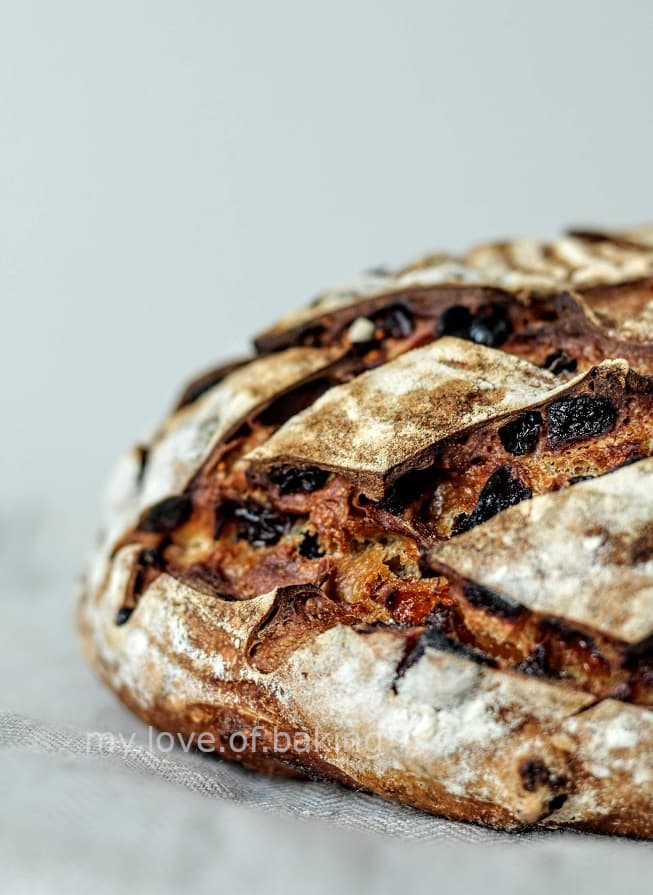
My weekly sourdough baking is aligned with our weekend breakfast routine. Saturday brunch, if we are home, is our most anticipated time of the week. This features my sourdough, our favorite deli spread(smoked bacon, cheese, maple syrup, butter, relish) poached eggs, avo, beans and sausages (on someday) and home brewed coffee. We have been doing this ever since we moved to Seattle, which is almost a year now.
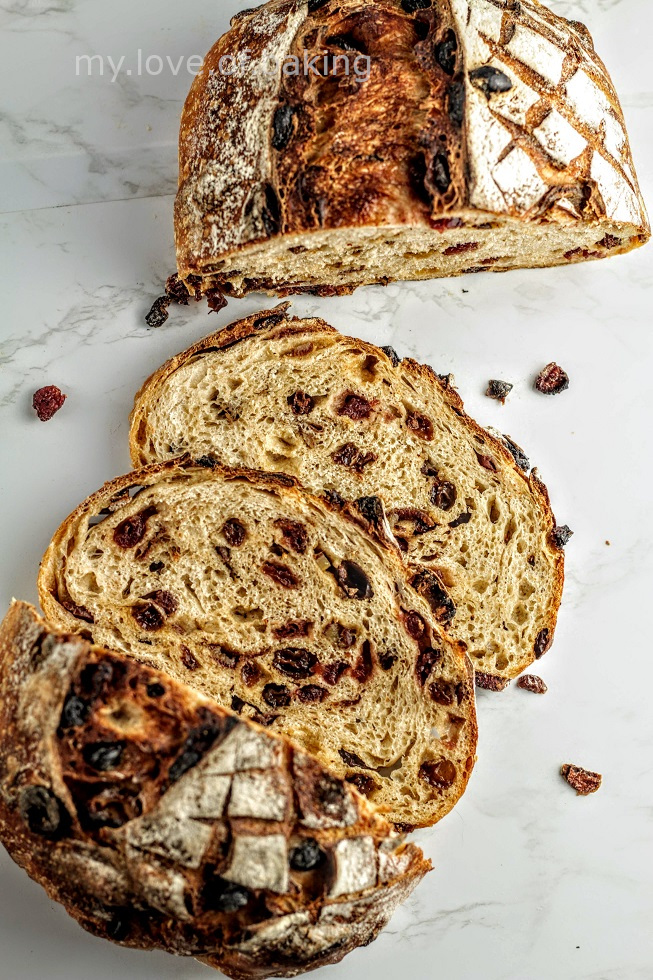
Back in Melbourne, we used to go out as there were plenty of good, soulful, cosy cafes that served real sourdough bread and the best coffee in the whole world. Not to mention the fine french pastries and pies and cakes and slices....
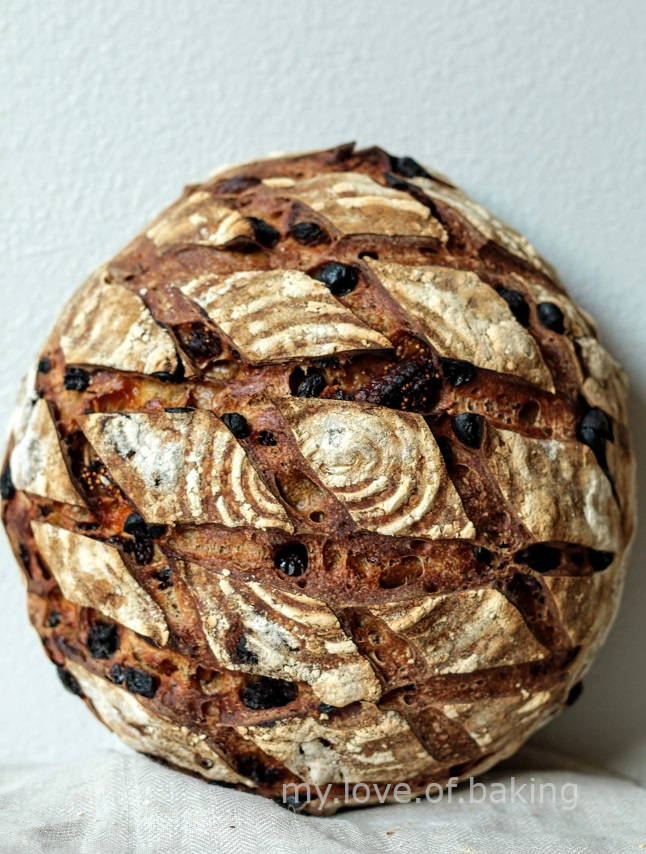
There was one particular breakfast (I have this for lunch too) at a deli cafe in the hills, which was my favorite. This was a toasted fruit sourdough served with sticky baby figs and mascarpone. I have recreated this dish many times since. The most important part of this dish, the fruit sourdough, obviously, was from a local sourdough bakery, which I used to work for, for two years(lucky me!). So my fruit sourdough is inspired by this bread, but I have tweaked the recipe so much over time to suite our taste.
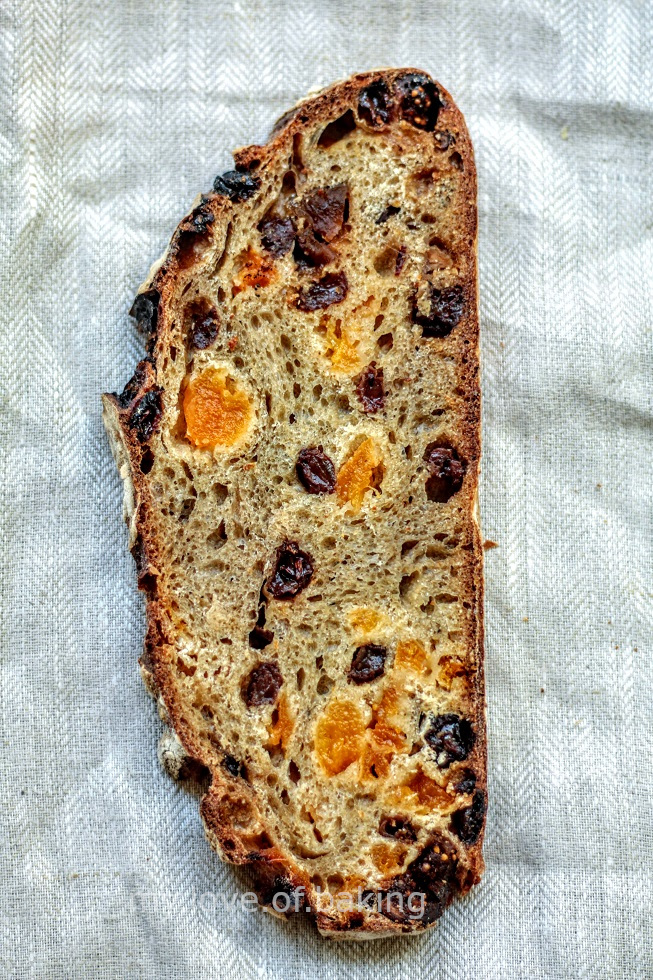
I use different dried fruit combinations and use different spices every time to make it exiting. You can use most of the dried fruits like Sultana, Raisins, Currents, Cranberries, blueberries, apricots, prunes, plums, figs etc. I always keep it limited to three verities, two sweet and one tangy. But it's up to you.
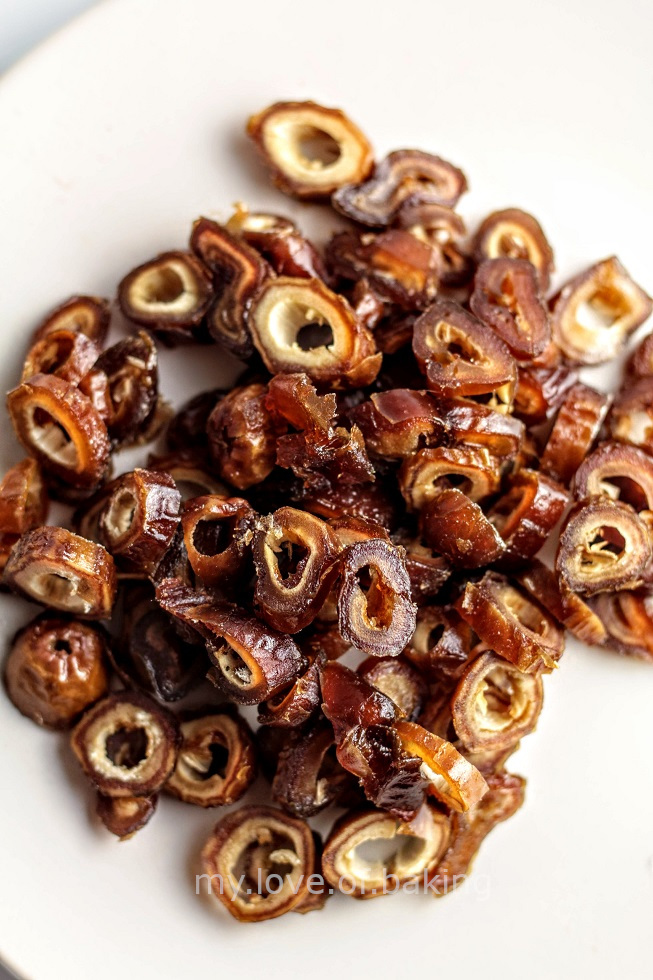
Dates add a nice sweetness. You can use dried figs too
You can also use spices like cinnamon, cloves, pumpkin spice, nutmeg to give it some warmth. This will really enhance the flavor and the house smells festive every time I bake these breads.
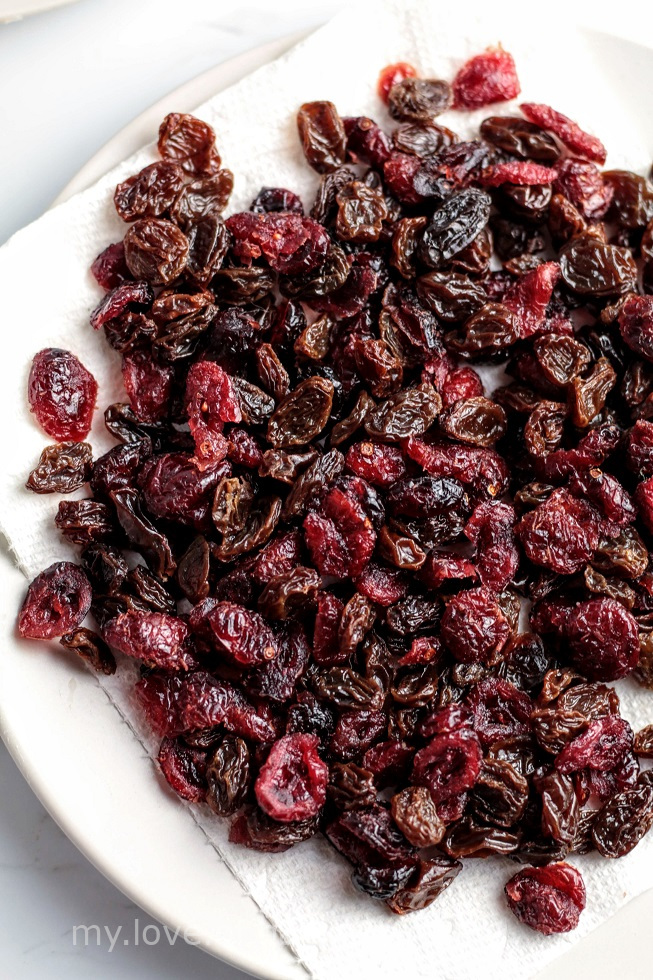
Make sure to wash the dried fruits, specially the dark colored once. This will wash off excess residue and also help them hydrate slightly. I figured this out the hard way. The dried fruit tend to absorb water from the bread dough resulting in a tougher dough, which inhibits fermentation, gluten development and the oven spring later.
Alternatively, soak the dried fruit over night, drain and pat dry
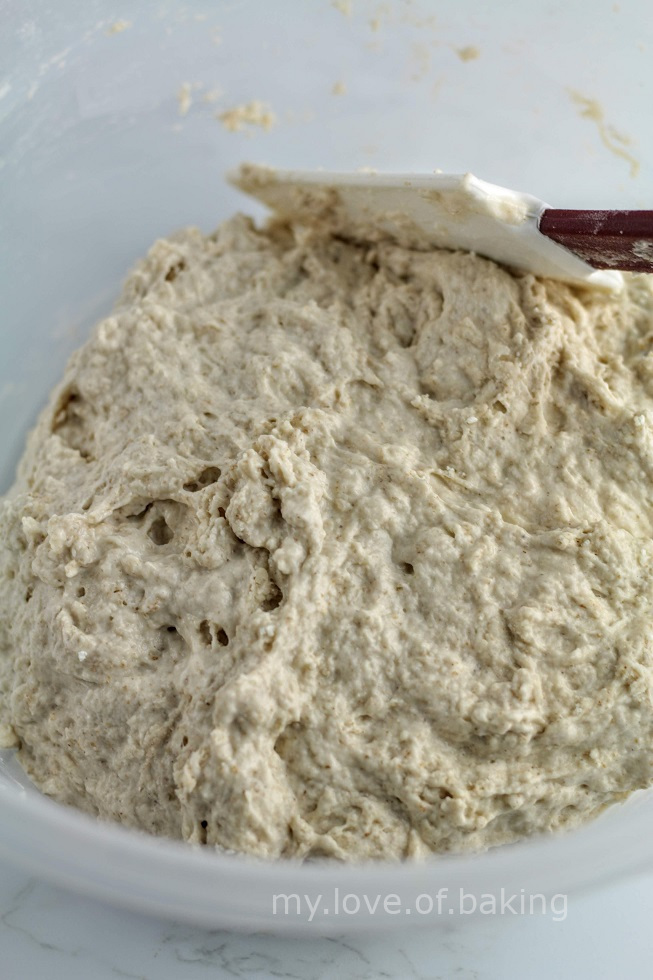
The dough that is just mixed would look wet and sticky. After an hour of aulolyzing(or fermentalizing), this will be a lot firmer and easier to handle
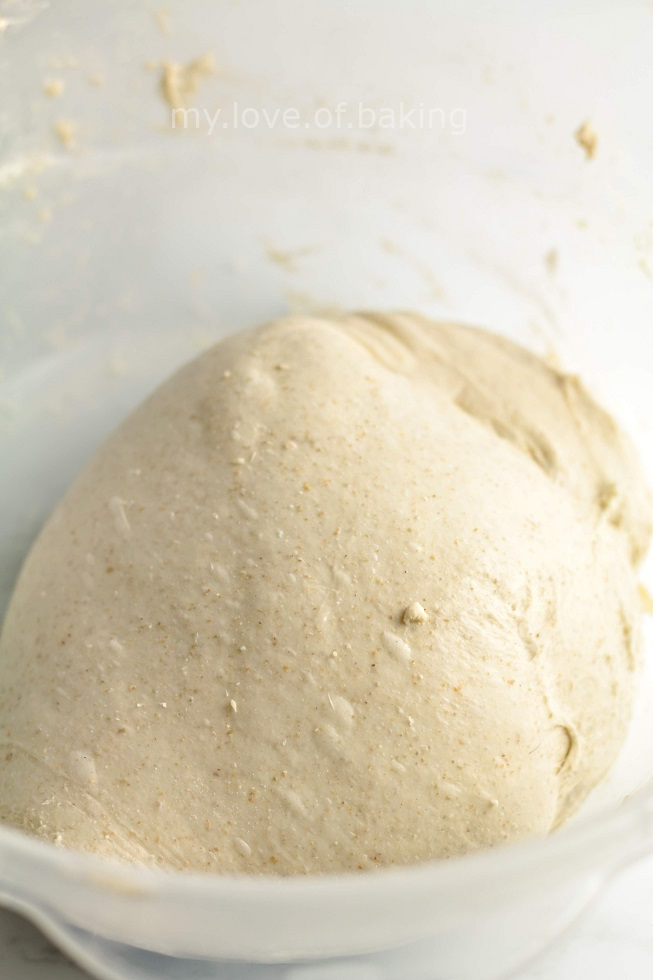
After the kneading, it will start to look much smoother. This dough is now ready for bulking.
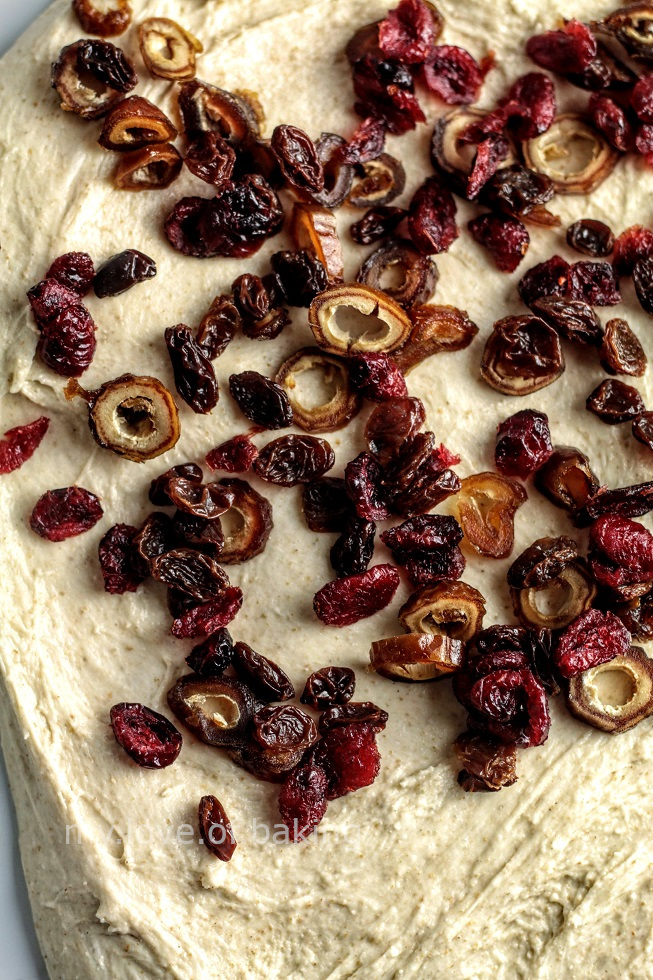
As always, incorporate the fruit at the end of the kneading, just before the bulk proof. This will make sure the gluten development is not disturbed.
The wet dough is about 75% hydrated as the dried fruit will absorb some moisture later.
Also fruit brings in sugar to the dough and to counter balance that we need to up the leaven percentage a little. Sugar is hygroscopic and will compete with yeast for water, which could inhibit fermentation.
If you mix the dough with the fruits in it, more sugar is going to get incorporated into the dough, so adding fruits later prevents this. Also we just fold the fruit in, by hand and not mixing vigorously.
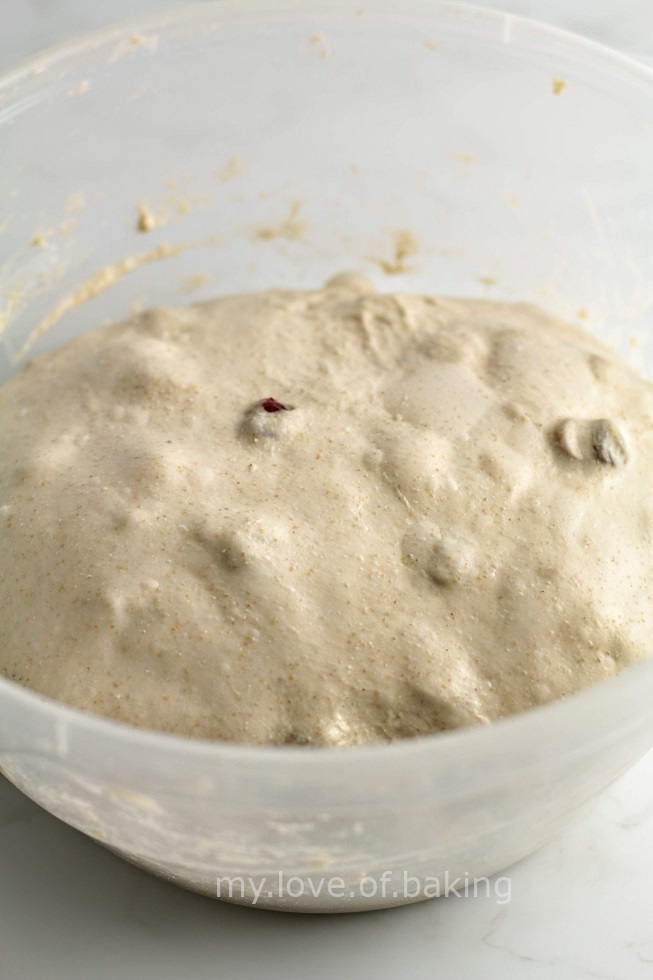
Once fruit is added, then we let it bulk (3-4 hours). Bulk includes three coil folds in 45 minute intervals at the beginning of the bulk. Once bulk is over you just have to shape the bread and place in the refrigerator for slow fermentation.
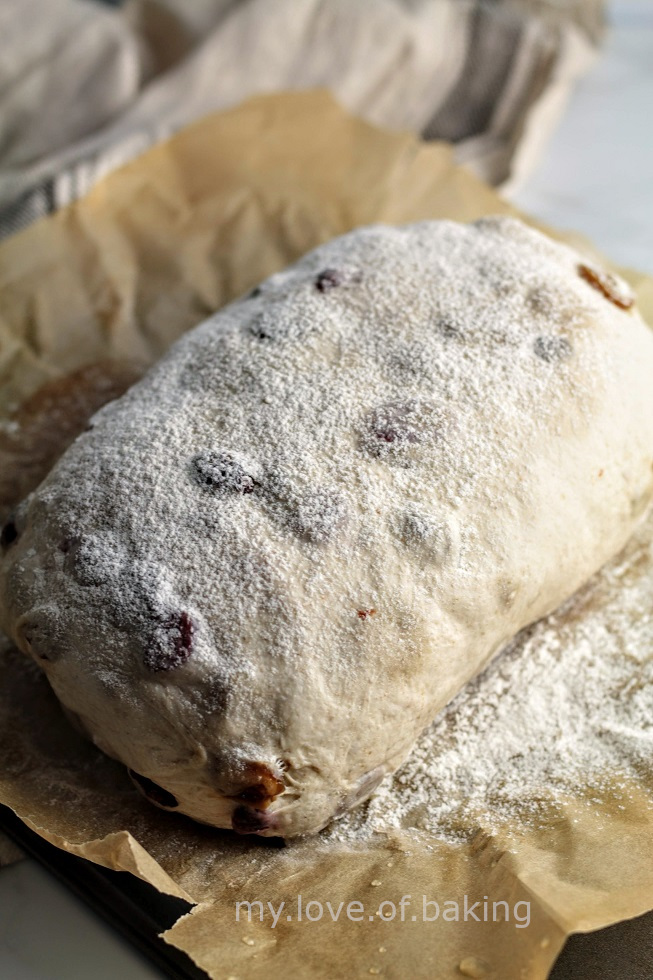
When you are ready to bake, check the bread to see if it has proofed enough. If not, leave it at room temperature until proofed. Do the "poke" test to make sure.
Use either flour or semolina to dust the bread
Once proofed, slash(score) and bake in a preheated oven
This bread can be served in many different ways. Eat it as is on the same day, it will be moist and great with butter or maple syrup and some fresh berried. It is already loaded with fruit so you can pretty much eat it on it's own.
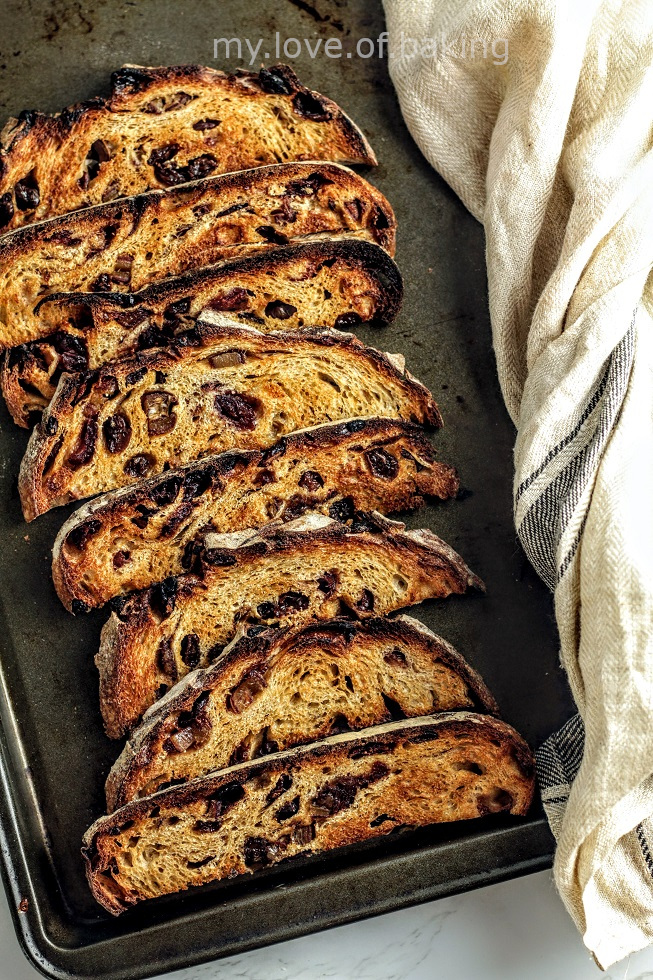
It is also great toasted with cream and berries. Or cut it in to thin wedges and toast both sides. This will be similar to biscotti and you can serve with tea or coffee. I love these with lemon curd, cream cheese.
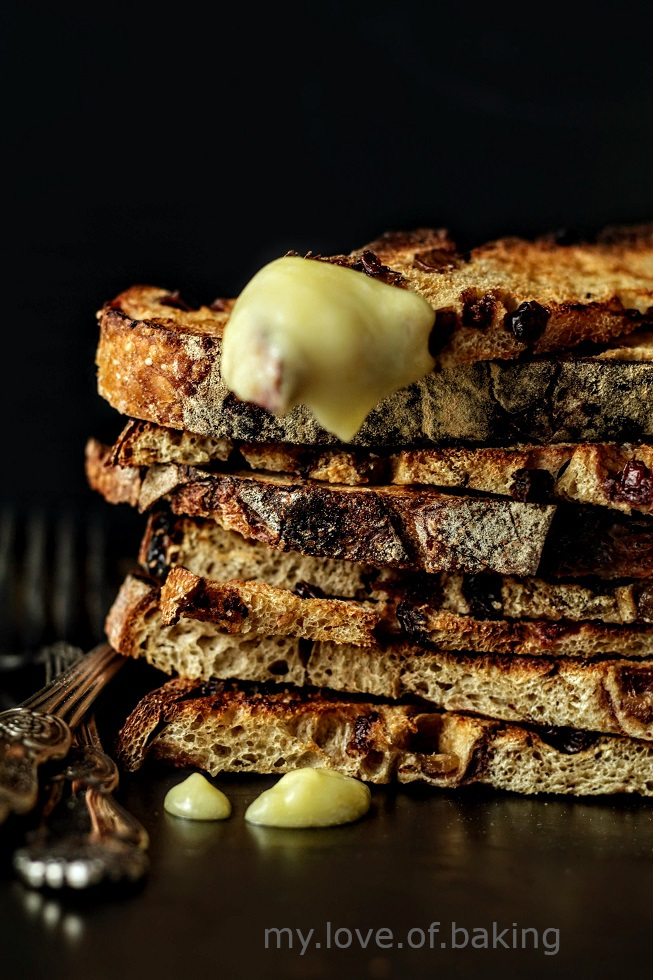
Try this bread with your favorite dried fruits, you won't be disappointed.
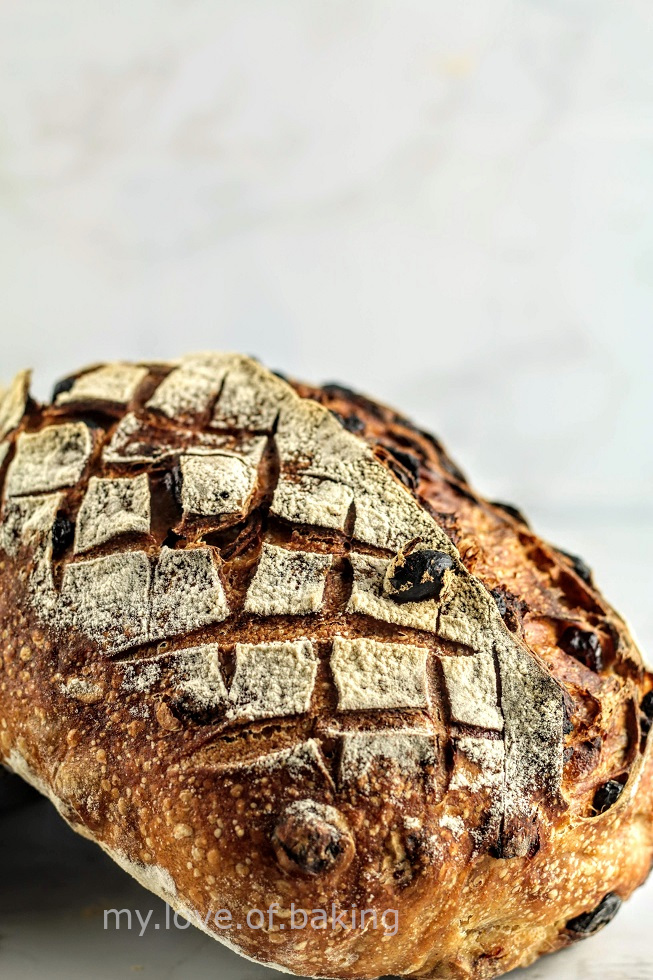
Spiced Fruit Sourdough
Ingredients
Method
- 1
get your starter(levain) ready ahead of time
- 2
Wash the dried fruit and pat dry. Cut them in to small chunks if necessary. Alternatively, you can soak the dried fruit(sultana, raisins, cranberry) over night, drain and pat dry before using
- 3
In a large plastic container weigh the flours, milk powder, spices and set aside
- 4
In a separate container weigh the water and oil and starter
- 5
Add wet ingredients into the flour mix. Incorporate well.
- 6
Let it sit for about an hour
- 7
Then add the salt and mix until combined and knead for about a minute or two
- 8
Use slap and fold motion to knead
- 9
You would notice the dough changes with every fold. It will become less sticky and much easier to work with. You will also notice it is a lot more stretchy, smooth now.
- 10
At this point its ready for bulk fermentation. So time to add the fruit.
- 11
Let the dough rest for about 15 minutes.
- 12
Fold in the fruit and make sure to spread them evenly. Do not knead or over mix
- 13
You can stretch the dough and spread the fruit and then reroll into a ball
- 14
Cover the container and place in a warm draft free place. I usually use my oven (turned off of-course :D) for this. Place a cup of steaming water in the oven to make the environment warm and moist. Or your can use a big plastic tub with lid on or even one of your kitchen cupboards.
- 15
After 45 minutes, we will give the dough a coil fold. The idea is to strengthen the gluten even more. Then leave it just as before for another 45 minutes.
- 16
Repeat the folding twice more (3 coil folds in total) and now its time for the final bulk fermentation
- 17
This will depend on your starter activity, room temperature, humidity. So check your dough every 30 minutes. What we are looking for is the dough to have grown in size and possibly with some few visible air pockets. Usually it will be ready in about 1.5 hours to 2 hours
- 18
Its time to shape the loaf now.
- 19
Place the dough on to a lightly dusted surface. Preshape into a tight dough ball. This will be bouncy. Pre-shaping will remove some air but not all of it.
- 20
Leave it covered for about 15 minutes to relax.
- 21
Then it is ready for the final shaping. Shape however you like. If you are not sure checkout some videos
- 22
Place in a proofing basket or in any container. Make sure to lay a flour dusted tea towel or flour the basket well.
- 23
Roll the shaped loaf in semolina to stop it sticking to the proofing basket
- 24
Cover it completely and place in the fridge. The bread will now go in to a slow proof overnight. It will be ready for the oven in the morning ( about 18- 24 hours)
- 25
On the following day, place the oven rack in the center and preheat the oven to 260 °C/ 500 °F.
- 26
If you have a pizza stone, a ceramic tile, cast iron skillet or a Dutch Oven(DO), place it in while the oven is heating up.
- 27
Check if your bread has risen. If you think it need some more time, you can pull it out and leave out for about half an hour or so. You can test this by gently poking the dough with a finger and if it springs back but not all the way back, it is ready.
- 28
Once the oven is hot enough, slash the bread, spray with some water and place it in the oven(or DO). Bake for 20 minutes. And bring the oven temperature down to 230 °C/ 450 °F and bake for a further 20 minutes (with DO lid off if using one)
- 29
Once the bread is done, remove it from the oven and let it cool on a wire rack.
- 30
Once the bread cools down, you can slice it with a serrated knife.
- 31
If you want to preserve, slice the loaf, store in an air tight container and freeze.
Never Miss a Recipe
Get new recipes straight to your inbox.



Comments
Loading comments…