Portuguese Custard Tarts

This is one of my favorite pastries to eat and make! I didn't know about them until I moved to Australia, Melbourne to be specific. I know, it would have been perfect if I could say, I had my first in Portugal ha ha... Well, Melbourne is famous for it's diverse food culture and the best coffee. After all, it's called the culinary capital of Australia and that alone attracts so many tourists. I have had really good french pastries there and they are as good as what I ate in Paris. So I'm waiting until I get to go to Lisbon, one day, so I can taste the most authentic Portuguese tart!
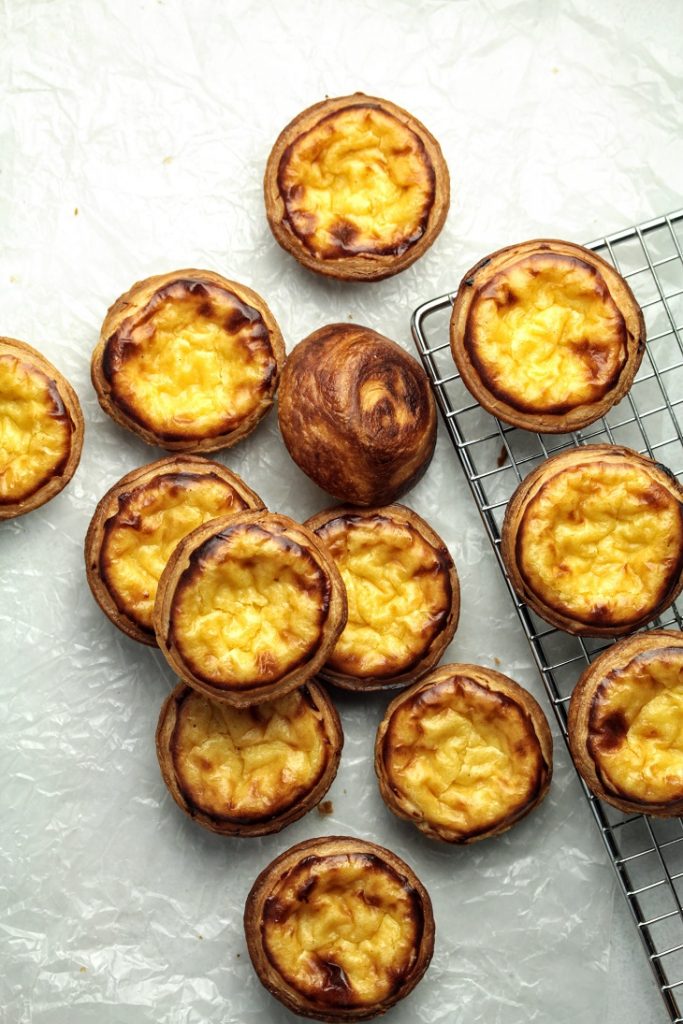
The patisserie I used to work, back in the days, used to make really good Portuguese tarts. The puff was house-made with good Australian butter and the vanilla egg custard was creamy and luscious. Having made this myself, gave me added advantage when it comes to replicating these at home.
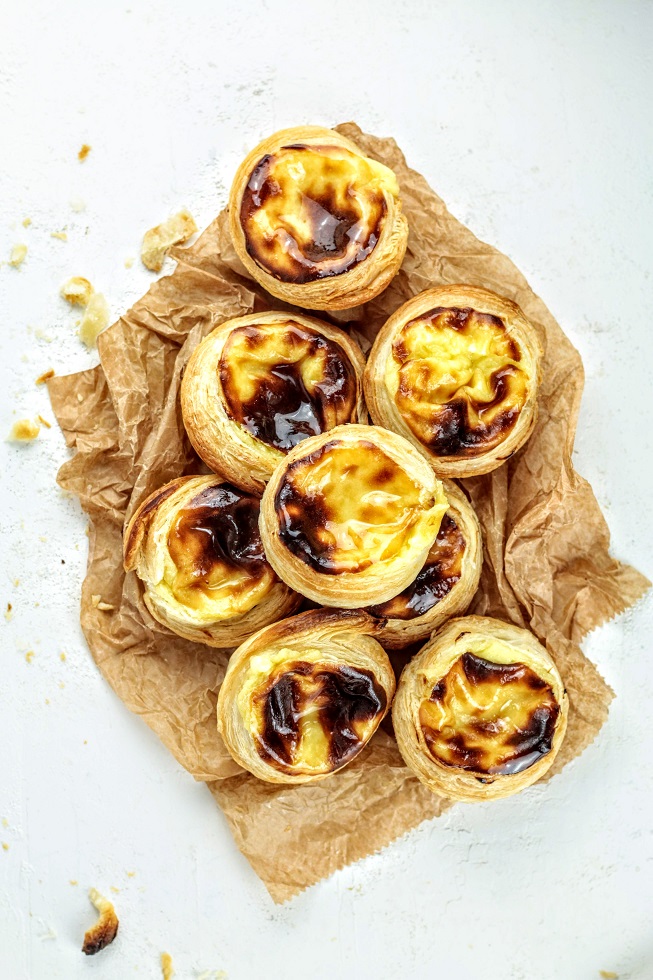
About Puff pastry
Follow this blog post to make your own puff pastry.
If you are using store bought frozen puff sheets, let the puff thaw in the fridge for 8-12 hours prior to starting this recipe. If you are making your own puff, it is best to start a day earlier so your pastry has plenty of time to rest before being formed in to tarts.
Custard filling
You can use your favorite custard for this. So if you have a fool-proof tested custard recipe, then go ahead and use it. Just get the custard a bit thicker by cooking it a little longer. I have found a thicker custard filling works best. Usually a custard is thickened only using eggs (egg yolks) and you have to be very careful not to get eggs curdled. This is why I'm using a bit of cornflour in my custard ( so technically speaking it would be closer to a pastry cream) Corn flour (starch) helps thicken the custard faster and you can use less eggs and it stabilizes the custard.
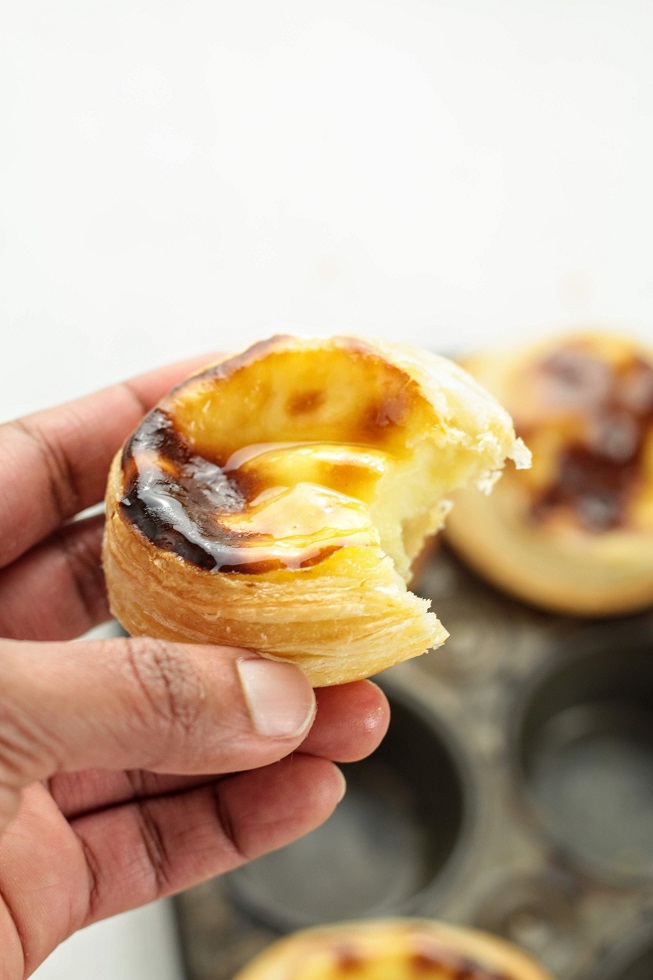
So let us get to it then;
Start by making the puff pastry the day before and let let it chill overnight.
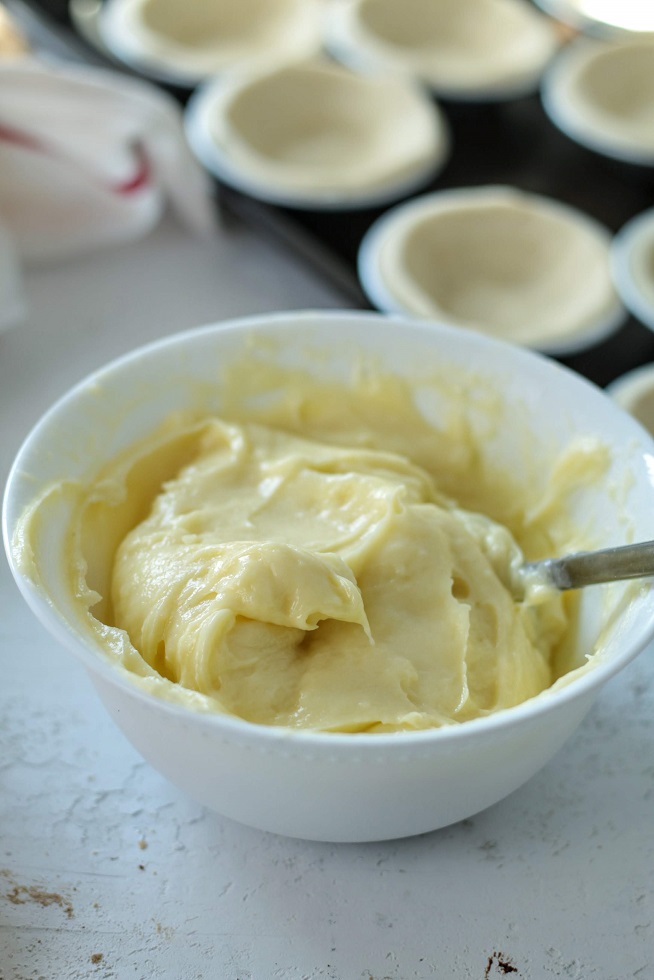
In the meantime, you can make the custard.
Boil the sugar and milk in a pot, until it start to boil. Whisk everything else in a heat proof bowl until thick and smooth. Pour the boiling milk in a thin stream, into the egg mixture while whisking. Then, pour the mixture back into the pot and cook over medium heat, whisking non-stop until the custard just starts to thicken. Once it has thickened, pour into a container cover the top with a cling film and chill until needed.
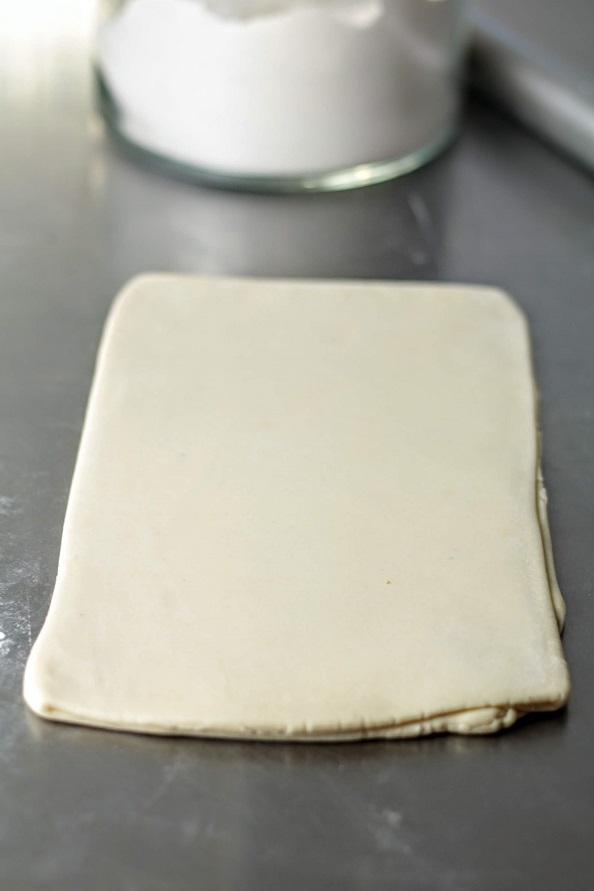
When you are ready to make the tarts, roll out the chilled puff dough just like you did for the lamination. Folds facing you and roll away from you into a long rectangle of about 10 inches of width. The thickness is about 2-3mm. It doesn't have to be exact.
If using store bought sheets, you don't need to roll out.
Now starting from one side, roll the dough length-wise into a log. (yes it looks like we are going to make cinnamon rolls)
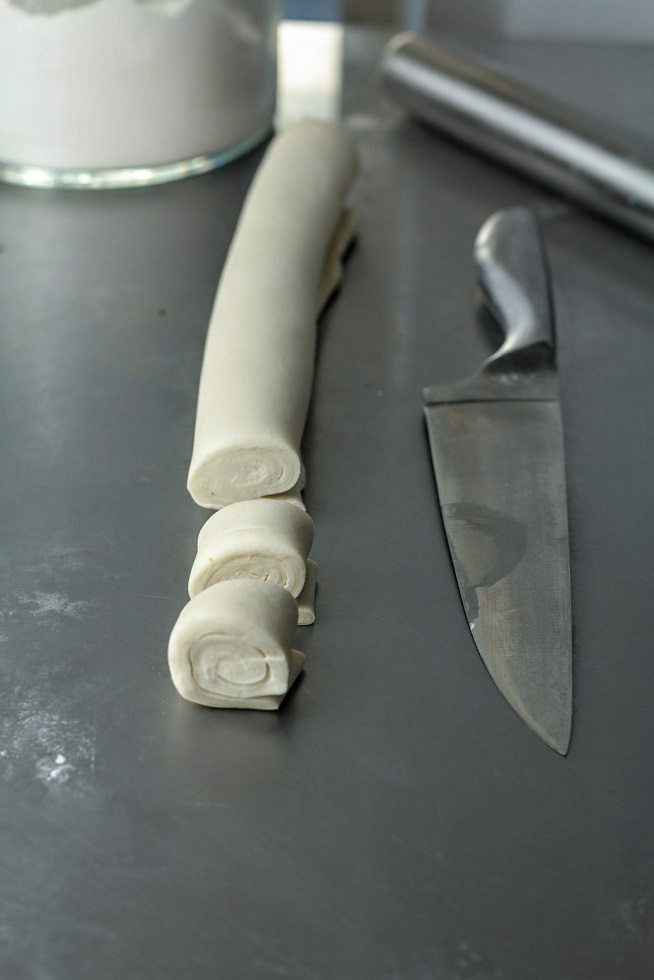
And now we cut the long log in to pieces of about 1 1/2 inches(1- 1.5 inch) thick. This thickness determines the thickness of the tart base and also how wide you can roll it out. If your tart molds are smaller, cut 1 inch pieces.
Check how all the layers are exposed on the cross section. This is how it should be.
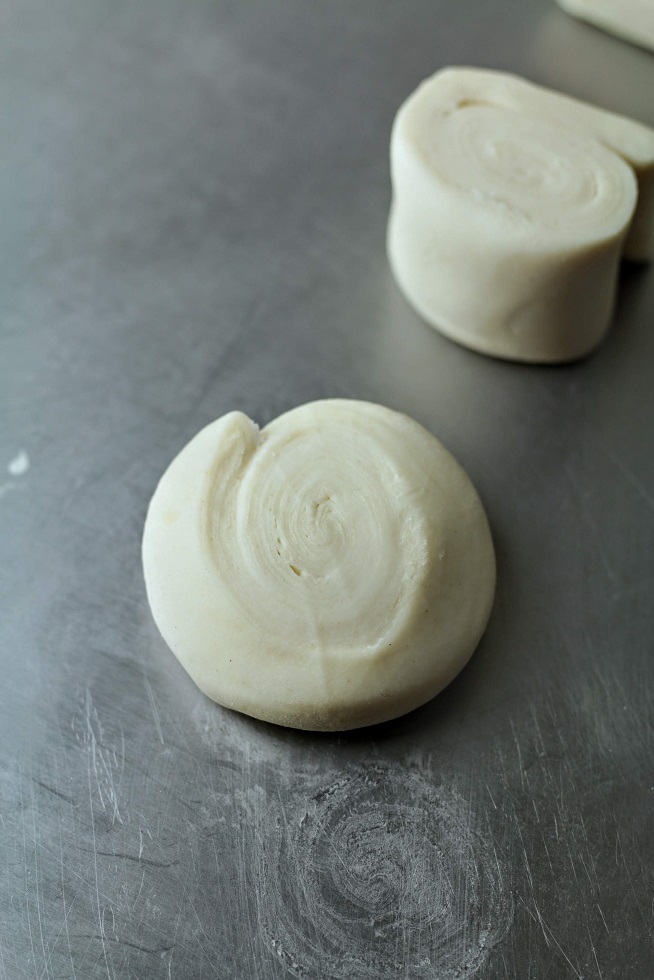
Take one piece at a time, lay it flat on the surface and use a rolling pin to flatten this into a much wider disk. Check next picture.
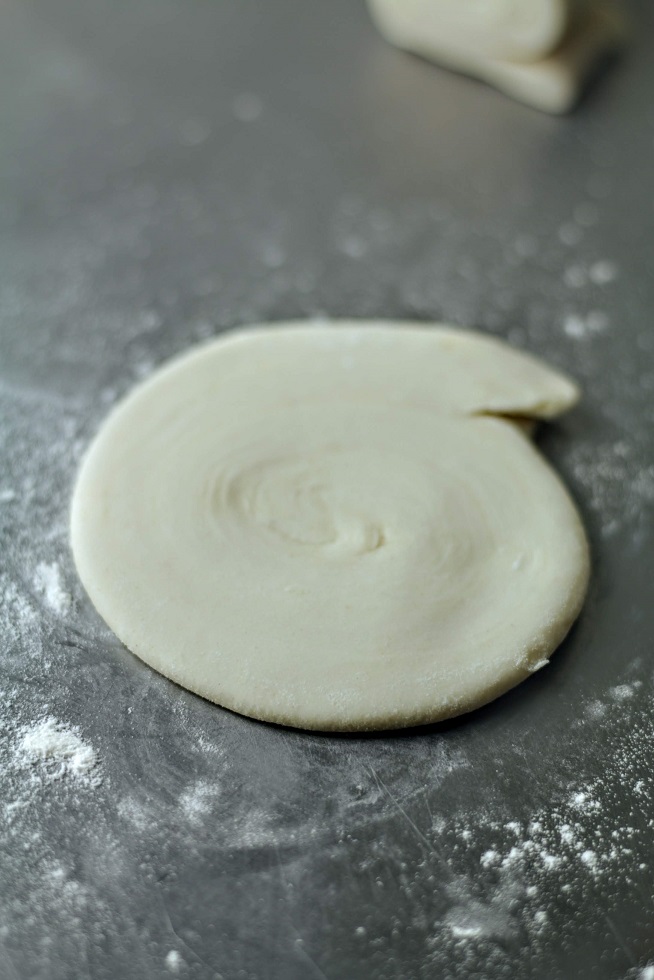
See how flat this looks. And you can see all those layers. This is the tart base! Do not go any thicker, as the puff would , well, puff up too much as it cooks and the custard will have no room to fit in then.
Now you can place this in a tart mold. You can use a muffin tin but the sides will be under cooked. So it is recommended to use individual tart molds for this so heat can get all around the tart base.
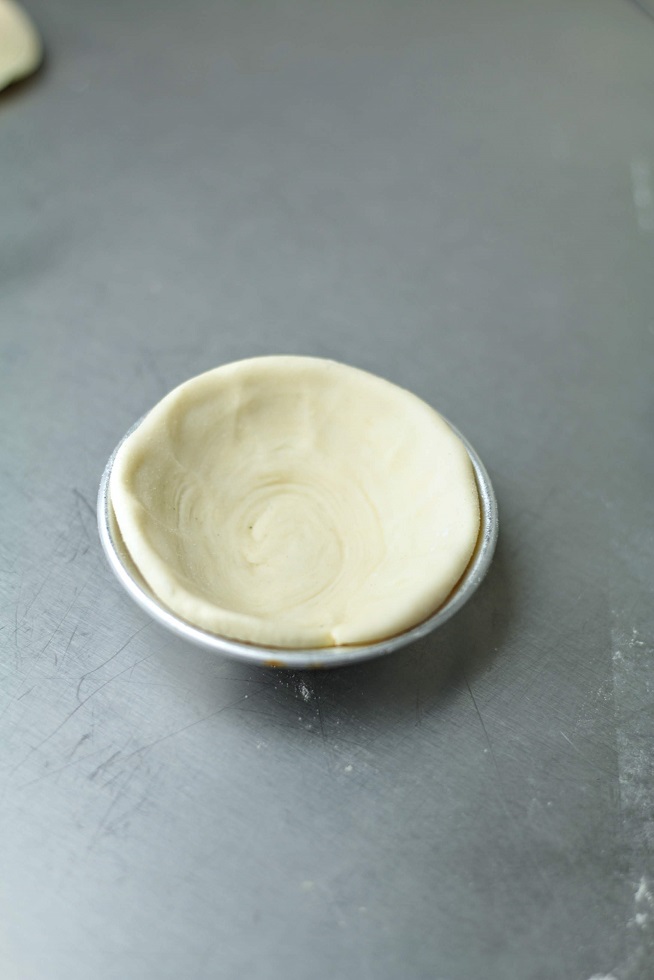
Cover the tart base with the disk. If there is excess hanging out, that fine, you can trim them later!
Push the pastry on to the wall so it won't slide off.
This is a the size I use;Size: Top diameter: 7CM/ 2.76"Depth: 2CM / 0.79"Bottom diameter: 4CM / 1.57"but you can use bigger/deeper molds
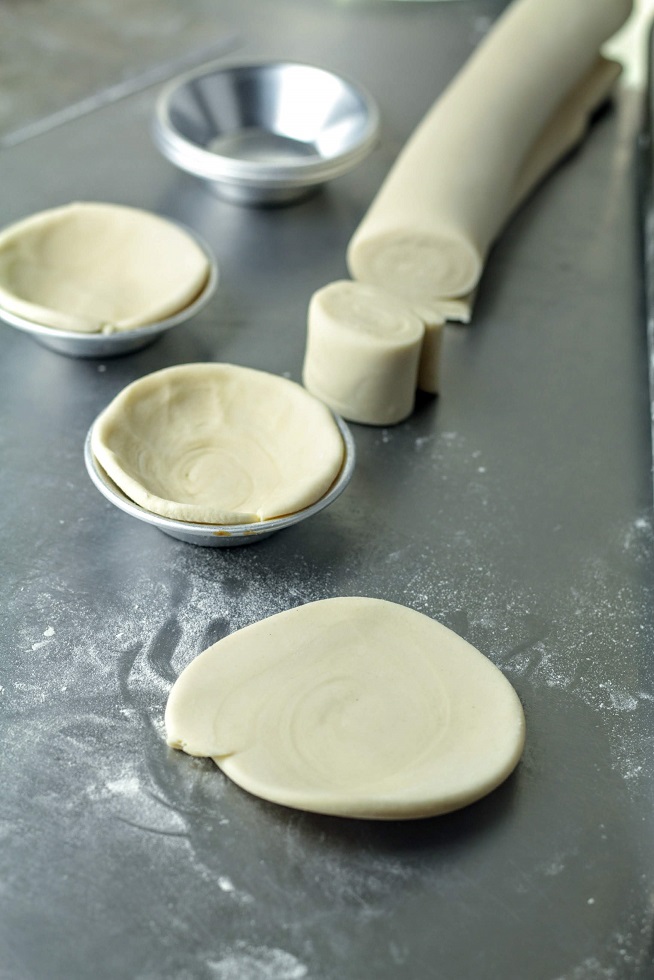
Once you are done with all of them, Place the tart cases on a tray and refrigerate for about 30 - 45 minutes. This relaxes gluten, so they won't shrink back in the oven.
In the meantime, you can pre-heat the oven to 550F. If you have a pizza stone pre-heat with than in.
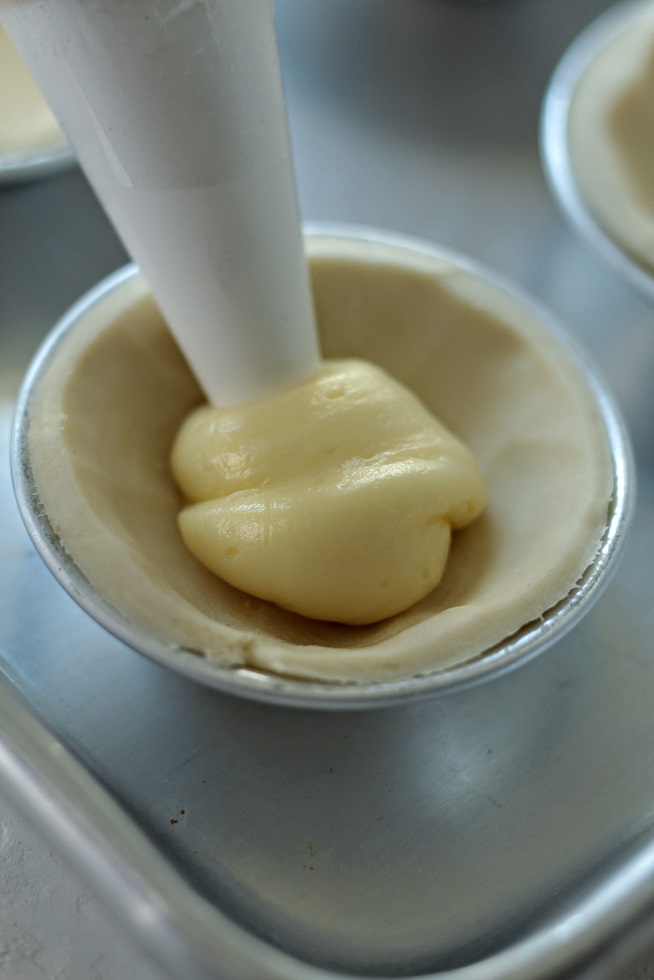
Once the oven is ready, take the chilled tart shells out. Trim the edges. Fill with a big dollop of cold custard. You can spoon the mixture, i'm using a piping bag to make things easier.
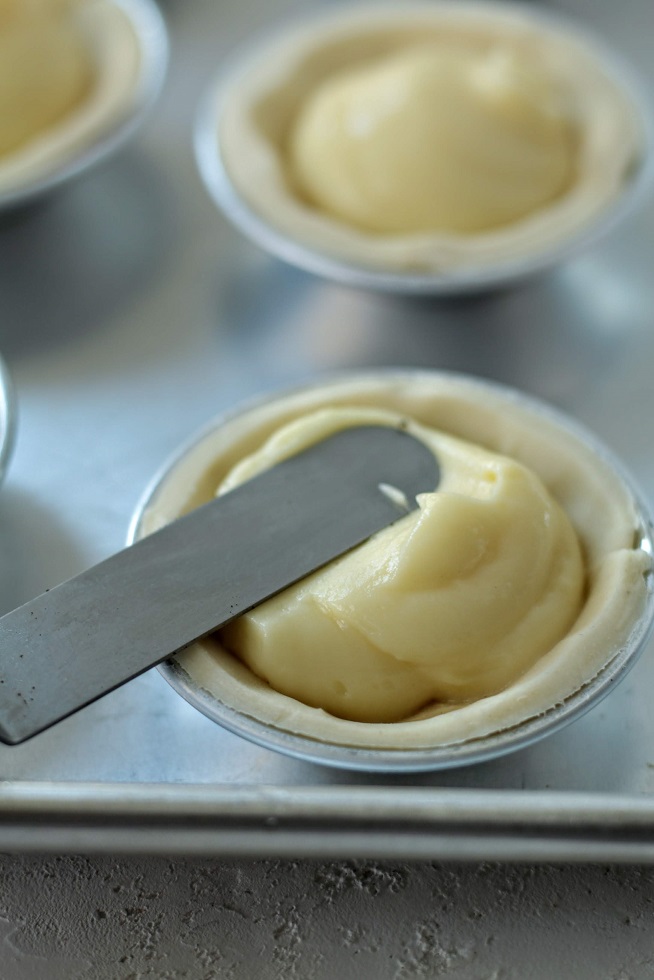
Use a spoon or a offset spatula to smooth out the custard so the pastry base is filled to the brim, with no air pockets.
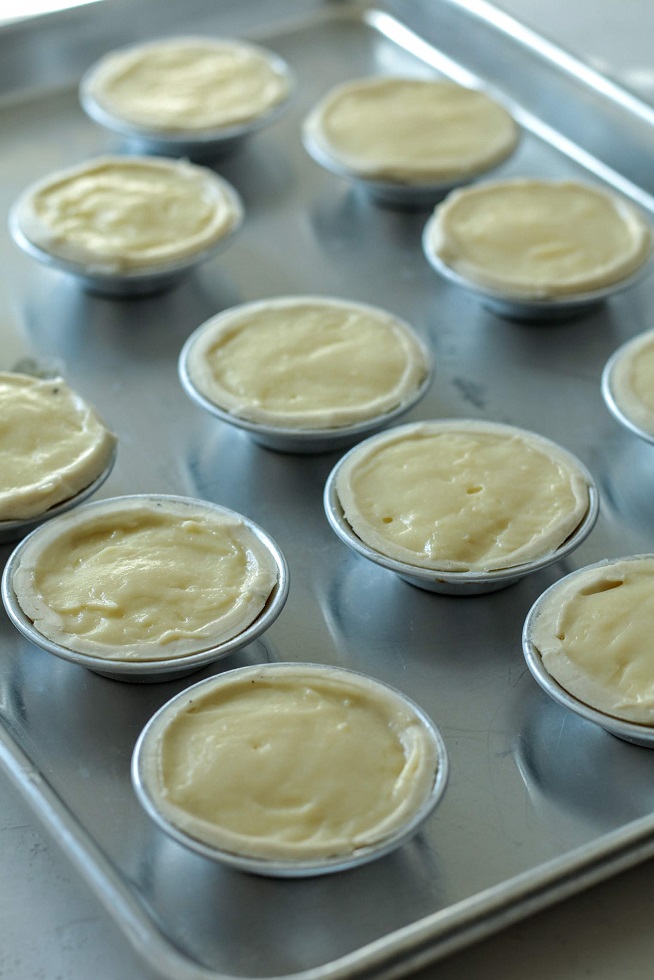
Once done, place in the oven and bake for about 10 minutes. keep an eye towards the end of the bake. You can give the tray a turn towards the end. Ovens are different, so you might need to give them another 5 minutes or so.
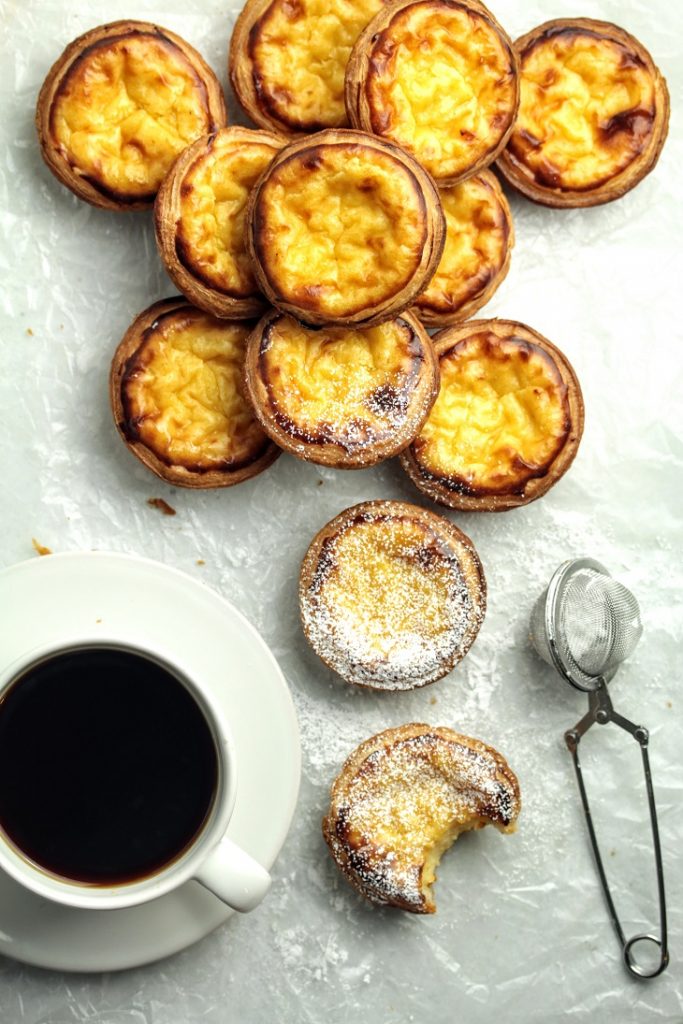
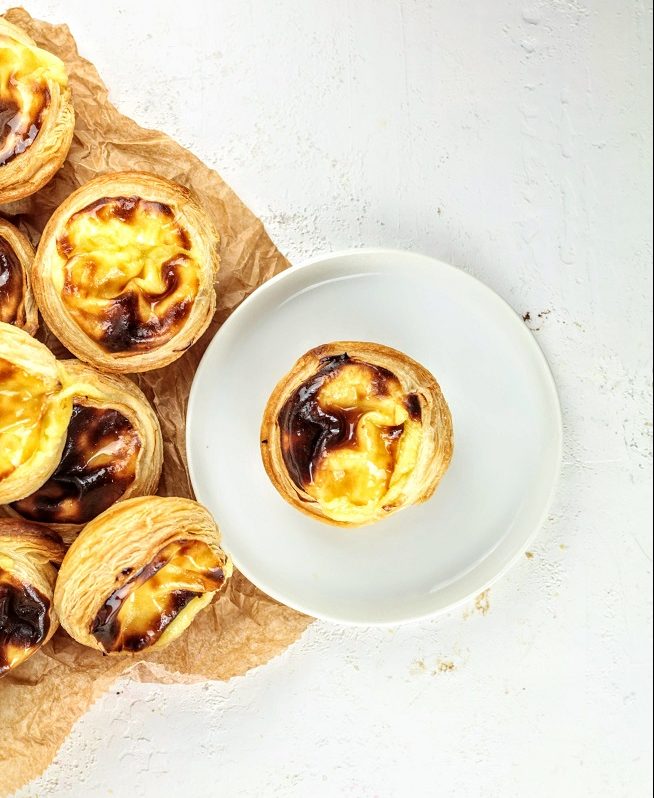
Pastry should be golden brown and custard should be baked and have caramelized on top. If it starts to puff up don't worry, it will shrink right back once out of the oven.
Let these cool before serving.
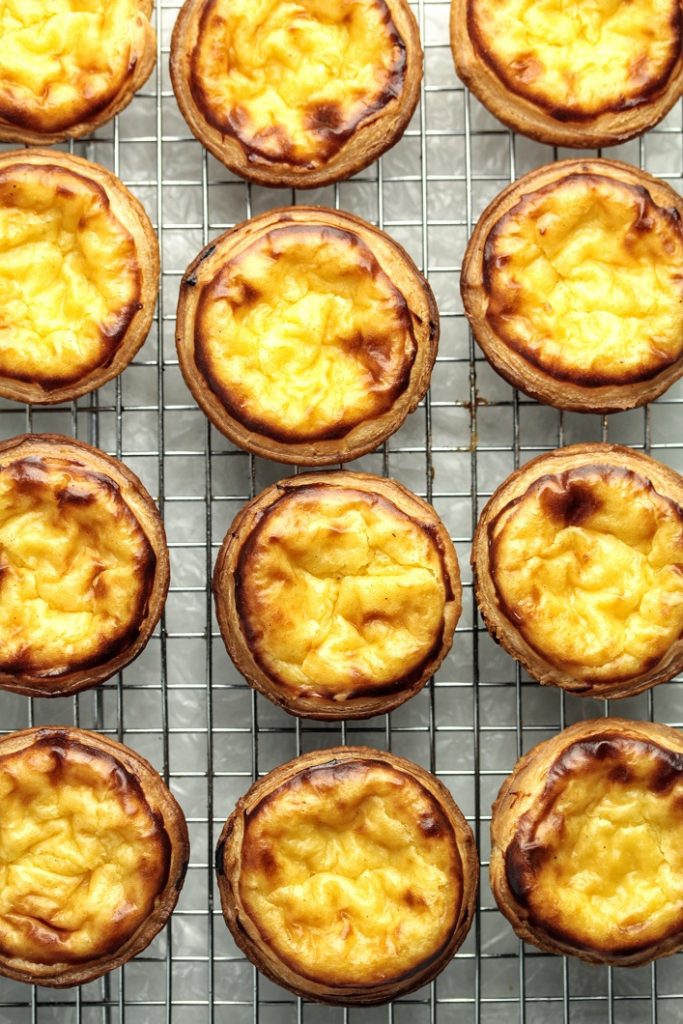
Best served on the same day of making. So make small batches.
Shop the Ingredients

Portuguese Custard Tarts
Ingredients
Method
- 1
Make the puff pastry a day earlier and let it chill in the fridge
- 2
If using store bought frozen sheets, let a sheet thaw overnight (6-8 hours) in the fridge
To make the custard filling
- 3
Measure/weigh milk and sugar into a "heavy bottom" saucepan/ pot
- 4
Bring to a boil ( stir to make sure sugar has dissolved)
- 5
While milk is boiling, measure everything else into a heat-proof bowl and whisk into a thick smooth paste
- 6
Once the milk boils, pour the hot milk mixture slowly but steadily in to the egg paste, while whisking continuously ( this is also called tempering)
- 7
Take time doing this, if you add milk too quickly, the eggs will cook and curdle
- 8
Make sure to keep whisking all the while
- 9
Once done, pour the mixture back into the same pot and cook string on medium-low heat until the mixture thickens (takes about 2-4 minutes)
- 10
When you feel the resistance you'll know it has thickened
- 11
Transfer the cooked custard mixture into a container, cover the surface with a cling wrap/parchment and leave to cool (Refrigerate once cool)
- 12
Making the tarts
- 13
If you made your own puff, bring the puff dough out onto a floured bench
- 14
Turn the block so the folds face you and roll out away from you to a rectangle shape
- 15
Make sure the width is about 10 inches
- 16
The thickness should be roughly around 2-3mm, you can go a bit thinner
- 17
Now roll the dough sheet length-wise into a tight log ( just like when you make cinnamon scrolls)
- 18
Roll tightly, make sure to leave no gaps
- 19
Using a sharp knife, cut the log in to 11/2 inch pieces (check image)
- 20
Turn the dough piece so the layers are exposed, and using a rolling pin, roll into a wider disk
- 21
Use a light dusting of flour to stop dough from sticking
- 22
The disk should fit into your tart mold, if the mold is bigger, make a wider disk
- 23
Place the disk inside the tart mold and press against the sides. Make sure to remove any trapped air underneath
- 24
Once all the tart molds are linden, place then on a tray and chill for about 30 minutes at least
- 25
Preheat the oven to 550 F. If you have a pizza stone preheat with that in.
- 26
In the meantime, whisk the custard until nice and creamy. It should be smooth with no lumps
- 27
Fill a pastry bag with custard filling if you have one, otherwise, you can spoon the mixture
- 28
Once the oven is ready, bring the chilled tart cases out and trim the edges if there are excess
- 29
Fill the cases with custard filling and using a spoon or spatula, level and smooth out the tops
- 30
Cases should be filled nice and evenly. Try not to get custard on the pastry or the tart mold
- 31
Arrange the tarts back on the tray, leaving enough space around and place in the preheated oven and bake for about 10 minutes (or less depending on the scalding on top.
- 32
If you see the custard swelling up, do not worry, it will shrink back once out of the oven
- 33
Keep an eye on them, specially towards the end of the bake
- 34
Pastry should be golden brown, and the custard should be caramelized on top
- 35
Once done take these out of the oven and leave to cool
- 36
Once completely cool, remove from the molds
Never Miss a Recipe
Get new recipes straight to your inbox.
You might also like


Comments
Loading comments…