Gingerbread cookies

Full YouTube video is available on my YouTube Channel.
No, I did not grew up eating or making gingerbread cookies. This is something that I fell in love with, later in life, like many other things. Though there were no cookies involved, Christmas time was still exciting for us as kids. The streets and shopping malls were decorated lavishly with lights and Christmas trees and I remember how much I loved that as a kid.

After migrating to Australia I embraced so many new food cultures and traditions and with time I started to love them so dearly. And gingerbread is one of those. I still remember making close to a thousand cookies for an order few years back(I was just starting at bakery school then). It was crazy, but I loved making and decorating every single cookie. Later when I worked in bakeries and cafes, I had plenty of opportunities to perfect my cookie making piping techniques.
I bake gingerbread cookies every December now because it's become a tradition! My husband looks forward to these like a kid and we both love having a warm cup of tea/coffee with a gingerbread cookie.
So here is my recipe and a some tips and tricks to help you bake perfect and warming gingerbread cookies. Lets get a few things sorted out first!

gingerbread men made using this dough and icing
Molasse vs golden syrup
Well, you can of course use either of these. But I personally preferer molasses for a few reasons.
Molasses is sometimes referred to as blackstrap molasses, black treacle. But treacle is different in flavor and has a slight bitter after taste (like burned caramel). So for best results stick with molasses and try to get un-sulphured molasses.
Sulphered vs unsulphured molasses
Molasses is normally extracted from mature sugar canes, which gives it the deep flavor and color. This is the normal or un-sulphured molasses. But some sugar producers use young sugar canes and sulphur dioxide is added to preserve the canes until they are used to extract molasses. So the extracted molasses contain sulpher.
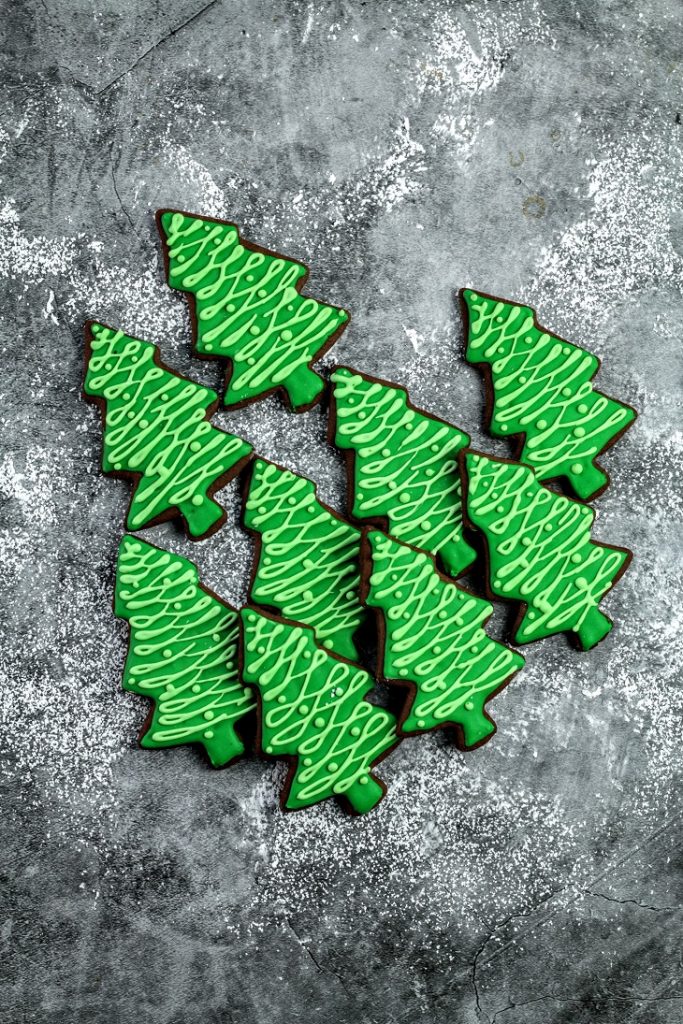
Trees using the same dough and royal icing
Thin & crispy cookies vs thick & soft cookies
When it comes to biscuits and cookies everyone has got their own preferences. Well with this gingerbread dough, you can achieve two variations by simply doing the following;
For thin and crispy - Roll out thinner (3mm) and bake the cookies for longer, for about 12 - 15 minutes
For thick and soft cookies - Roll out thick (4-5mm) and bake for a shorter period of time, about 10 - 12 minutes
You can achieve something in-between too. This is what I do often. I like mine stable so I can decorate with ease yet soft enough, that they won't break my teeth :D
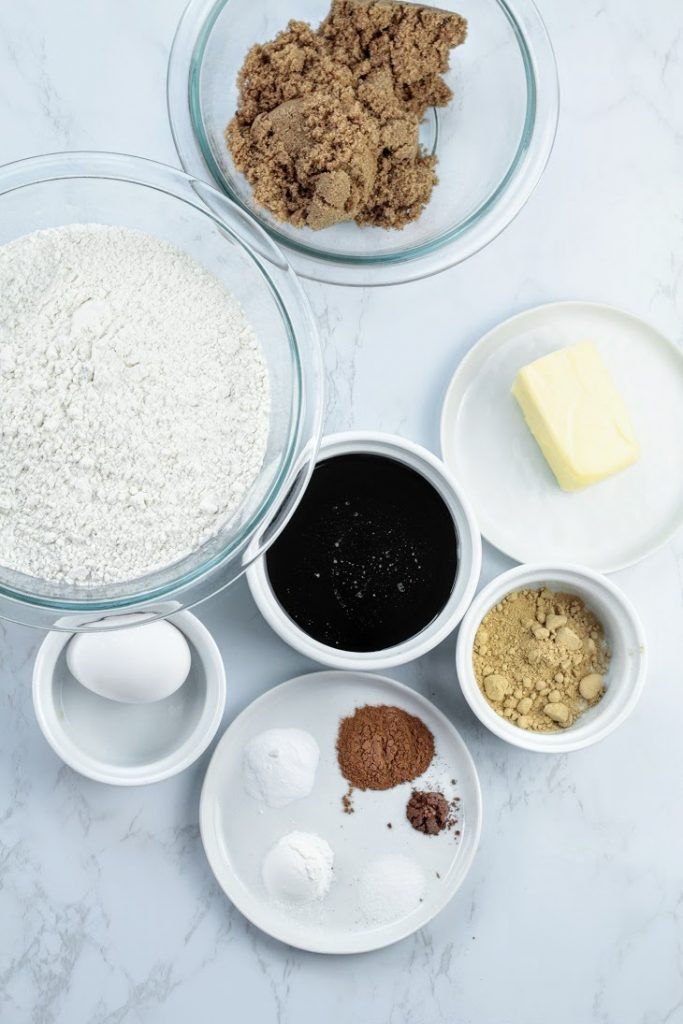
I like my cookies spicy so I'm using 1 tablespoon of strong ground ginger. If you like it milder may be use 1/2 the amount. I also use ground cloves, but you can skip that too depending on your taste.
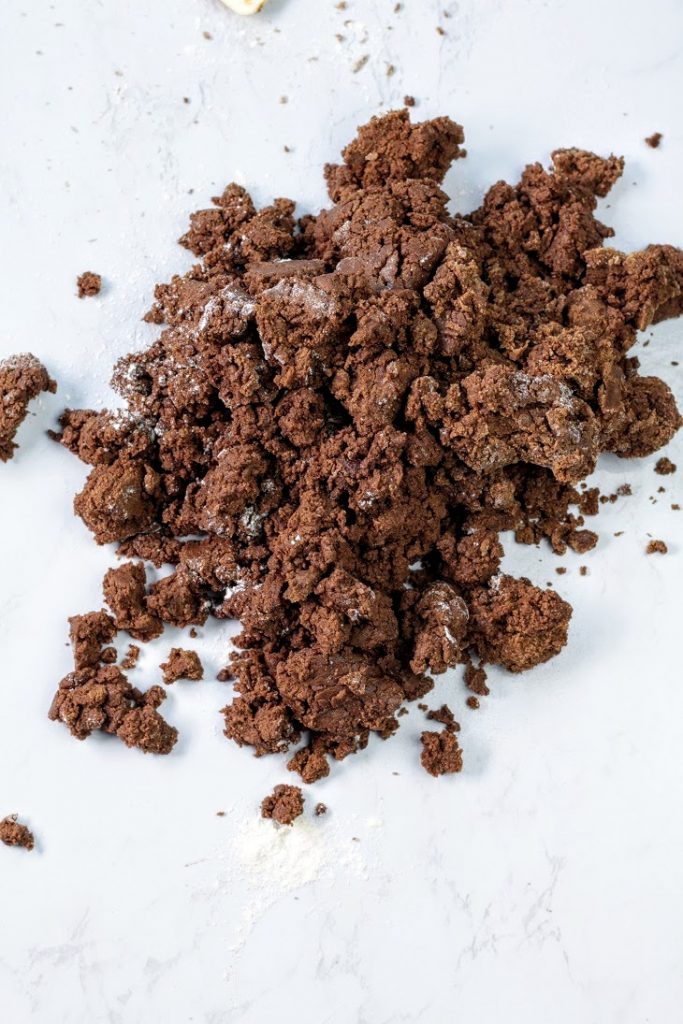
Cream sugar and butter and add the egg, followed by the molasses. Then add all the dry ingredients and mix on slow until they are incorporated. Once it starts to look like bread crumbs (wet clumps) stop mixing.
Bring on to a table and use hands to press together to form a block
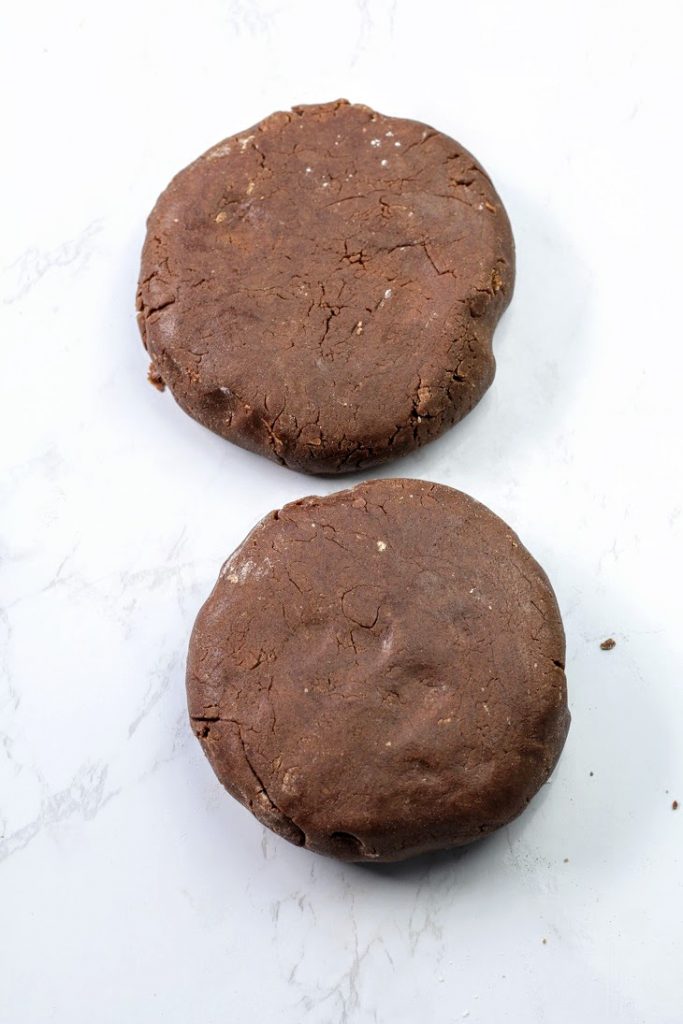
I like to divide the block/dough into two as it is easier to roll out later. Flatten the disks, wrap and chill for at least 30 minutes
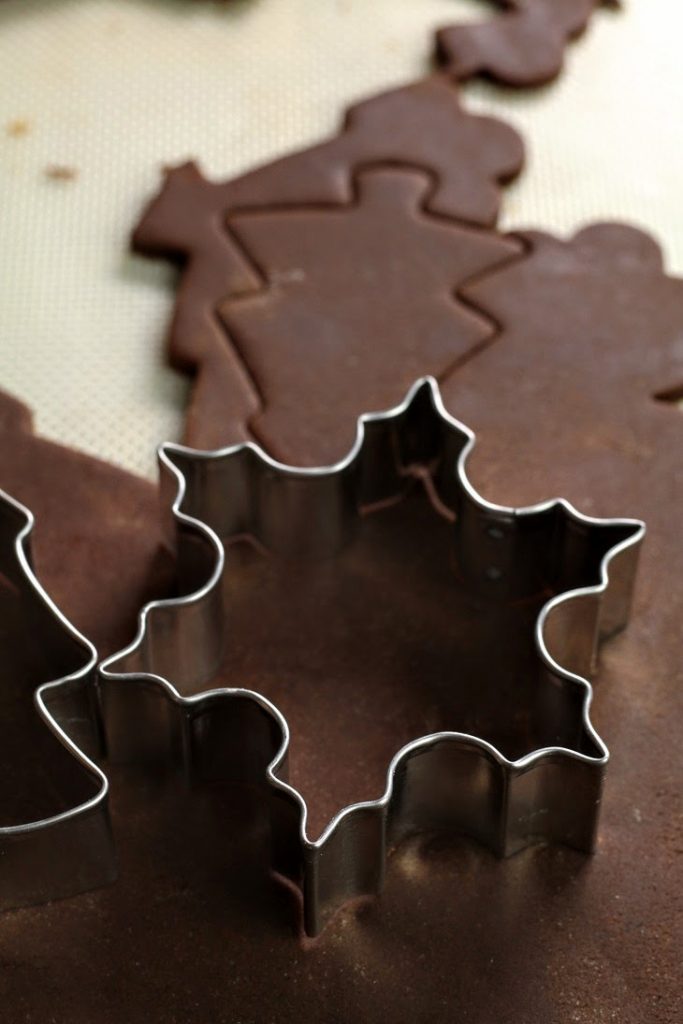
Roll out the dough on a floured bench or on a silicon mat for easy release. Once rolled out to the desired thickness (2mm - 4mm), cut out shapes using cookie cutters
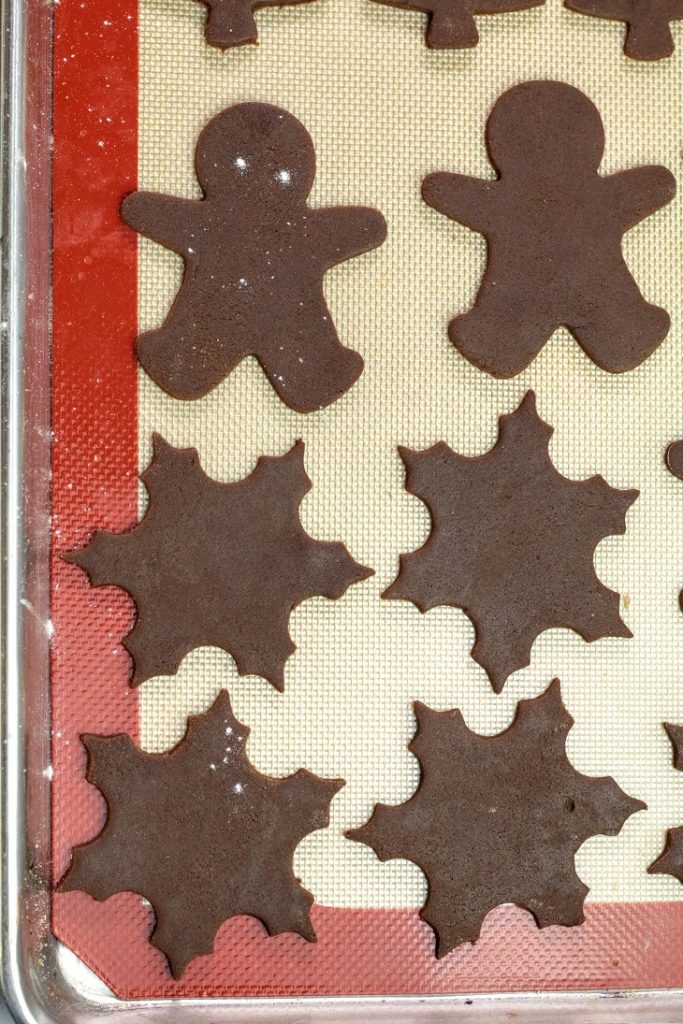
Place the cookies on a tray lined with either a silicon mat or parchment paper and bake in a 350°F/170°C oven for about 12-15 minutes.
Check at 10 minute mark to make sure where your cookies are. They should be still soft when they come out of the oven as they will continue to harden while cooling
These will fit into half sheet pans
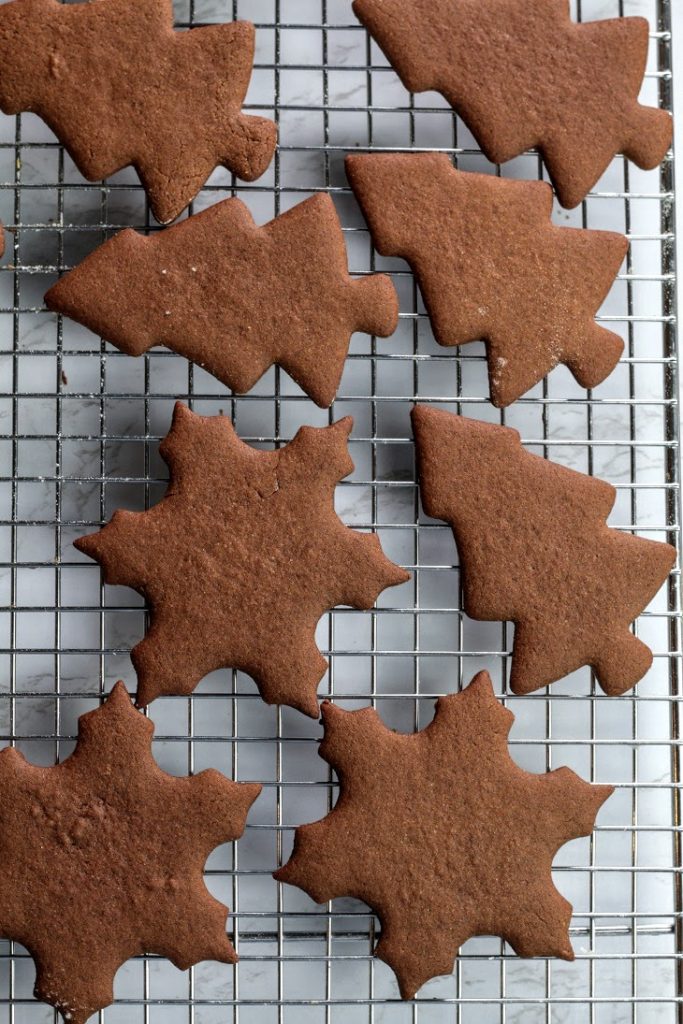
Leave the baked cookies on the tray for about 5-8 minutes and then transfer to a wire rack. Leave these to cool completely before you ice or store them.
Royal Icing
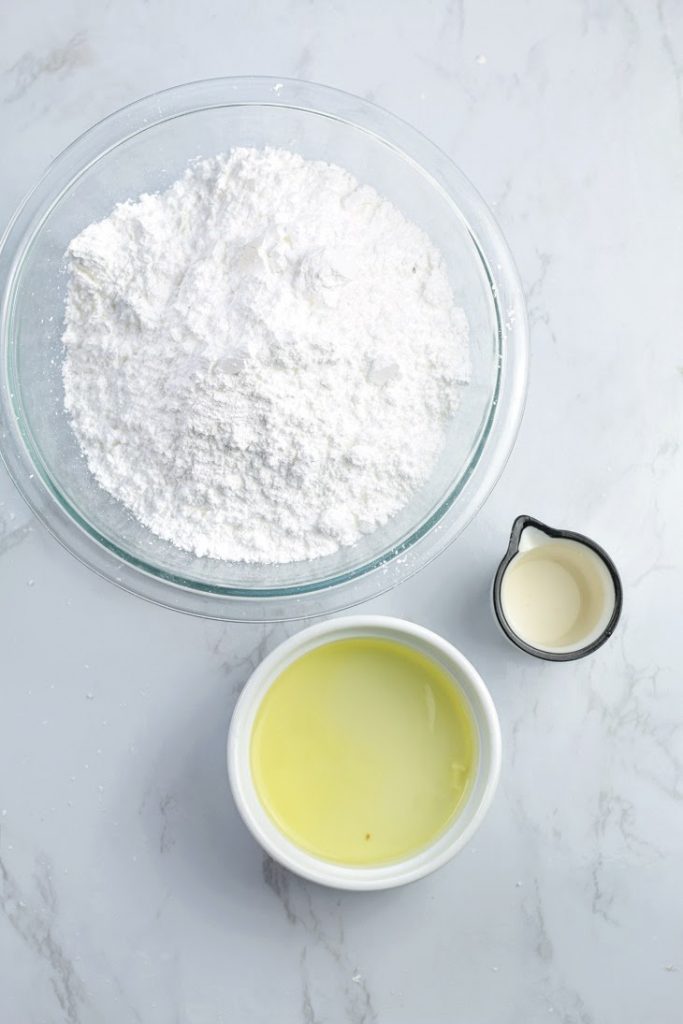
To make the royal icing, we need 2 egg whites and 3 cups of powdered sugar. These measurements don't have to be exact.
use a few drops of vinegar or lemon juice or a pinch of cream of tartar to help set the icing faster
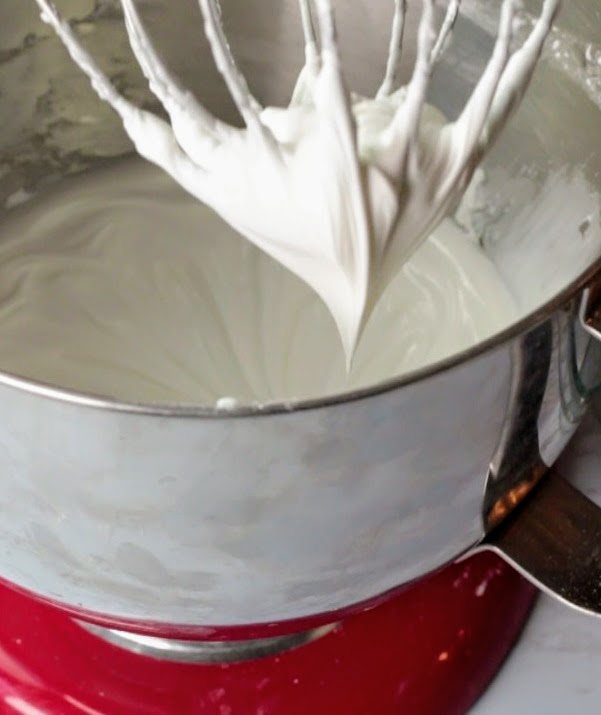
Mix everting using the whisk attachment until all the powdered sugar disappears and a paste is formed, like shown in the picture. Make sure no lumps are present. Then whisk this paste on medium-high speed for about 30 seconds to one minute until a glossy, thick glue like icing is achieved.
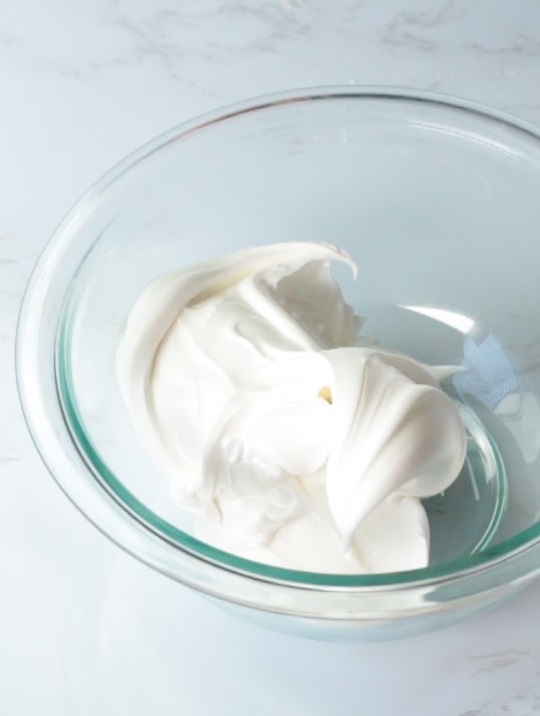
This is the base of royal icing. This is too thick and you have to thin it down with water or sugar syrup before using. If left exposed for too long, the icing dries out and become unusable. So always make sure to cover tightly.
Royal icing can be stored in an air tight container and refrigerated for several weeks
To decorate
Decorating cookies is a different subject and I am not going to talk in depth. But I will show you a simple technique that you can do at home with minimal use of equipment and tools. The tips I am using are available in most piping kits. Different tips have different uses, but of course feel free to use whichever you think fits. Tips/nozzles are numbered according to the size of the tip opening.
#1 round for fine piping almost like lace (embroidery)
#2 round pipe letter and numbers (or fine art)
#3 round all other general piping, decoration and borders
#4 round flooding or filling
If you are new to piping get a kit with piping bags, coupler and nozzles. You can either use disposable piping bags or reusable.
Use gel colors for dyeing the icing as they won't water down the icing so you can keep adding the gel to get the desired shade.
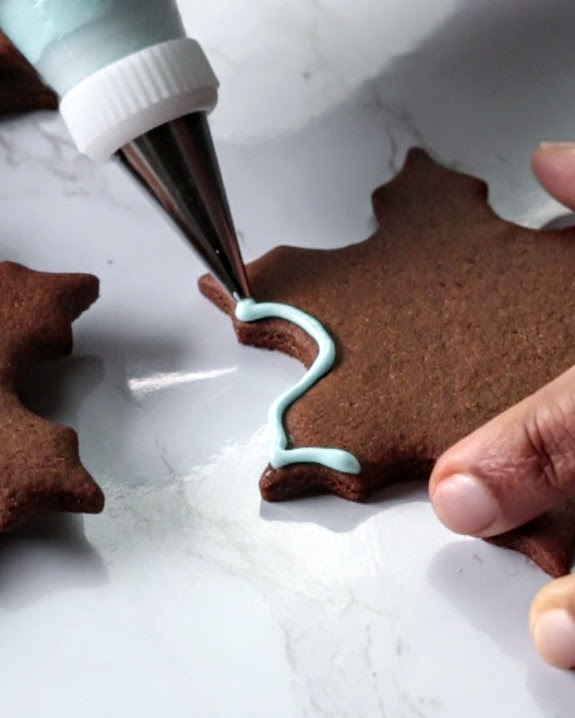
Take some of the prepared Royal icing and add preferred color using a toothpick. A little goes a long way. And use a few drops of water/sugar syrup and mix the icing until it reaches flooding consistency. The icing should drop freely but not too runny. Use #3 to pipe a boarder around the edge
Check the video attached below
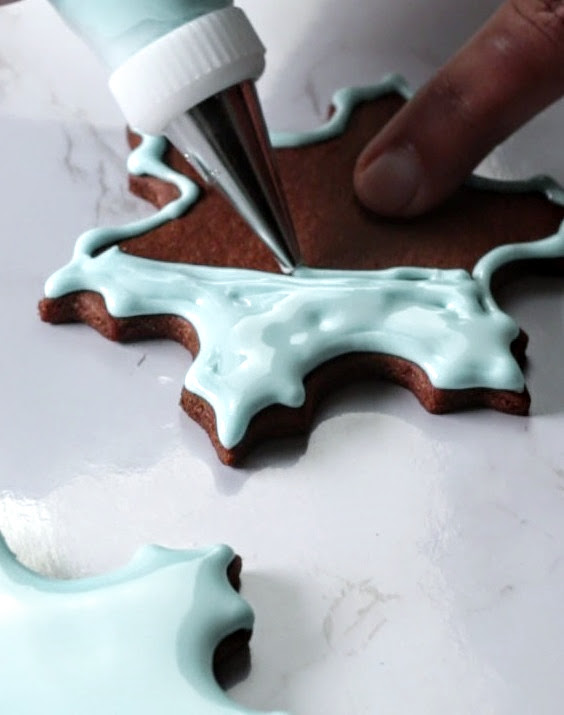
Use either #3 or #4 and use the same icing to fill the inside of the cookie (this is called flooding)
Once done, touch up using a toothpick/cake tester and tap the cookie gently to get an even surface.
Leave this to dry completely before continuing with decorating the top.
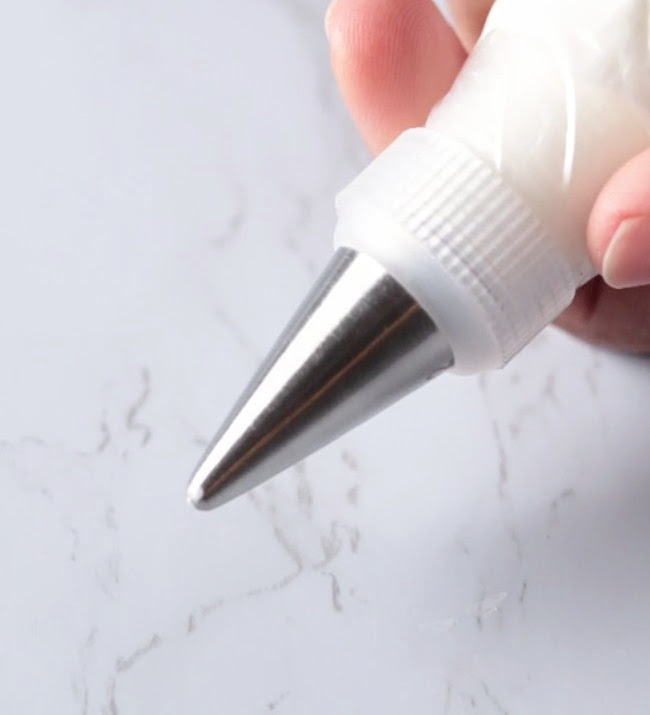
To decorate the cookie, use a thicker icing than the previous one. It is called the piping consistency. You should be able to draw things with it without the icing going flat.
Use #2 or #1(if you like sharper lines) and decorate the top. Use #3 for thicker decorating
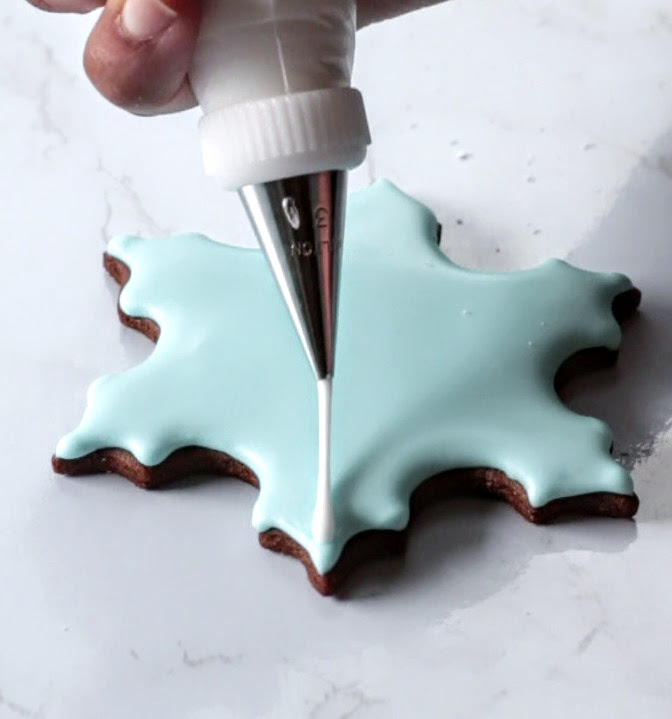
This takes some practice. You can practice piping on a parchment paper or directly on the table top and wipe off later.The tick is to have a steady hand and put even pressure while you pipe. And never let the metal tip touch the cookie.
Watch the video attached below to get an idea
Decorating the cookies.
Assume the icing is a string that keep coming out of the tip and try to use that string to draw the pattern you want
Shop the Ingredients


Gingerbread cookies
Ingredients
Method
To make the dough
- 1
Mix all dry ingredients in a separate bowl and set aside
- 2
Cream butter and sugar in a bowl of a mixer using a paddle attachment
- 3
Add the egg and mix to clear the egg
- 4
Add the molasses and mix to incorporate
- 5
Add the dry ingredients in two batches and mix just until everything starts to come together, like a crumb
- 6
Do not try to mix further as this might damage the machine/mixer
- 7
Bring the half mixed dough(crumbs) on to a floured surface and using your hands, press together into a block
- 8
Divide into two and flatten to make disks
- 9
Wrap and chill for at least 30 minutes
- 10
When you are ready to roll, bring the dough out
- 11
Use a floured table top or a silicon mat to roll out the dough
- 12
Make sure to lift the dough frequently and flour underneath
- 13
Then using cookie cutters, cut out different shapes and arrange on a tray lined with parchment paper or a silicon mat
- 14
Gather and press the leftover dough and roll out again to cut more shapes. Continue until you run out of dough
- 15
Bake the cookies in a 180C/350F oven for about 12-15 minutes. Check them at 10 minute mark and decide how long they need
- 16
Once baked leave the hot tray on a wire rack and leave the cookies on the tray for 5-8 minutes
- 17
Then remove gently and place directly on a wire rack
- 18
Cookies should be cooled completely before storing or decorating
To make the royal icing
- 19
Simple place all the ingredients in a bowl of a mixer fitted with a whisk attachment and start mixing on low speed
- 20
Scrape the bowl to encourage mixing
- 21
Once all the powdered sugar is hydrated, increase the speed to medium high and whisk for about a minute until the icing becomes silky, glossy and glue like
- 22
Deposit the icing in a bowl, cover tightly and refrigerate until needed (or for several weeks)
- 23
To decorate
- 24
Take some icing from the icing mixture into a small container
- 25
Use a few drops of water/sugar syrup to thin down the icing to desired consistency
- 26
To fill or flood a cookie, you need a slightly softer consistency
- 27
To pipe shapes/decorate you need a more stable icing than flooding, so use less water to thin down
- 28
You can color the icing using gel colors
- 29
Use a tiny amount of color at first, mix well and add more as needed
- 30
Before you fill the cookies, pipe a boarder around the edge of the cookie and before the boarder dries out, fill with the icing so they merge nicely
- 31
Let the cookie dry out completely before decorating the top with piping
- 32
You don't have to fill/flood, but decorate directly on the cookie itself
- 33
Watch the full YouTube video to get an understanding of the whole process
Never Miss a Recipe
Get new recipes straight to your inbox.

You might also like


Comments
Loading comments…