Festive Christmas Yule Log

A delightful dessert traditionally served during Christmas season all around the world! A delicate chocolate sponge rolled with a creamy filling and decorated with more chocolate, honestly is there anything not to like about it?
We are massive fans of chocolate sponge rolls (or roll cakes) here at my house, which is the base of this dessert. Our roll cakes are usually filled with chocolate whipped cream or chocolate buttercream. For this recipe however, I decided to slightly side track from the traditional recipes and fill this with a different, much fluffier frosting.
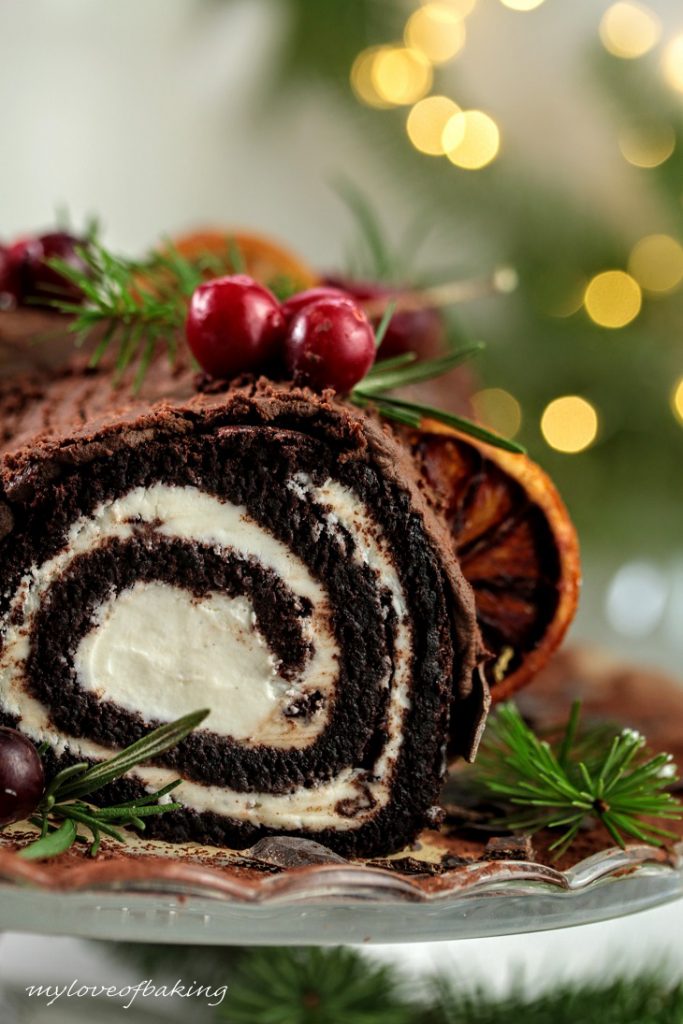
There are millions of different flavors and flavor combinations when it comes to a roll cake (or even a yule log). All these options are mentioned in relevant steps so you can pick your favorite. Also feel free to use your imagination and creative flair to decorate the log. I will leave some ideas and inspiration.
Note to the baker
It is easier to have the filling and the ganache made ahead of time. The ganache has to set to spreadable consistency. You can always microwave (10-20 seconds) the hard set ganache to loosen it up. The sponge needs to cool down completely before you fill it and roll. This may take at least 30 minutes. Also chocolate work can be done way ahead of time.
Consider these before you plan on making the complete yule log. Once covered with ganache the yule log can be kept refrigerated. You can then decorate it, just before sending it to the table.
Read the complete post before starting, so you have a good idea of what's coming and where you might need to pause or change.
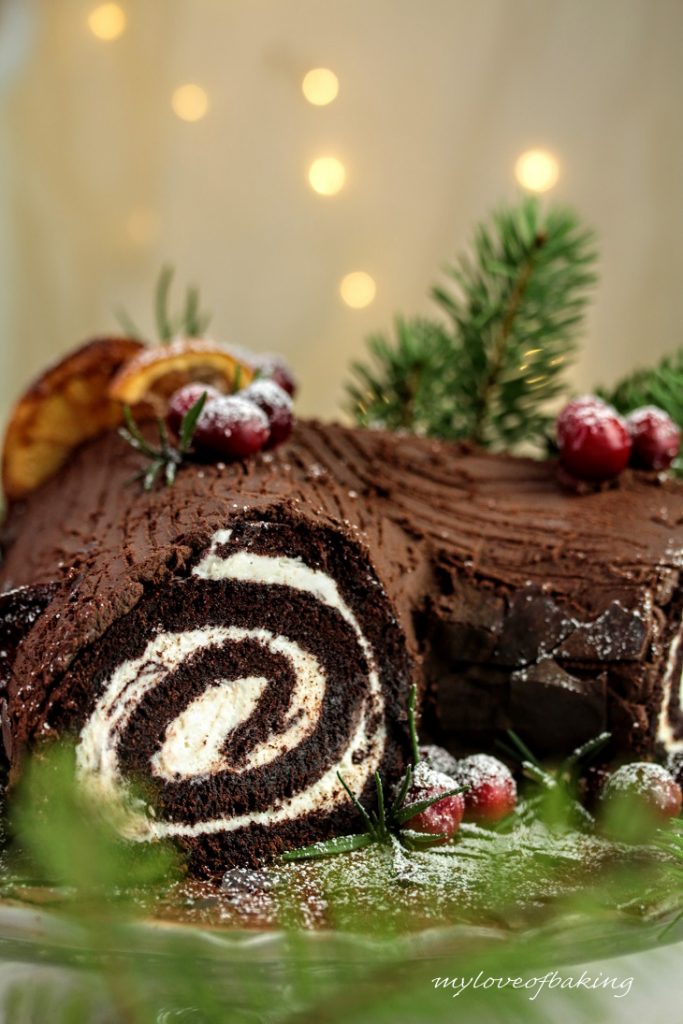
Chocolate sponge
This is a Genoise sponge meaning it doesn't use any leavening agent like bi-carb soda or baking powder to rise the cake. Instead, the eggs and sugar (warm) are beaten to ribbon stage. The air trapped inside this mixture will help aerate the sponge.
Great care should be taken when folding in cocoa powder and flour into this aerated egg mixture so as not to deflate it, or else the sponge will end up being flat and stodgy.
Preparation:
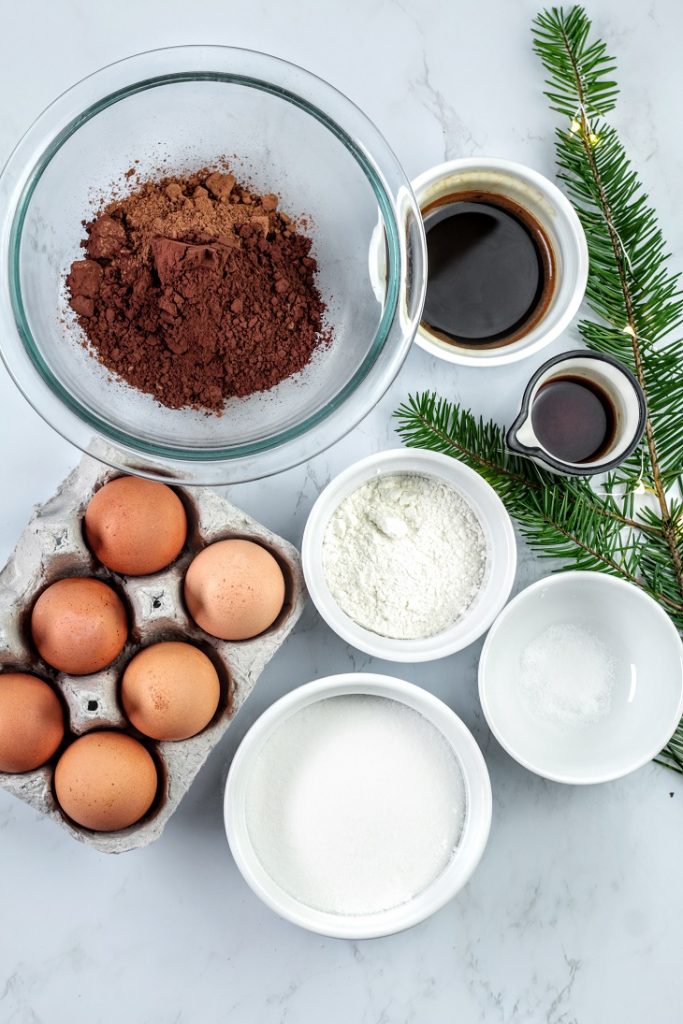
Mix cocoa, flour, salt and sift to remove lumps and set aside
Extras:1 teaspoon Espresso powder 1 tablespoon strong coffee1 teaspoon vanilla extract
Adding a bit of coffee helps bring out the chocolate flavor
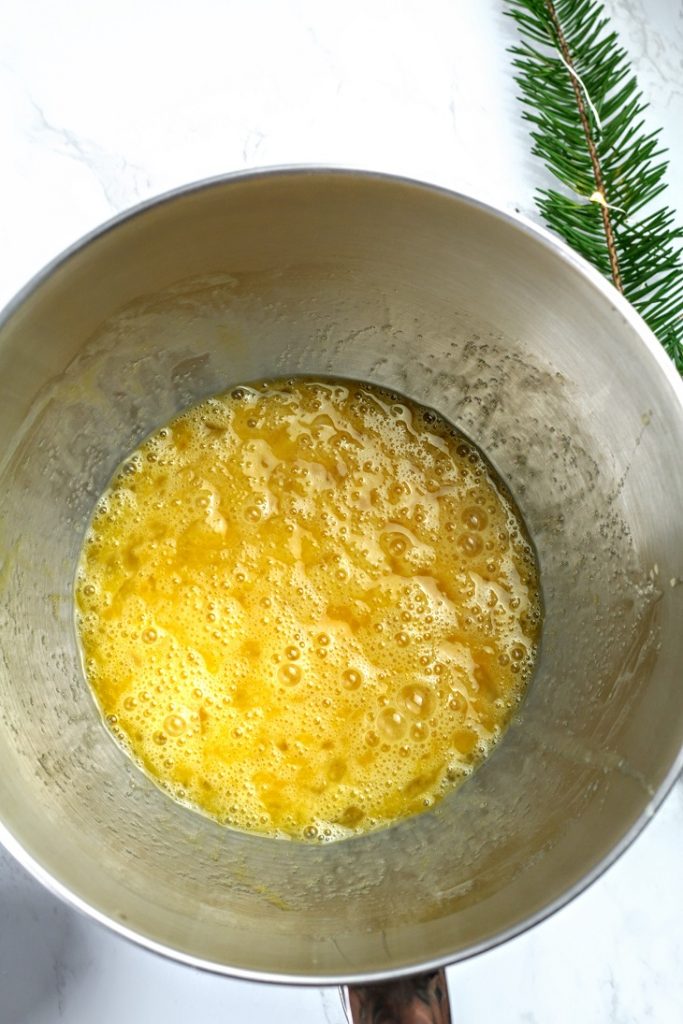
In a bowl of a stand mixer , mix the eggs and sugar. Give it a quick whisk.
Never let sugar and eggs sit still for too long as the sugar cooks the eggs.
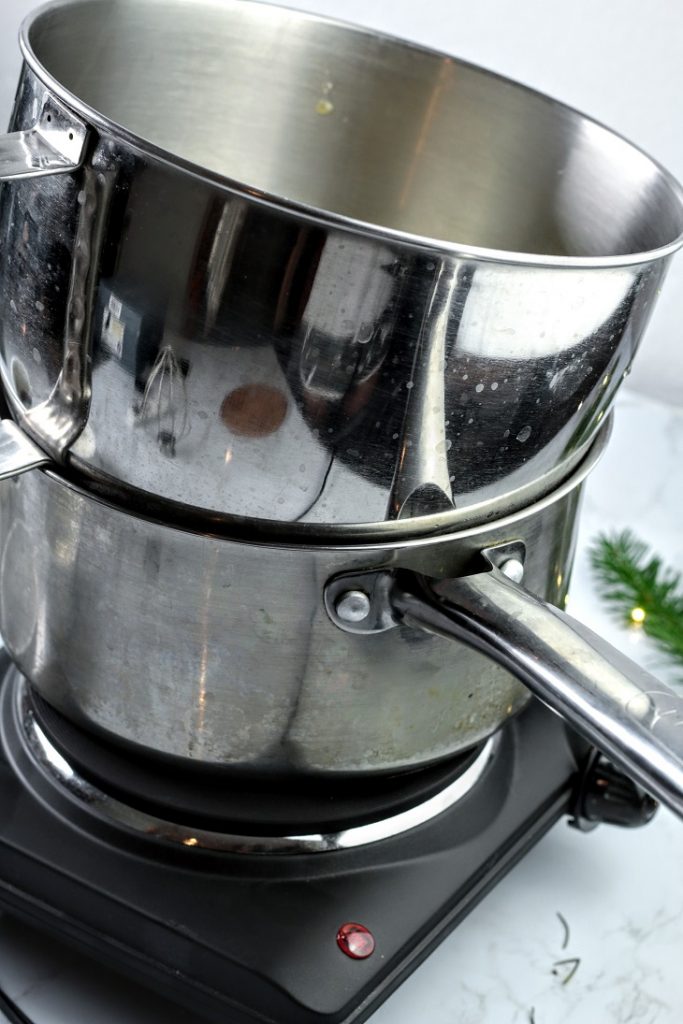
Bring some water to a slow boil and place the mixing bowl over. let the egg and sugar mixture warm up stirring all the while. The mixture should reach blood temperature 97°F (36°C) or just warm to the touch is good enough.
Warming the mixture will speed up the aeration.
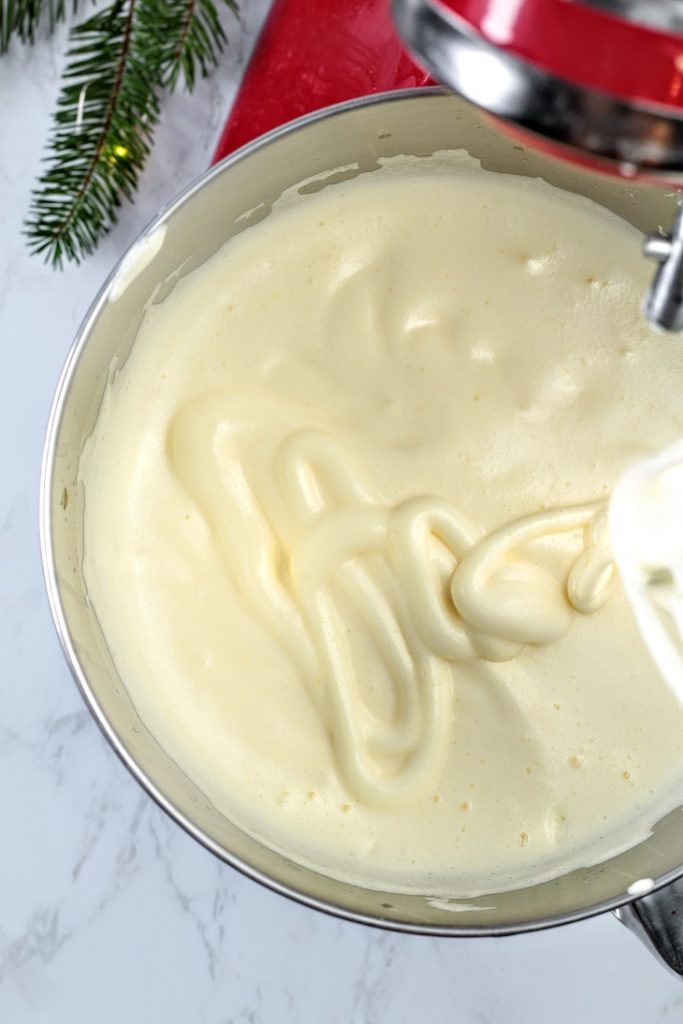
Now whisk(beat) the warm egg and sugar mixture on medium-high speed on the mixer until it reaches 'ribbon stage'. This may take about 4-5 minutes. The mixture will be glossy, pale in color and tripled in volume.
When you lift the whisk attachment, the mixture should drop like a ribbon and leave a trace for a few seconds before disappearing.
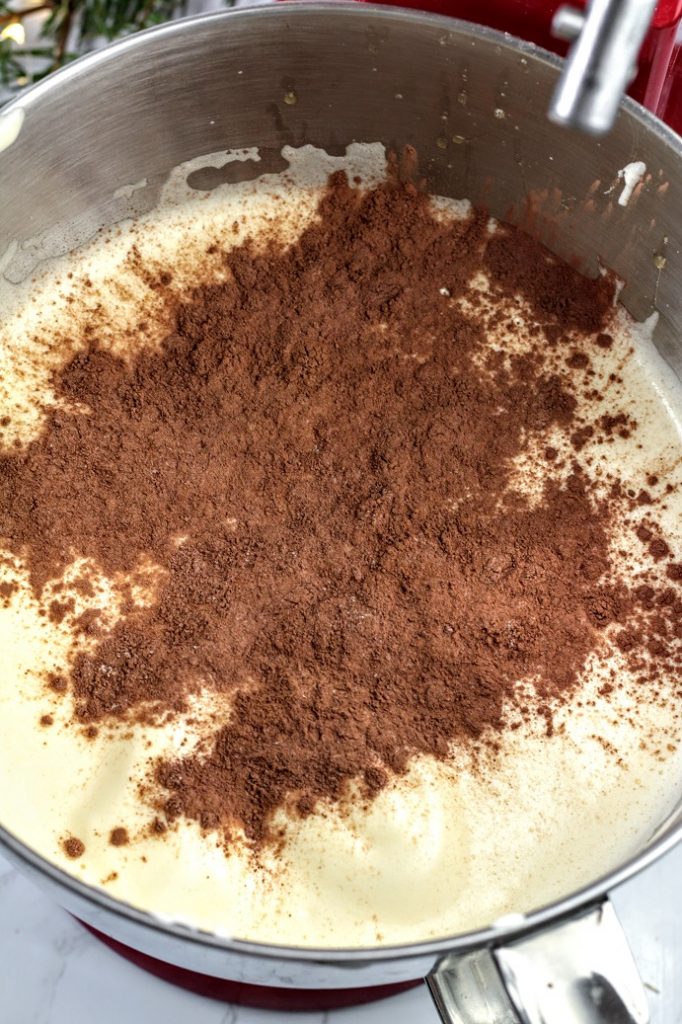
Add 1/3 of the cocoa+flour mix and whisk on slow for 2-3 seconds, just to get it slightly incorporated. You don't have to mix it all the way. Add another 1/3 of the mix and do the same.
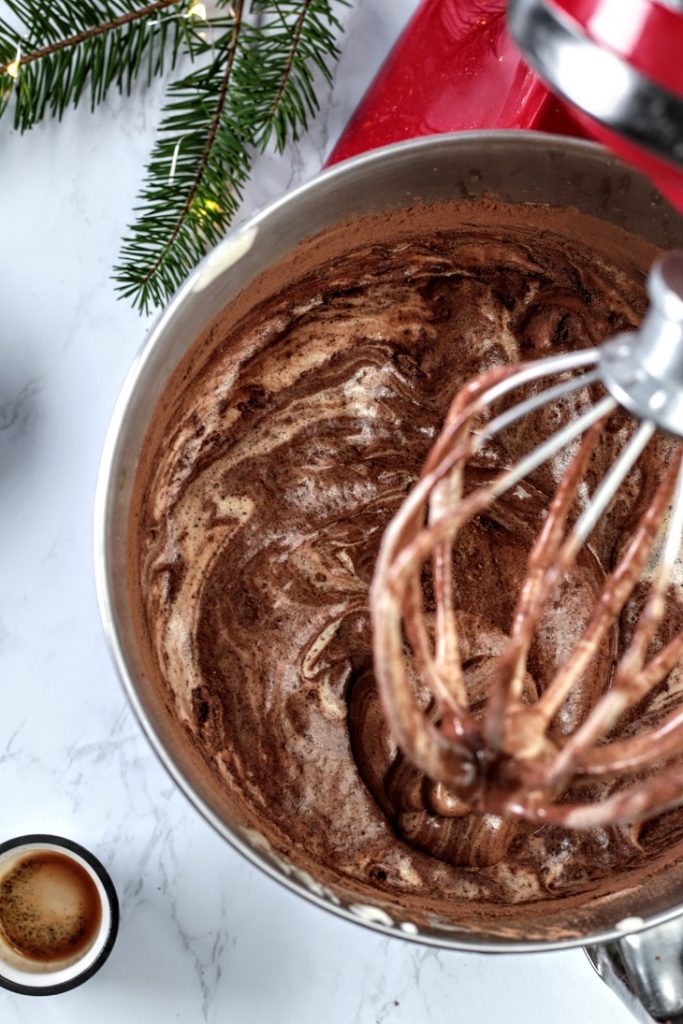
Add the remaining cocoa and flour followed by any coffee or vanilla and take off the mixer and fold by hand until most of the flour dissapears.
Use a spatula and gently fold making sure to scrape the bottom of the bowl and tuning the bowl to make sure everything is incorporated.
Be gently and careful so you don't deflate the mixture.
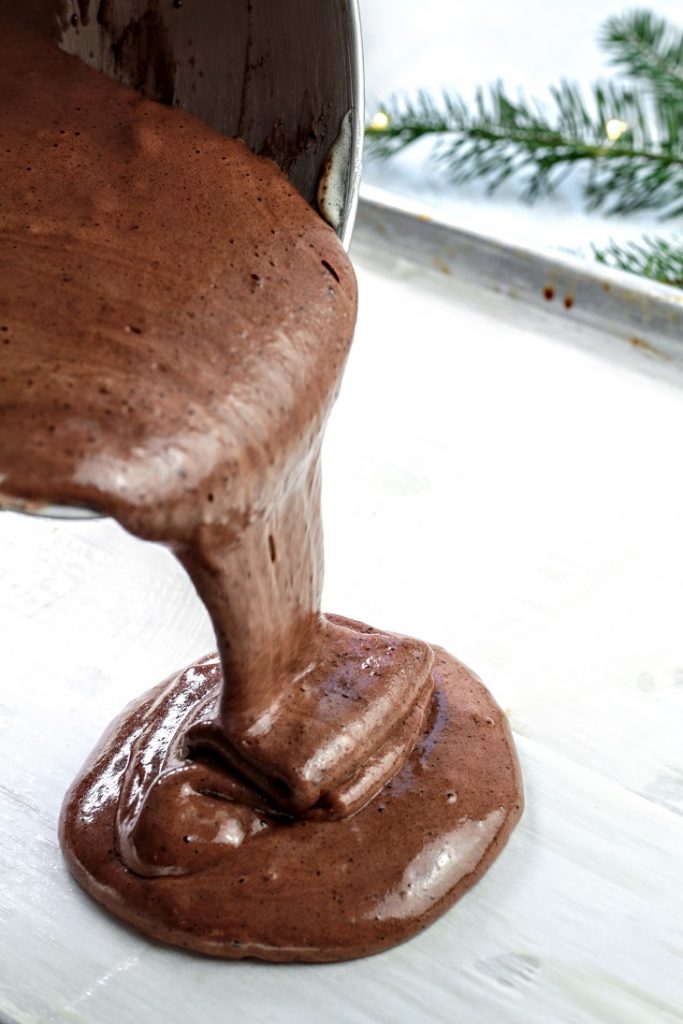
Batter should be voluminous like soft whipped cream.Gently pour the thick airy batter onto the prepared tray.
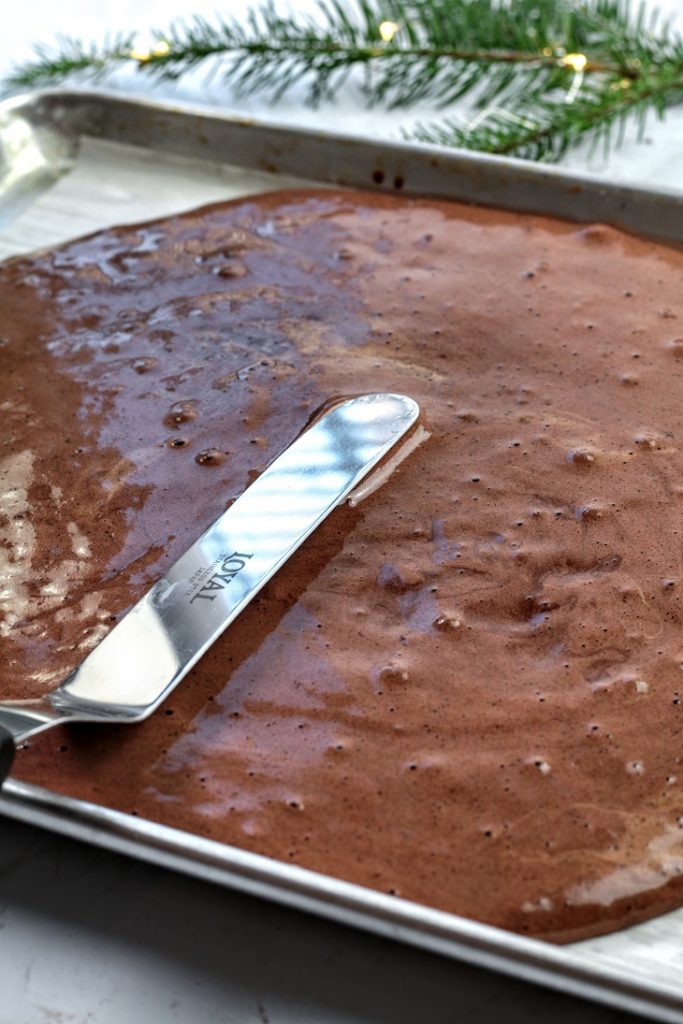
Gently spread the batter to all corners to make sure it is evenly spread. Again take care not to knock out too much air while doing this. Remember, the air trapped inside is what's going to help the sponge rise.
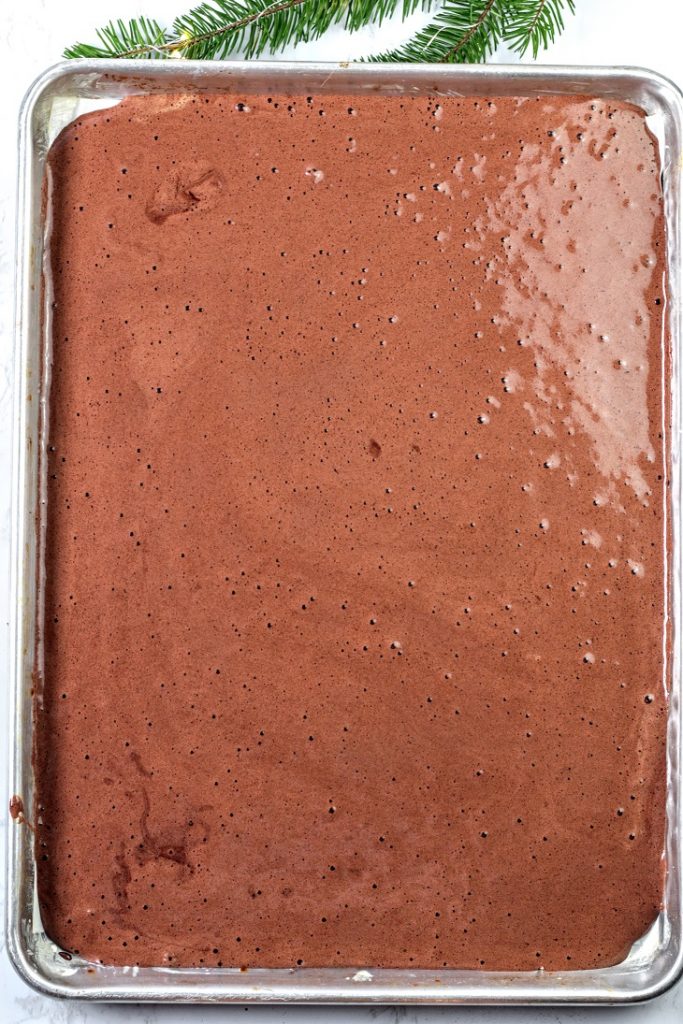
Once done, gently tap the tray a couple of times on the table to release any big air bubbles trapped inside.
bake in the preheated oven until done(dried out). Usually takes about 8-10 minutes. A cake tester/toothpick inserted should come out clean
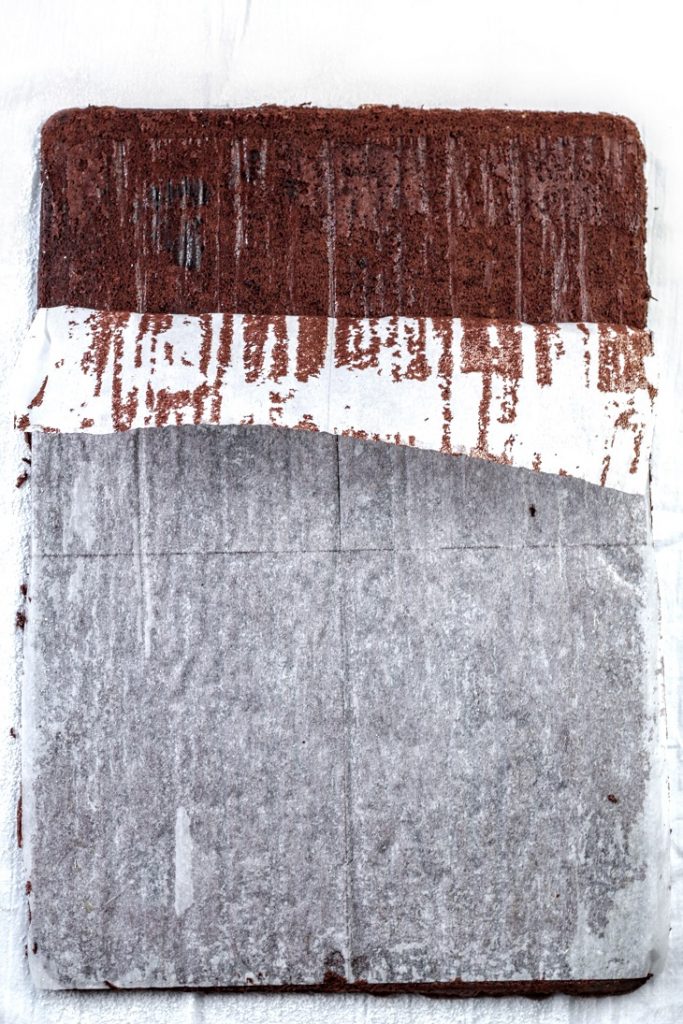
Once baked, take the tray out and leave on a wire rack for 3-4 minutes.
Prepare a thick tea towel by dusting a generous amount of powdered sugar. Release the edges of the sponge and invert the tray on to the tea towel and let the sponge drop onto the powdered sugar. Lift the tray off.
Slowly peel the parchment paper off
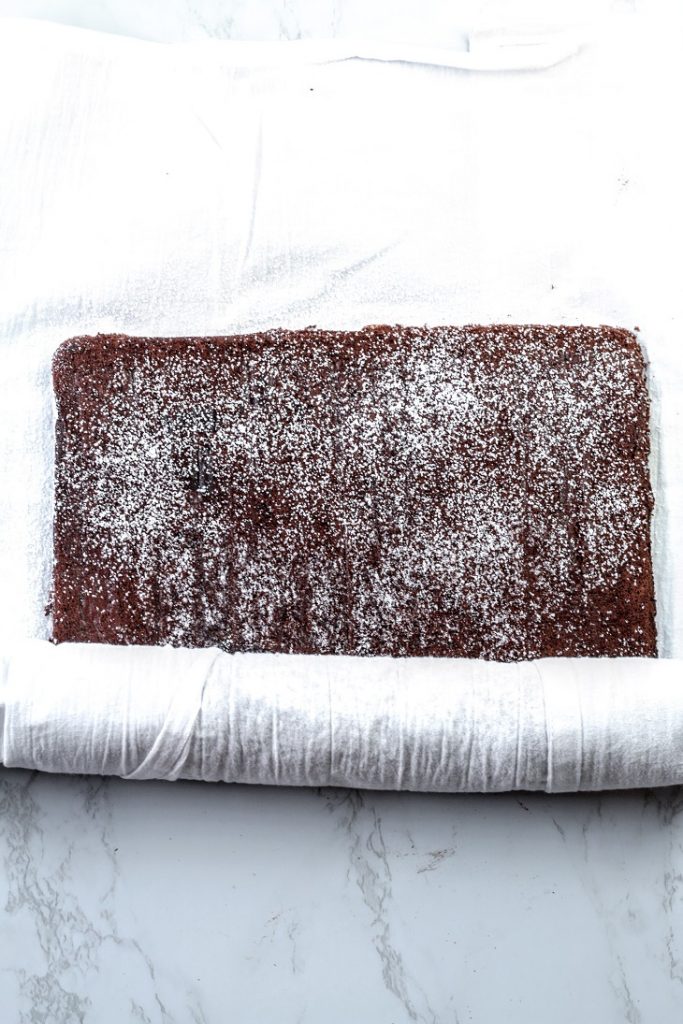
While the sponge is still warm, dust with powdered sugar and roll into a log along with the tea towel. And leave to cool completely.
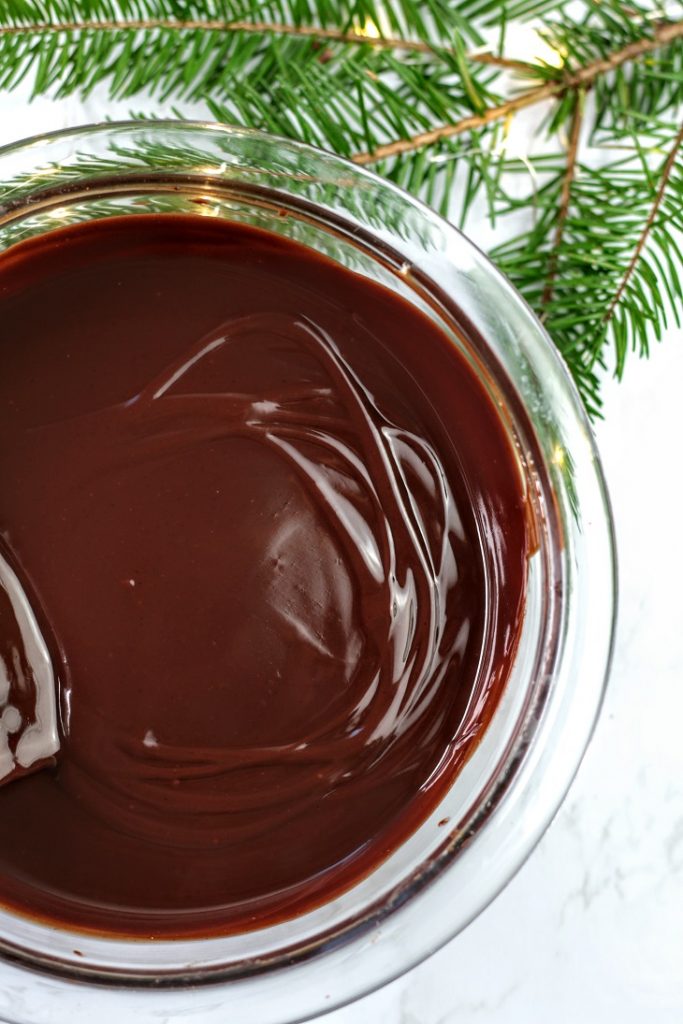
Chocolate ganache
Chocolate ganache is used to cover the whole cake. So make this ahead of time and let it set. You can refrigerate this. Pull out and let it thaw to spreadable consistency or microwave in 5 second bursts and stir until soft like buttercream icing.
Other options for covering the cake:
-chocolate glaze
-buttercream
-cream cheese
-pouring ganache (glossy effect)
-fondant
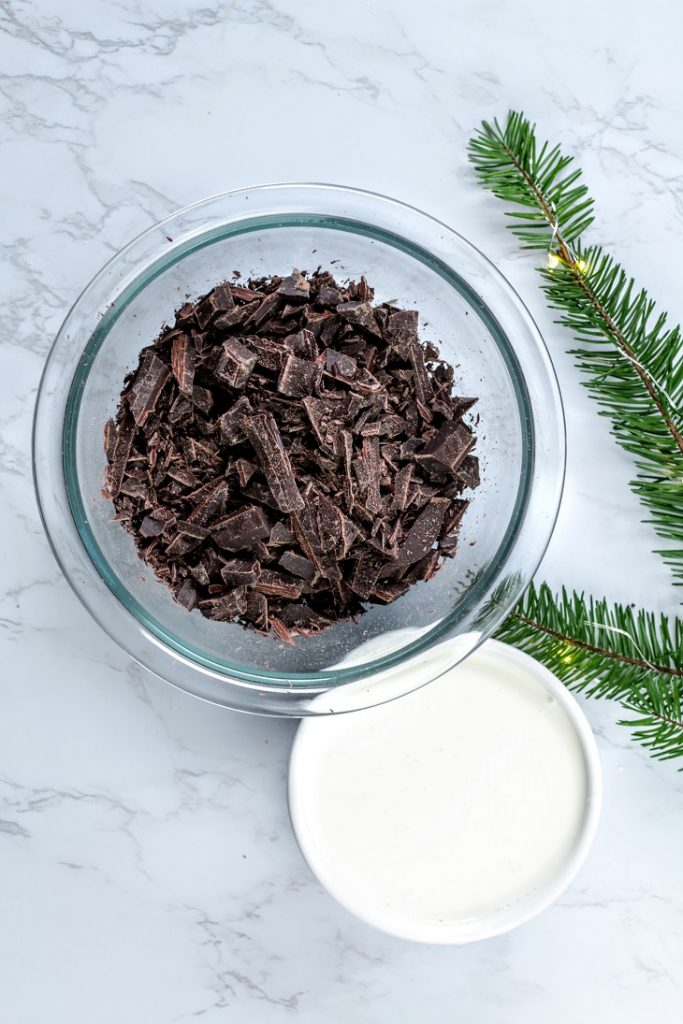
use semi-sweet cooking (bakers)chocolate. Chop the chocolate so that it will dissolve faster. Place the chocolate in a heat proof bowl.
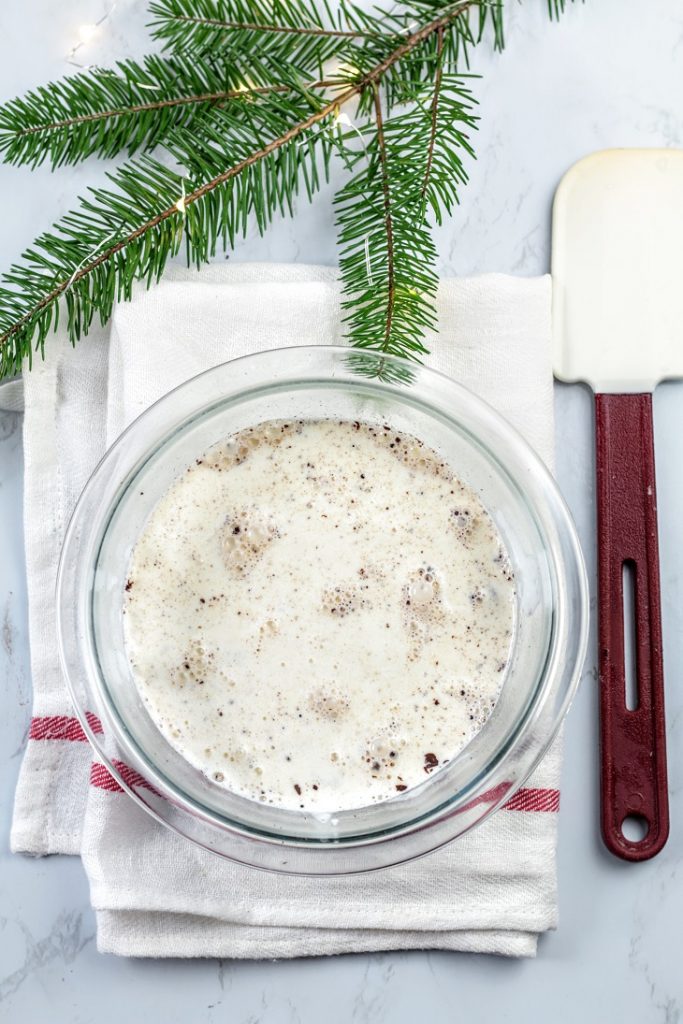
Boil the cream and pour over the chocolate. Cream should cover the chocolate. Let this sit for about 2-3 minutes.
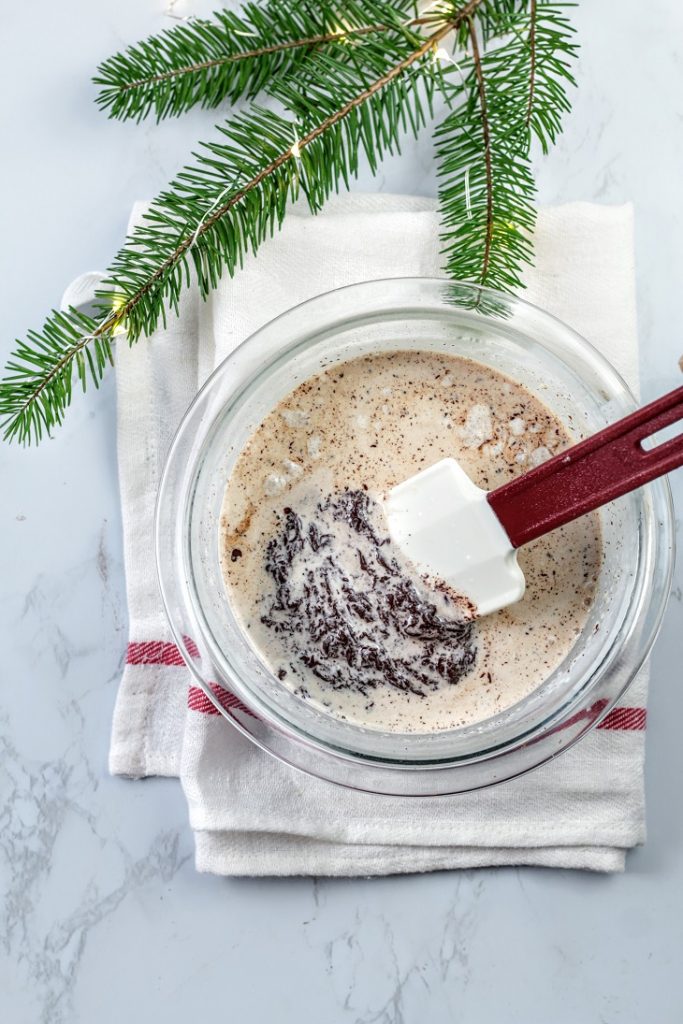
Start stirring using a spatula. The mixture will look lumpy/curdled but that's okay, keep mixing slowly
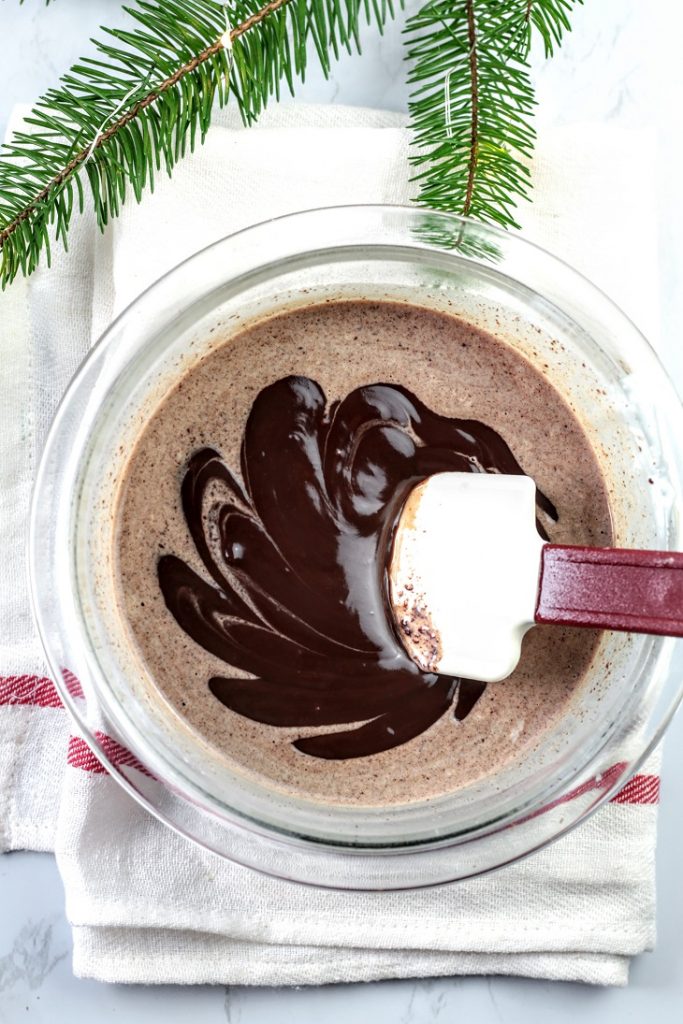
As you mix, slowly the chocolate will melt and the consistency will start to change. Keep mixing.
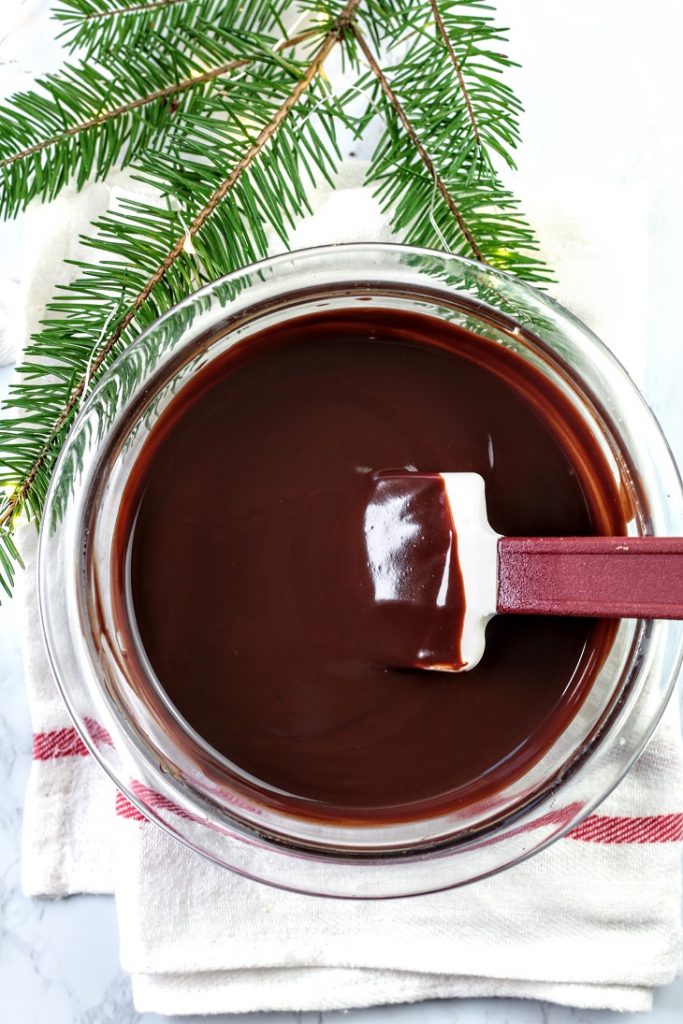
Mix until you get smooth ganache like this
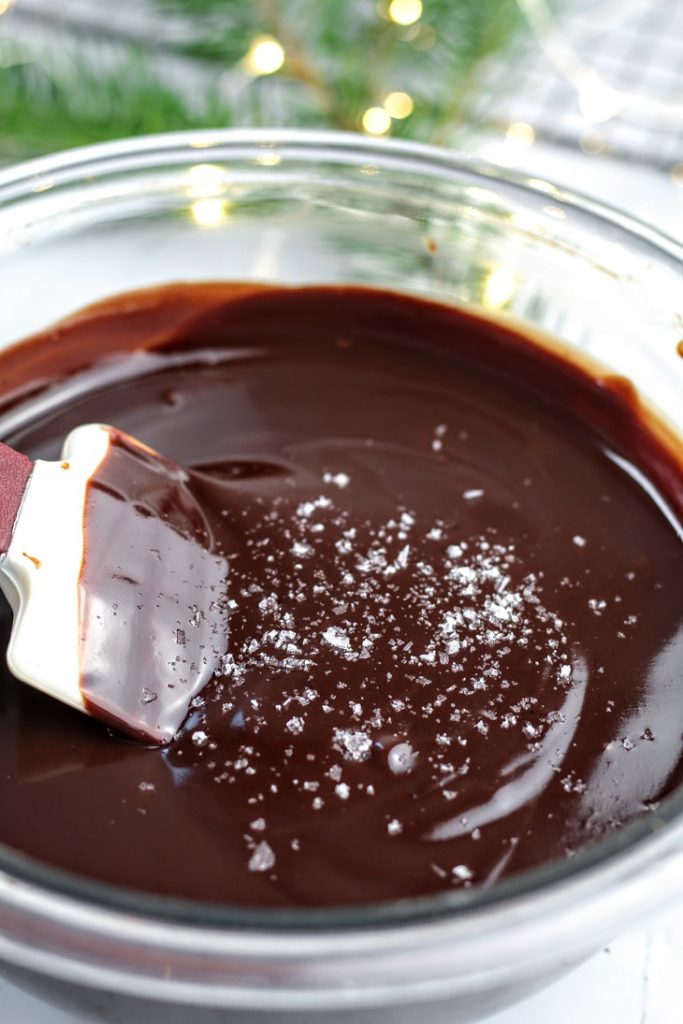
Add a pinch of sea salt and mix.
Cover the top with a plastic wrap (cling film) and let this cool and set. Refrigerate to speed up setting. But you might have to warm it back to spreadable consistency
Cream cheese filling
You can of course use just cream for the filling. Adding a bit of cream cheese will stabilize the cream.
Other options for filling:
- sweetened vanilla whipped cream
- chocolate whipped cream
- buttercream (vanilla or chocolate)
- fluffy cream cheese and butter
- chocolate mouse
- whipped chocolate ganache (white or dark)
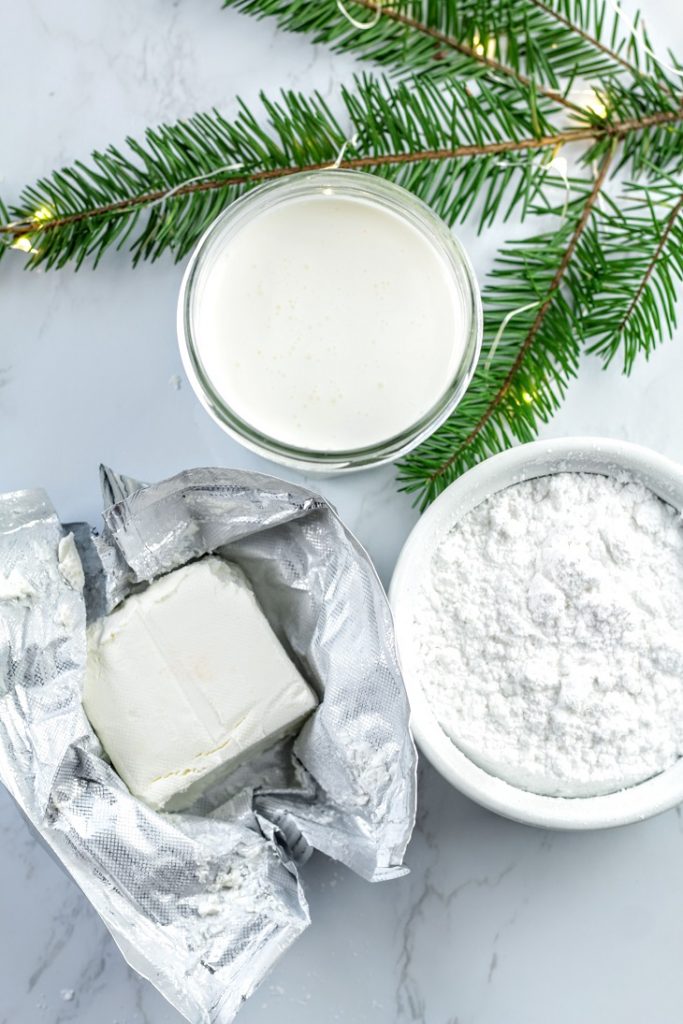
Three basic ingredients are the cream cheese, cream and powdered sugar. Make sure the cream cheese is softened and cream is very cold
flavor options:-vanilla-peppermint-gingerbread spices
I'm using vanilla bean paste
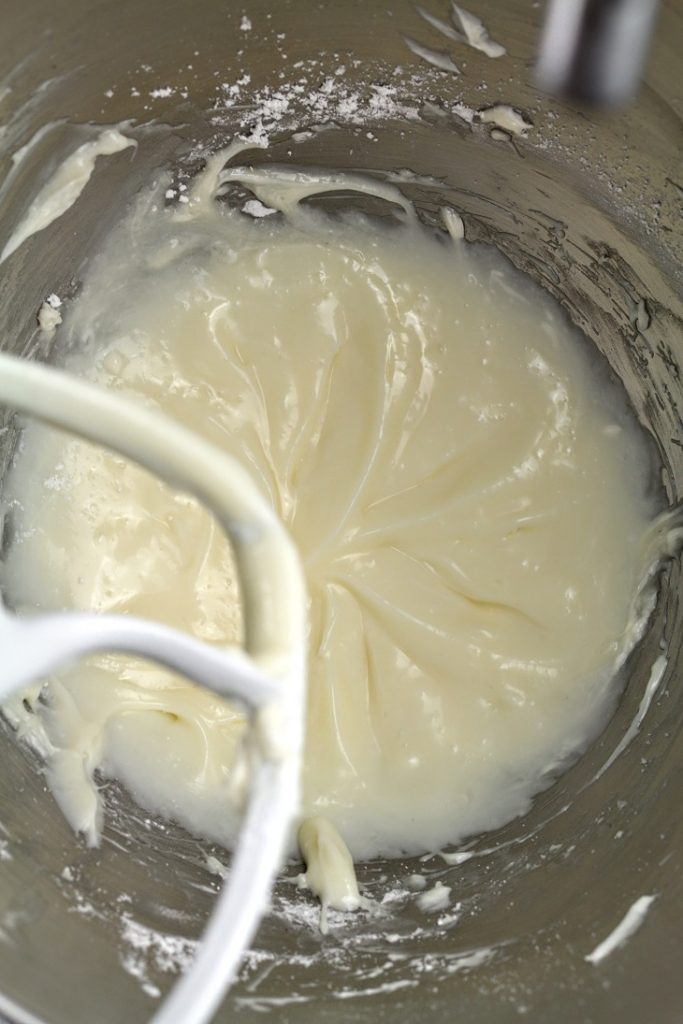
In a bowl of a stand mixer, fitted with a paddle attachment, cream the cream cheese and then add powdered sugar and mix.
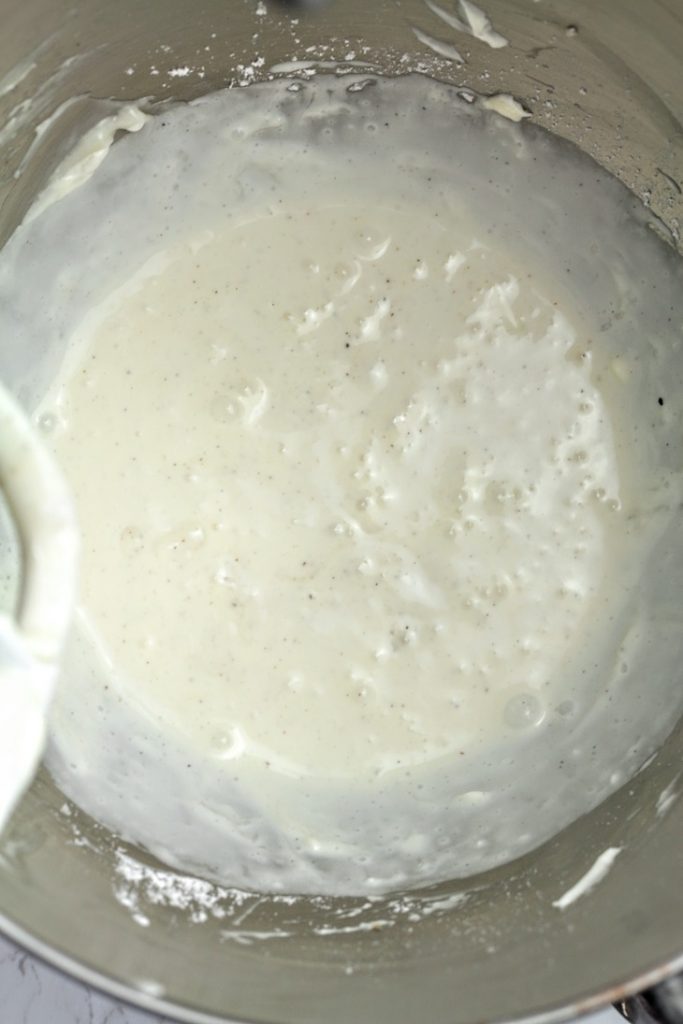
Add half the cream mixture and mix on slow just to combine everything.
Add the rest of the cream and repeat to incorporate.
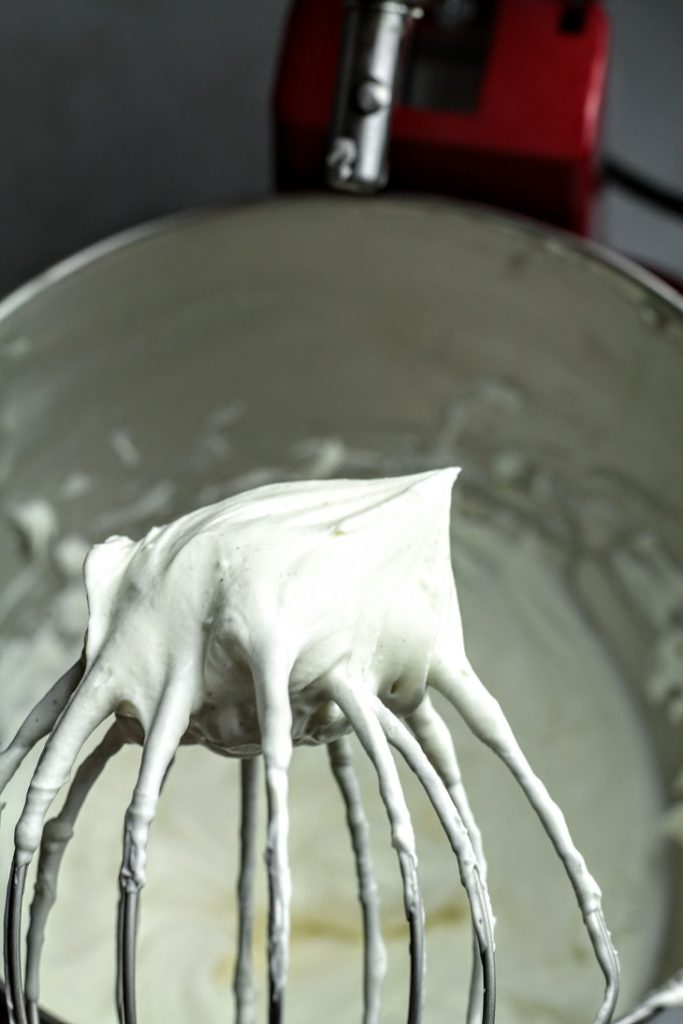
Whisk on medium-high speed until stiff peaks are formed. Frosting should hold it's shape. Add vanilla (or any other flavor)and whisk to incorporate.
Keep refrigerated until ready to use.
If it has gone soft, you can whip it again later, before using.
Chocolate work
This is just to decorate the log. If you want to create chocolate shards to give the tree log a realistic look, this is how to do it. These can be done ahead and stored in the fridge or at room temperature if not too warm.
Crimp up a parchment paper and lay on a flat surface.
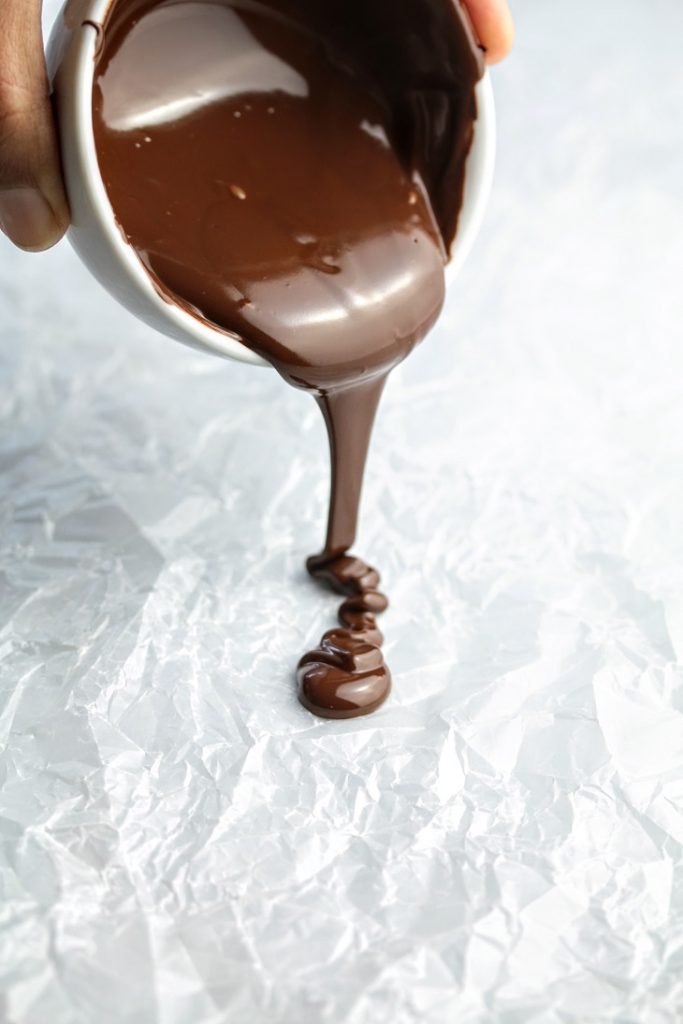
Melt some bakers(cooking) chocolate and pour over the parchment.
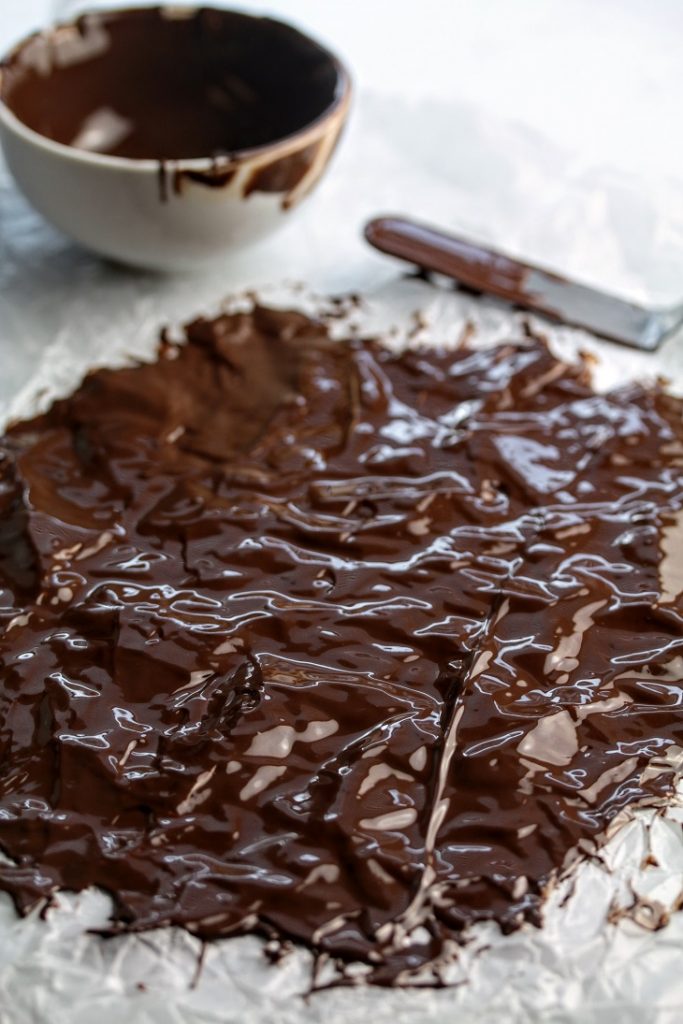
Spread using a offset spatula to an even thin layer. Not too thin but about a 1mm thickness.
Let this dry (in the fridge or outside) and either cut or break into pieces
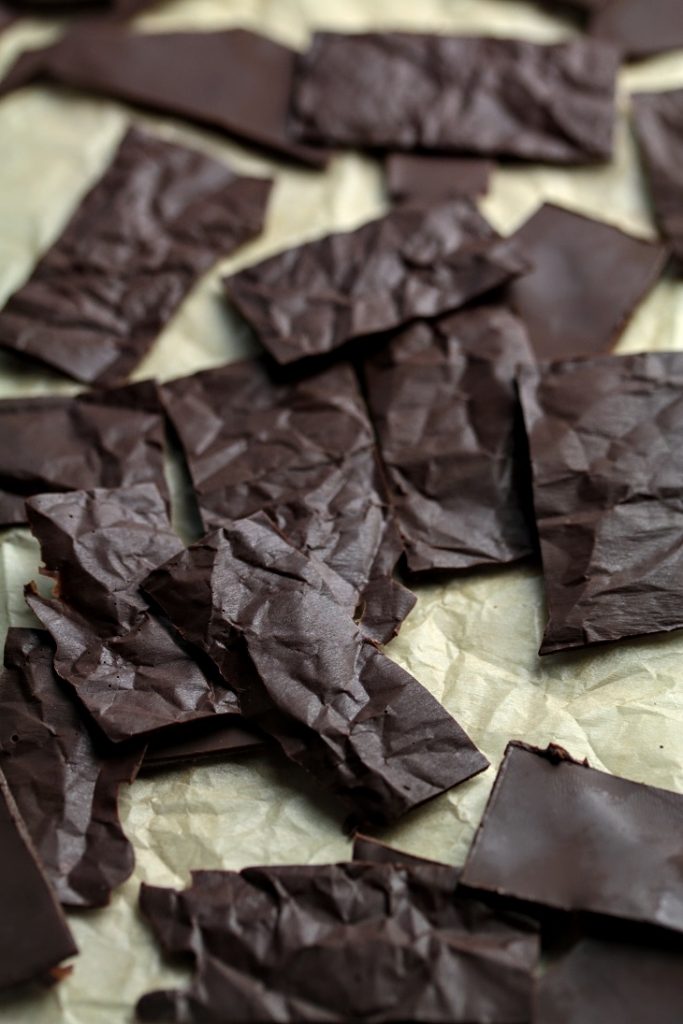
Chocolate shards can be stored in a container at room temperature. If it is too warm, place these in a fridge.
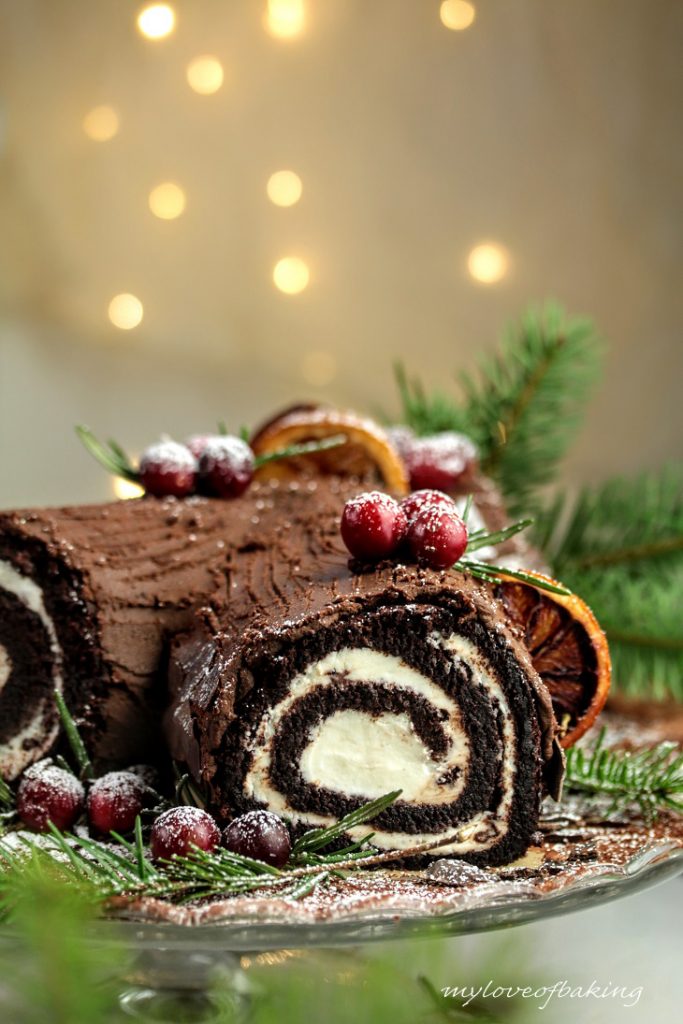
Construction of the Yule Log
Before you assemble the cake, make sure the ganache is soft enough to spread and the filling is fluffy.
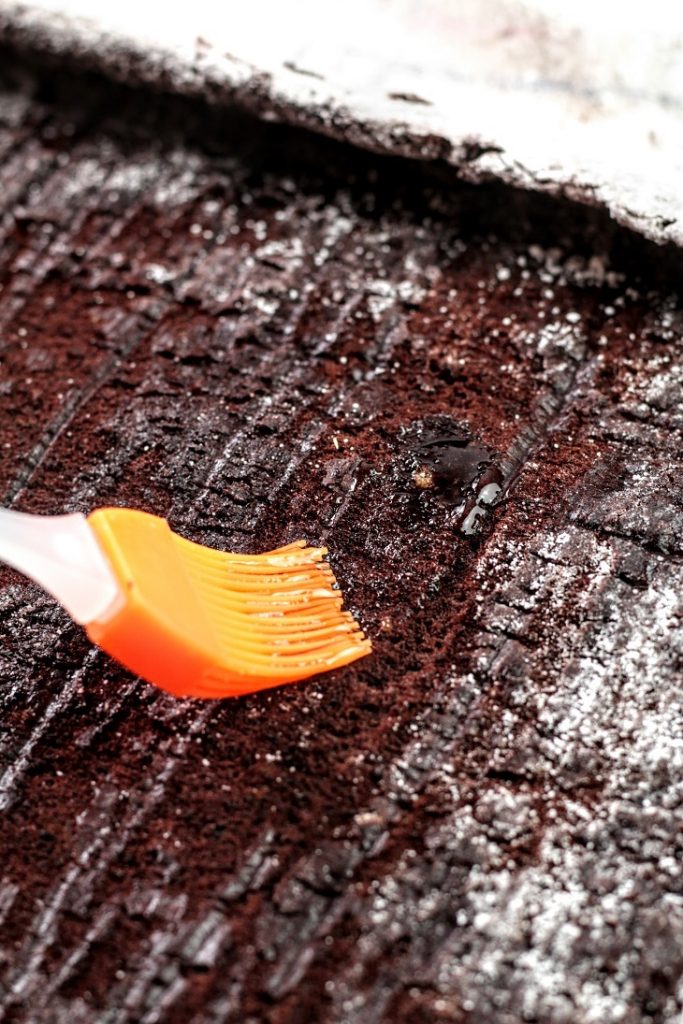
Unroll the sponge and leave it on the tea towel. If the sponge is dry, apply some syrup just to moisten the sponge. If it is moist enough, leave the syrup out!
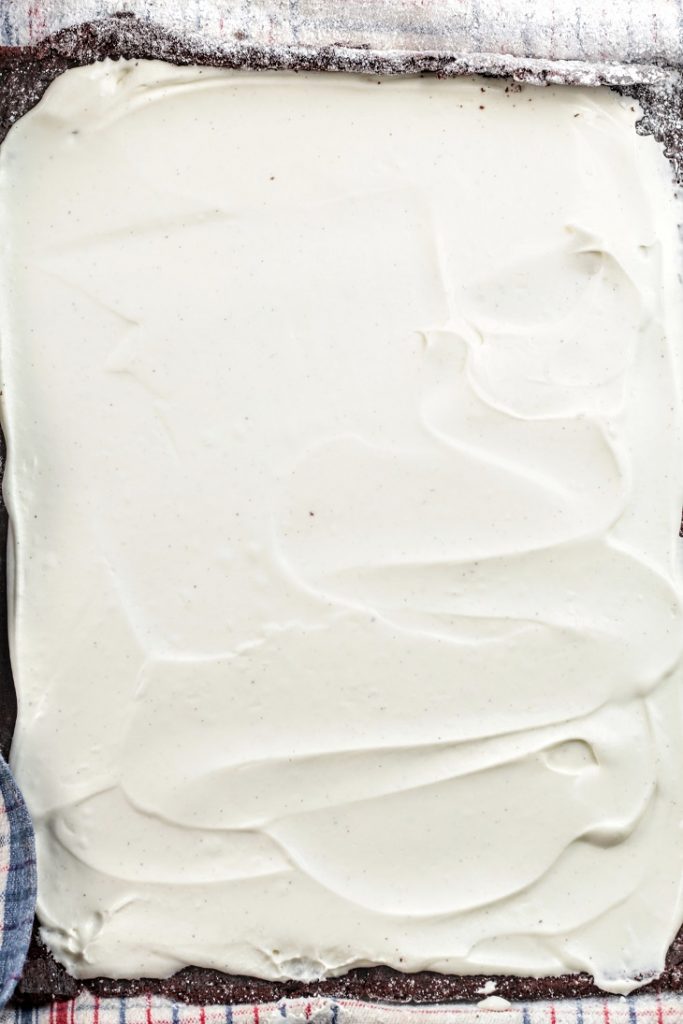
Spread the filling evenly. Leave a gap at one short end, the filling may push towards the end as you roll. Starting from the other short end, start rolling the sponge to form a log. Use the tea towel to guide.
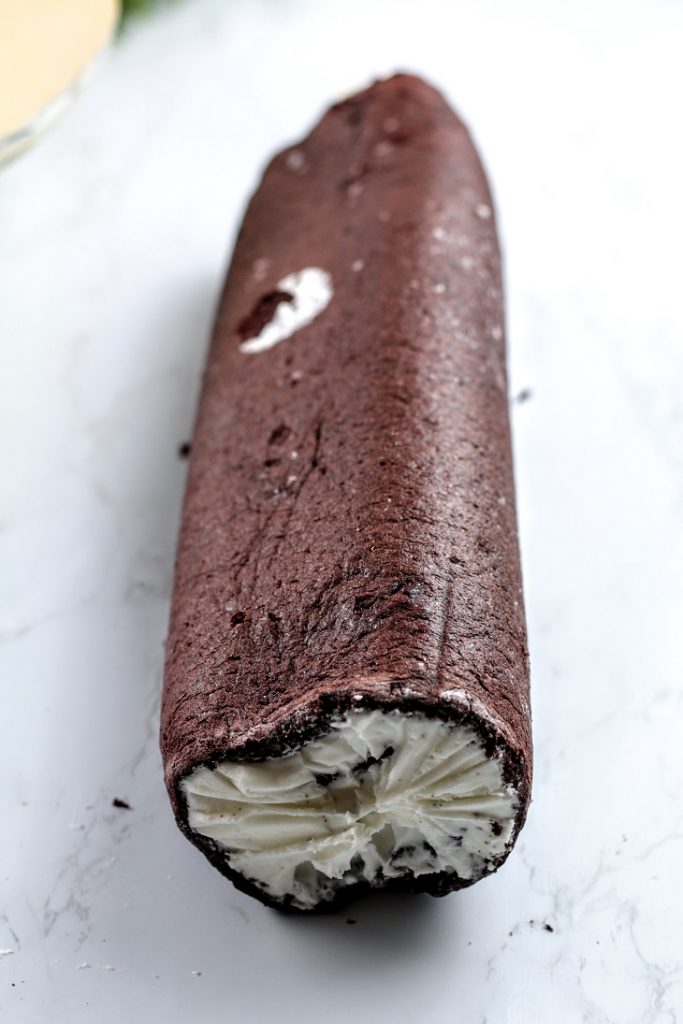
Once rolled into a cylinder, wrap in the same tea towel or in a cling film and place in the fridge for about 30 minutes to firm up.
You can leave this in the fridge at this stage and continue later.
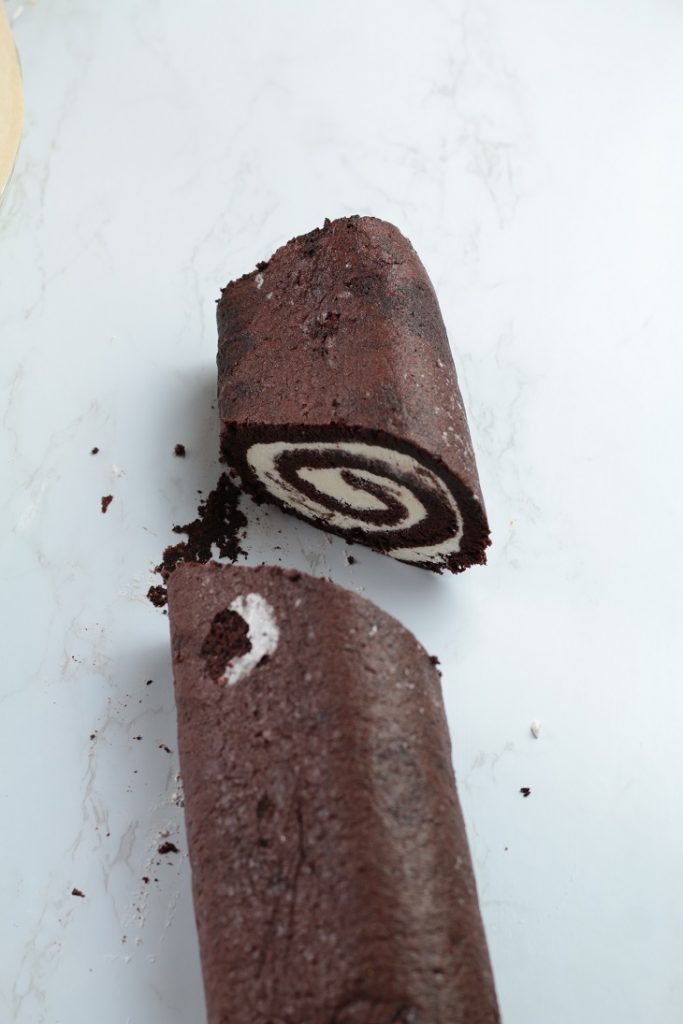
Once the cake has set, take it out and cut a small piece diagonally. This is to create the branch. You can skip this step and decorate the cake as a single straight log too.
Use a serrated knife for a cleaner cut
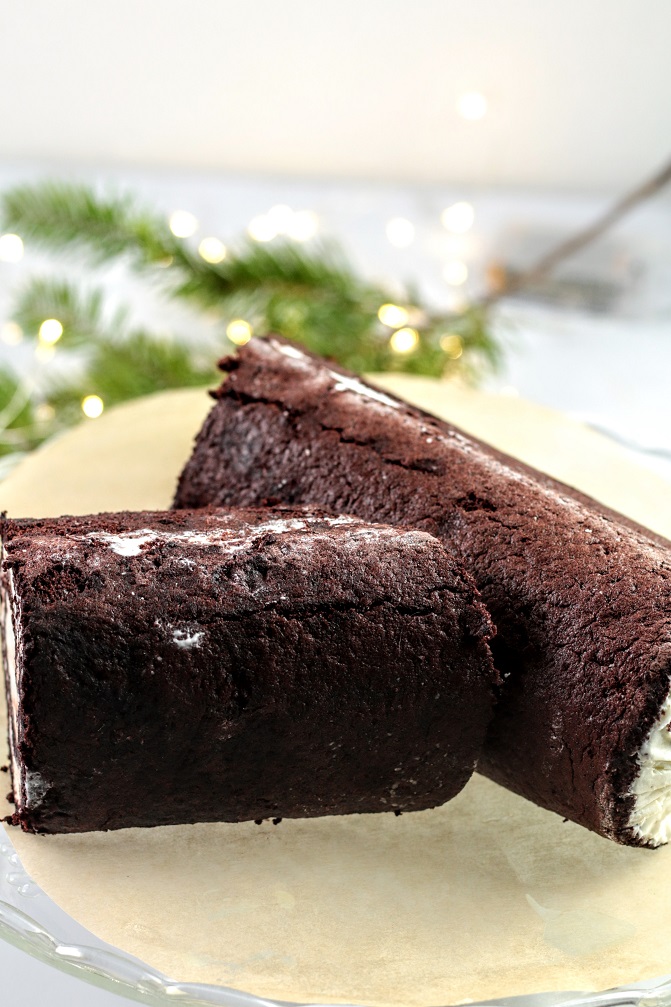
Attach the cut piece from the side using some ganache as glue. It is better to do this straight on the serving platter, as it will be harder to move this once constructed.
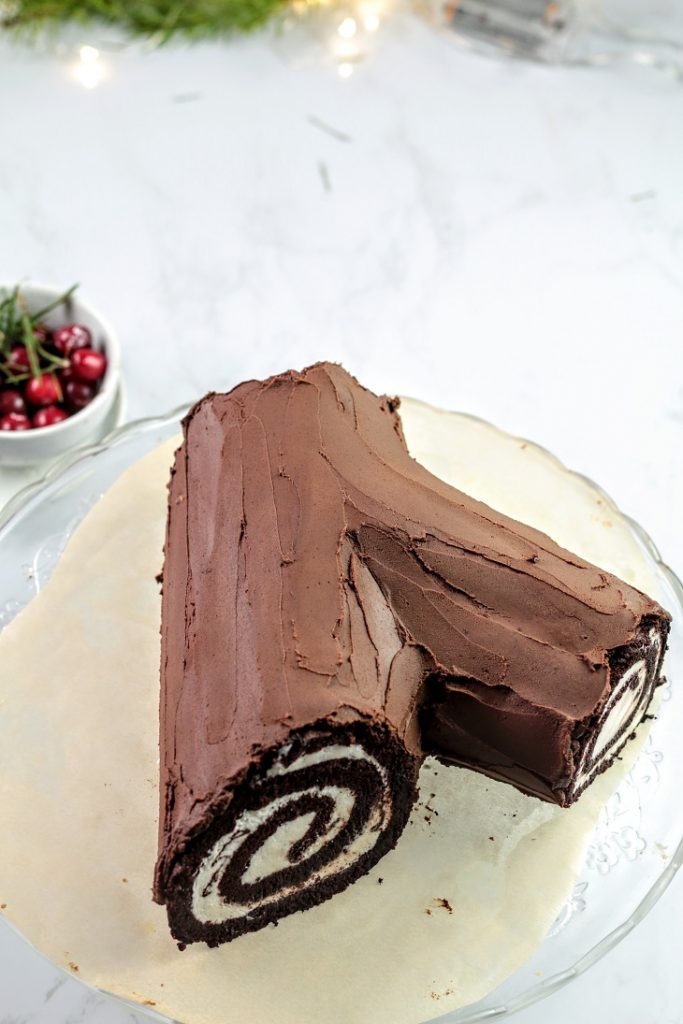
Cover the whole cake with a thick layer of ganache. It doesn't have to be smooth. Now we are almost done!
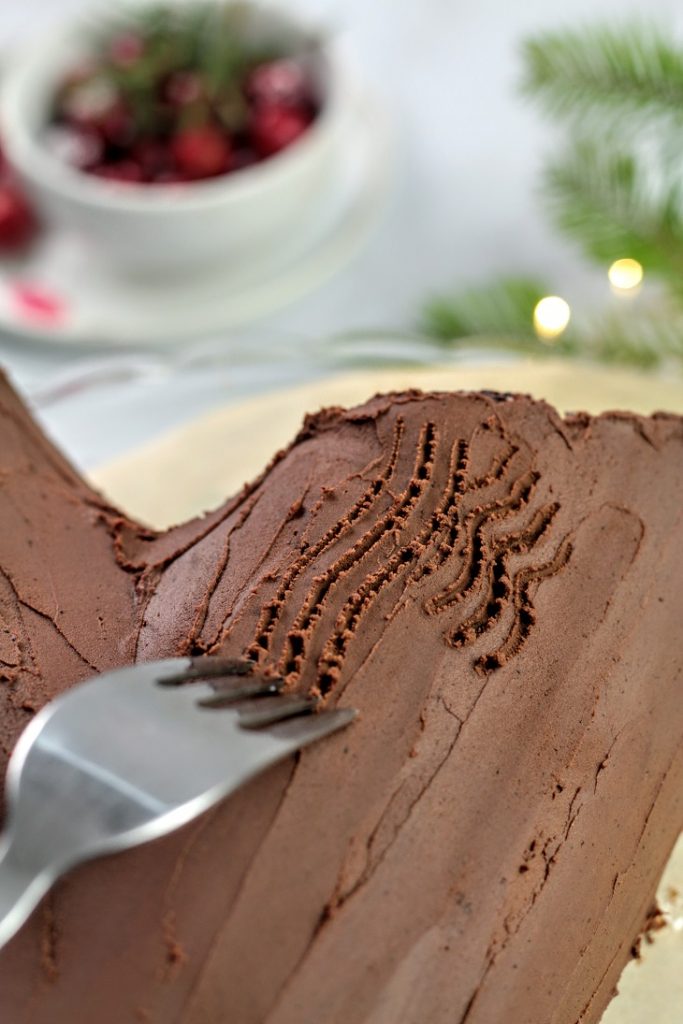
Using a fork, draw lines on the ganache to give some texture to the log.
You can keep this refrigerated, until it is ready to be served. Final decorations can be done just before serving
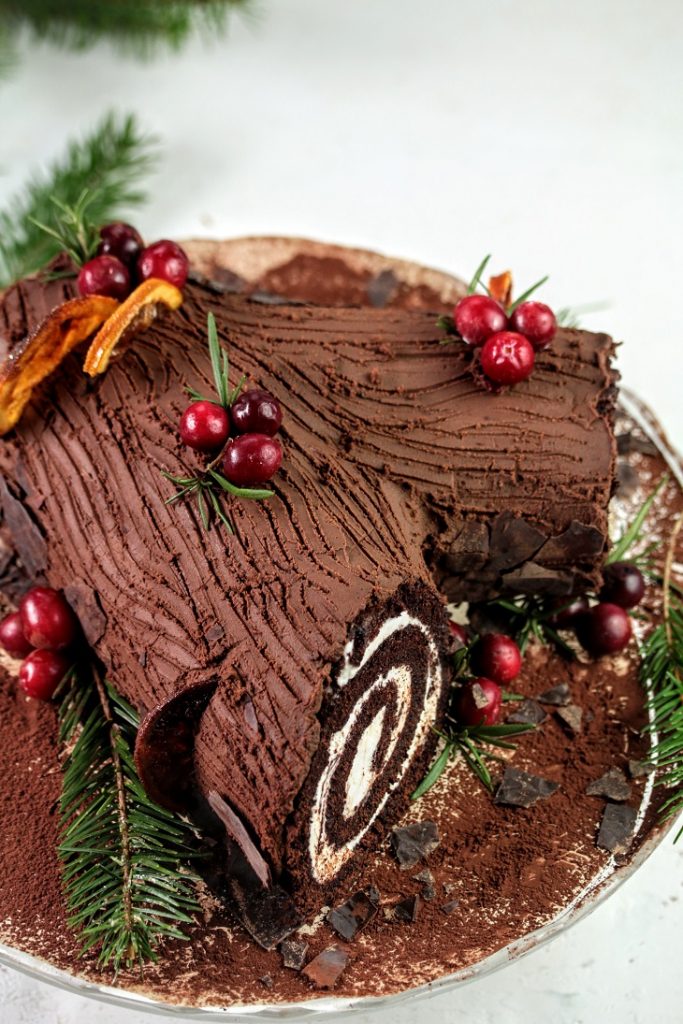
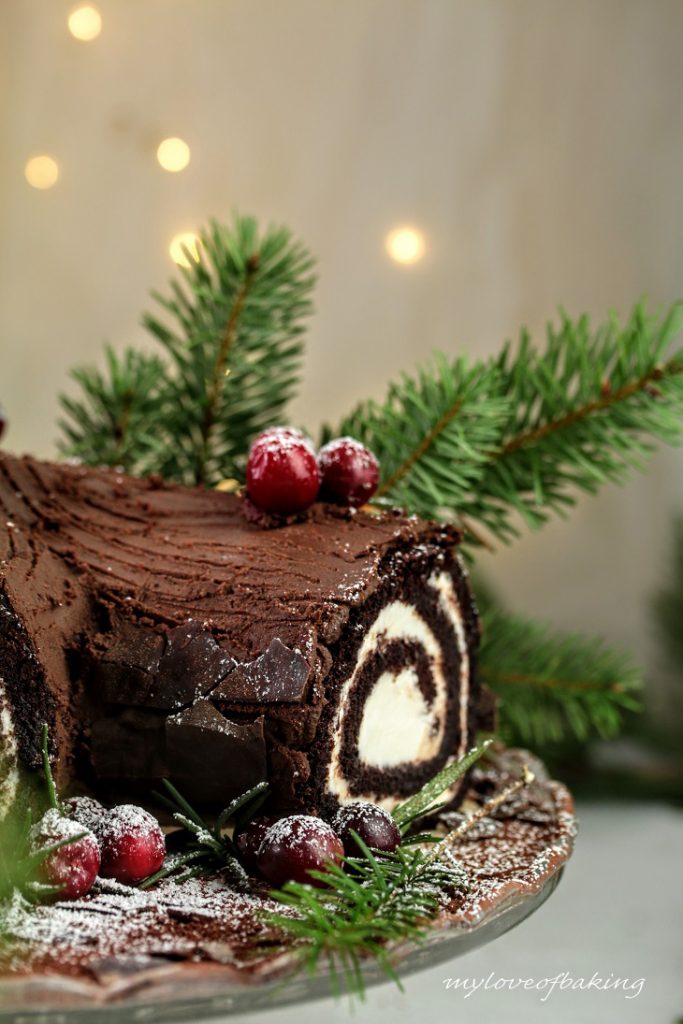
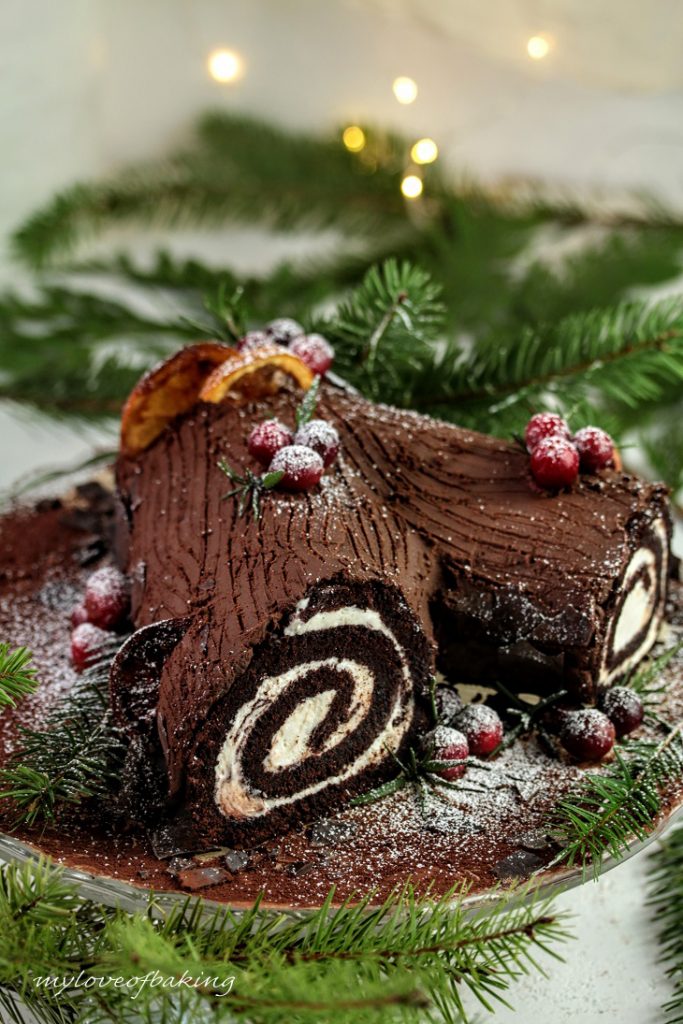
Final Decoration-Decorate with cranberries and rosemary or holly leaves to give it a festive look.-Dust the platter with cocoa powder -Use candied Orange slices to represent wild mushrooms on the log.-Use chocolate shards, here and there.
Finally give a dusting of powdered sugar
When you serve this, to get a clean cut, use a warm knife.
After every slice, wash the knife in hot water and wipe off. Check the video.
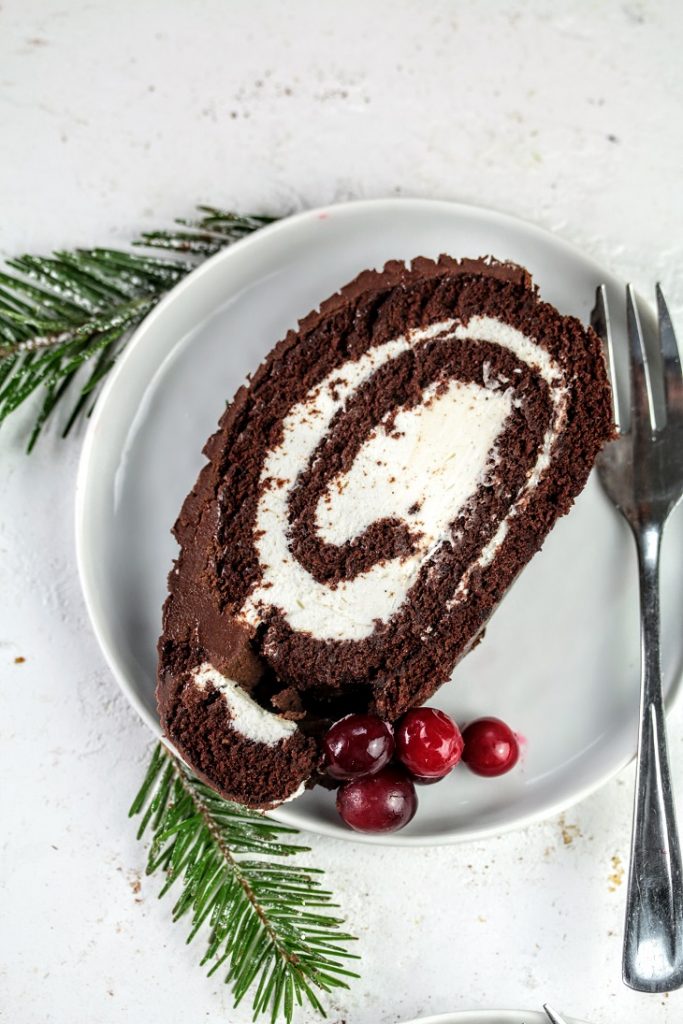
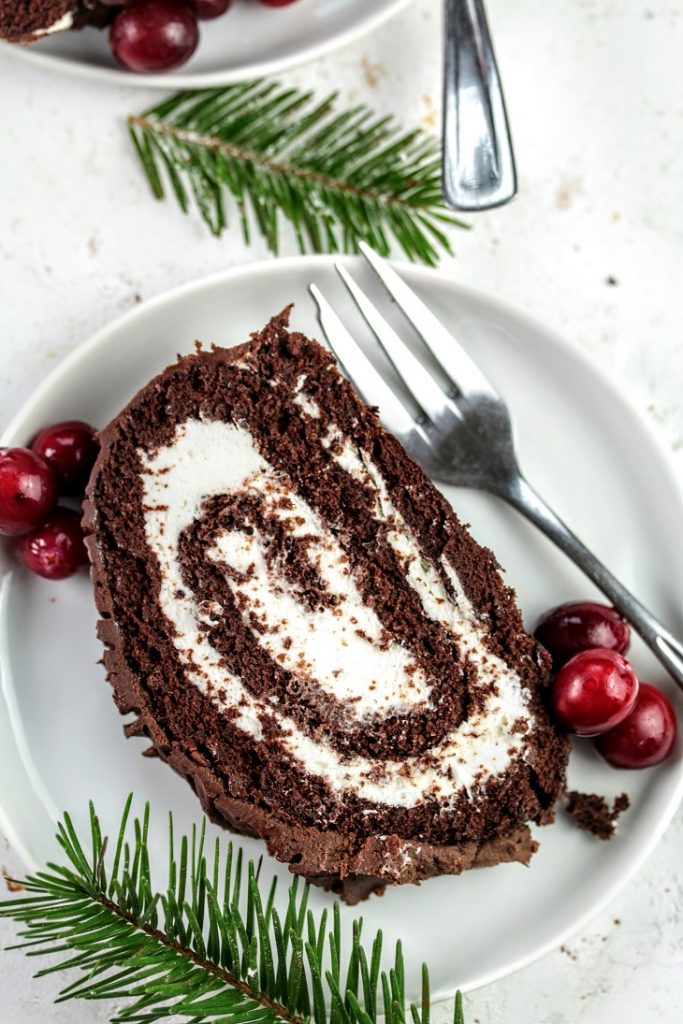
Serve as a dessert or with a cup of tea/coffee. I like to pair with some fresh berries to cut through the richness.
Shop the Ingredients


Festive Christmas Yule Log
Ingredients
Method
- 1
Note to baker
- 2
Make the ganache ahead of time and let it set
- 3
You can even make the filling prior to baking the sponge and leave in the fridge until needed
To make the sponge
- 4
Preheat the oven to 200 °C (400 °F)
- 5
Mix cocoa powder, flour and salt and sift everything to remove lumps and set aside
- 6
Melt the butter and apply a light coating to the half sheet pan. Cut a parchment that fits the bottom of the pan and stick it to the pan. Apply a light coating of butter on the parchment with a brush
- 7
Place eggs and sugar in the bowl of the stand mixer and place over a double boiler
- 8
Heat the egg and sugar mixture to 36 °C (or just warm to the touch), stirring all the time. Do not let the bottom of the bowl touch the hot water.
- 9
Once warm enough, whisk the mixture on medium-high until the batter is pale, thick and almost tripled in volume. This may take around 5-10 minutes
- 10
The batter should be at the ‘ribbon consistency’, like shown in the image above in the blog post
- 11
Add 1/3 of the flour+cocoa powder mix to this batter and mix on low speed for 2 seconds just to mix slightly, not all the way. Add some more flour +cocoa and mix on low speed for 3 seconds. Add the rest of it take the bowl out of the mixer. Add vanilla and coffee if using
- 12
Finish mixing by hand using a spatula. Use gentle folding motion (just like how you would mix flour to cake batter) Do not overmix or deflate the batter. Make sure no flour is stuck to bottom of the bowl. Stop mixing/folding as soon as flour disappears. The final batter should be thick and voluminous (almost like soft whipped cream)
- 13
Now pour this batter onto the prepared tray and gently spread using a spatula (or offset spatula) the batter should be evenly spread to get a nice even sheet cake. Try not to deflate the mixture while doing this or your cake will be flat and rubbery
- 14
Once spread, gently tap the tray on the table a couple of times to release any big air bubbles trapped in the batter
- 15
Place in the preheated oven and bake for about 8-10 minutes. Check to see if the cake is dry to the touch. Slight stickiness is fine. If there are wet areas, leave for another minute or two. Do not over bake the sponge. Overbaking will dry out the sponge, which will cause cracking when rolling
- 16
While the sponge is baking, lay a tea towel on the table and dust it with a coating of icing sugar
- 17
As soon as the sponge is done, remove from the oven
- 18
Leave pan to cool slightly for about 5 minutes. Run a spatula around the pan to release the sides of the sponge (sides may be stuck to the pan)
- 19
Then invert the pan over the prepare tea towel, once the sponge drops onto the tea towel, lift the pan off
- 20
Carefully peel off the parchment paper
- 21
Dust the sponge with a light coating of icing sugar
- 22
While still warm, roll the sponge along with the tea towel, into a log and set aside to cool completely
- 23
Rolling the sponge while still warm is important to prevent cracking later
To make the ganache
- 24
Roughly chop chocolate into small pieces and place in a heat resistant bowl (glass is best)
- 25
Bring cream to a vigorous boil
- 26
Pour the boiling cream over the chocolate (make sure most of the chocolate are submerged)
- 27
Let it sit for 2 minutes
- 28
Slowly mix using a spatula in circular motions. Take care not to incorporate too much air
- 29
Once all the chocolate is melted, cover and leave to cool
- 30
As it cools it will reach spreadable consistency. You can speed up cooling by placing this in the fridge. If the ganache is set too hard, just microwave (5-10 second burst) and stir again or leave at room temperature to thaw
- 31
To make filling (fluffy cream)
- 32
Beat the cream cheese in the bowl of a mixer on low speed until just smooth (paddle attachment is easier)
- 33
Add the powdered sugar and beat until smooth for about 1 minute
- 34
Change to whisk attachment. Gradually beat in the heavy cream 1/4 cup at a time, making sure the mixture is smooth before adding any more cream
- 35
Once all the cream is added, increase the speed to medium-high and beat until fluffy and stiff peaks form when you lift the whisk (for about 2-4 minutes). Do not over whip
- 36
Add the vanilla and beat to incorporate
- 37
Transfer the frosting into a small bowl, cover and leave in the refrigerator until needed
To make the sugar syrup
- 38
Place sugar and water in a saucepan bring to boil and stir to dissolve sugar
- 39
Simmer for 1 minute and leave to cool
- 40
You can add flavor to this syrup (a drop of Orange liqueur, coffee liqueur, rum etc.)
- 41
To make chocolate shards
- 42
Crimp up a parchment paper to create texture and unfold and lay on a tray
- 43
Melt some (about 100 g) cooking chocolate and pour over the parchment and spread to a thin coating using an offset spatula
- 44
Set in the fridge (or at room temperature)
- 45
Once set hard, break/cut into rectangular shaped shards. It's okay to have uneven pieces
- 46
Store in a cool dry place until needed
To construct the Yule Log
- 47
Bring the filling(cream cheese mixture) out, if it is in the fridge (make sure its fluffy and spreadable)
- 48
Unroll the sponge, brush with syrup lightly, just to dampen the surface
- 49
Spread the cream cheese mixture (to about about ½ cm thickness)
- 50
Starting from one narrow end, roll the sponge into a log
- 51
Wrap in a cling film and refrigerate the roll for about 15-30 minutes to set. Setting and chilling in the fridge helps keep everything together, so it makes easier to decorate. But if you are confident, move on to decorating straight-away
- 52
Assemble directly on the serving tray/platter
- 53
If you like a branch to your log, cut a 2.5 inch long piece in an angle from one end of the log
- 54
Attach the cut piece to the side of the main log using some ganache
- 55
Cover the whole log with a layer of ganache. Leave ends exposed if you like to show-off the swirl of cream cheese filling
- 56
Dust the platter with cocoa powder
- 57
Drag a fork to draw lines on the ganache to give it some realistic look
- 58
Attach few chocolate shards here and there to represent bark peeling off
- 59
Leave in the fridge until serving time
- 60
Just before you serve, decorate with cranberries, leaves and a dusting of icing sugar
Notes
When you cut the log for serving, use a clean warm knife. Dip the knife in a jug of hot water and wipe off and cut. Repeat after every slice. This will help get a clean cut every time.
Never Miss a Recipe
Get new recipes straight to your inbox.

You might also like


Comments
Loading comments…